As the weather warms up and the growing season draws nearer, it’s important to not get so excited by the prospect of spring planting that you neglect properly preparing your garden beds! A well-prepared garden bed will be more productive, so it’s worth taking the time to do things right from the start.
But what needs to be done to prepare garden beds in spring?
Warm up the soil before planting
Even once the warm weather arrives, garden soil can be stubbornly slow to reach warm enough temperatures for seeds to germinate and plants to grow. There are a few techniques you can use to warm up the soil sooner:
- If your garden was mulched before winter set in, pull the mulch aside so the soil surface can be exposed to the warmth of the sun (this also makes it easier for seeding).
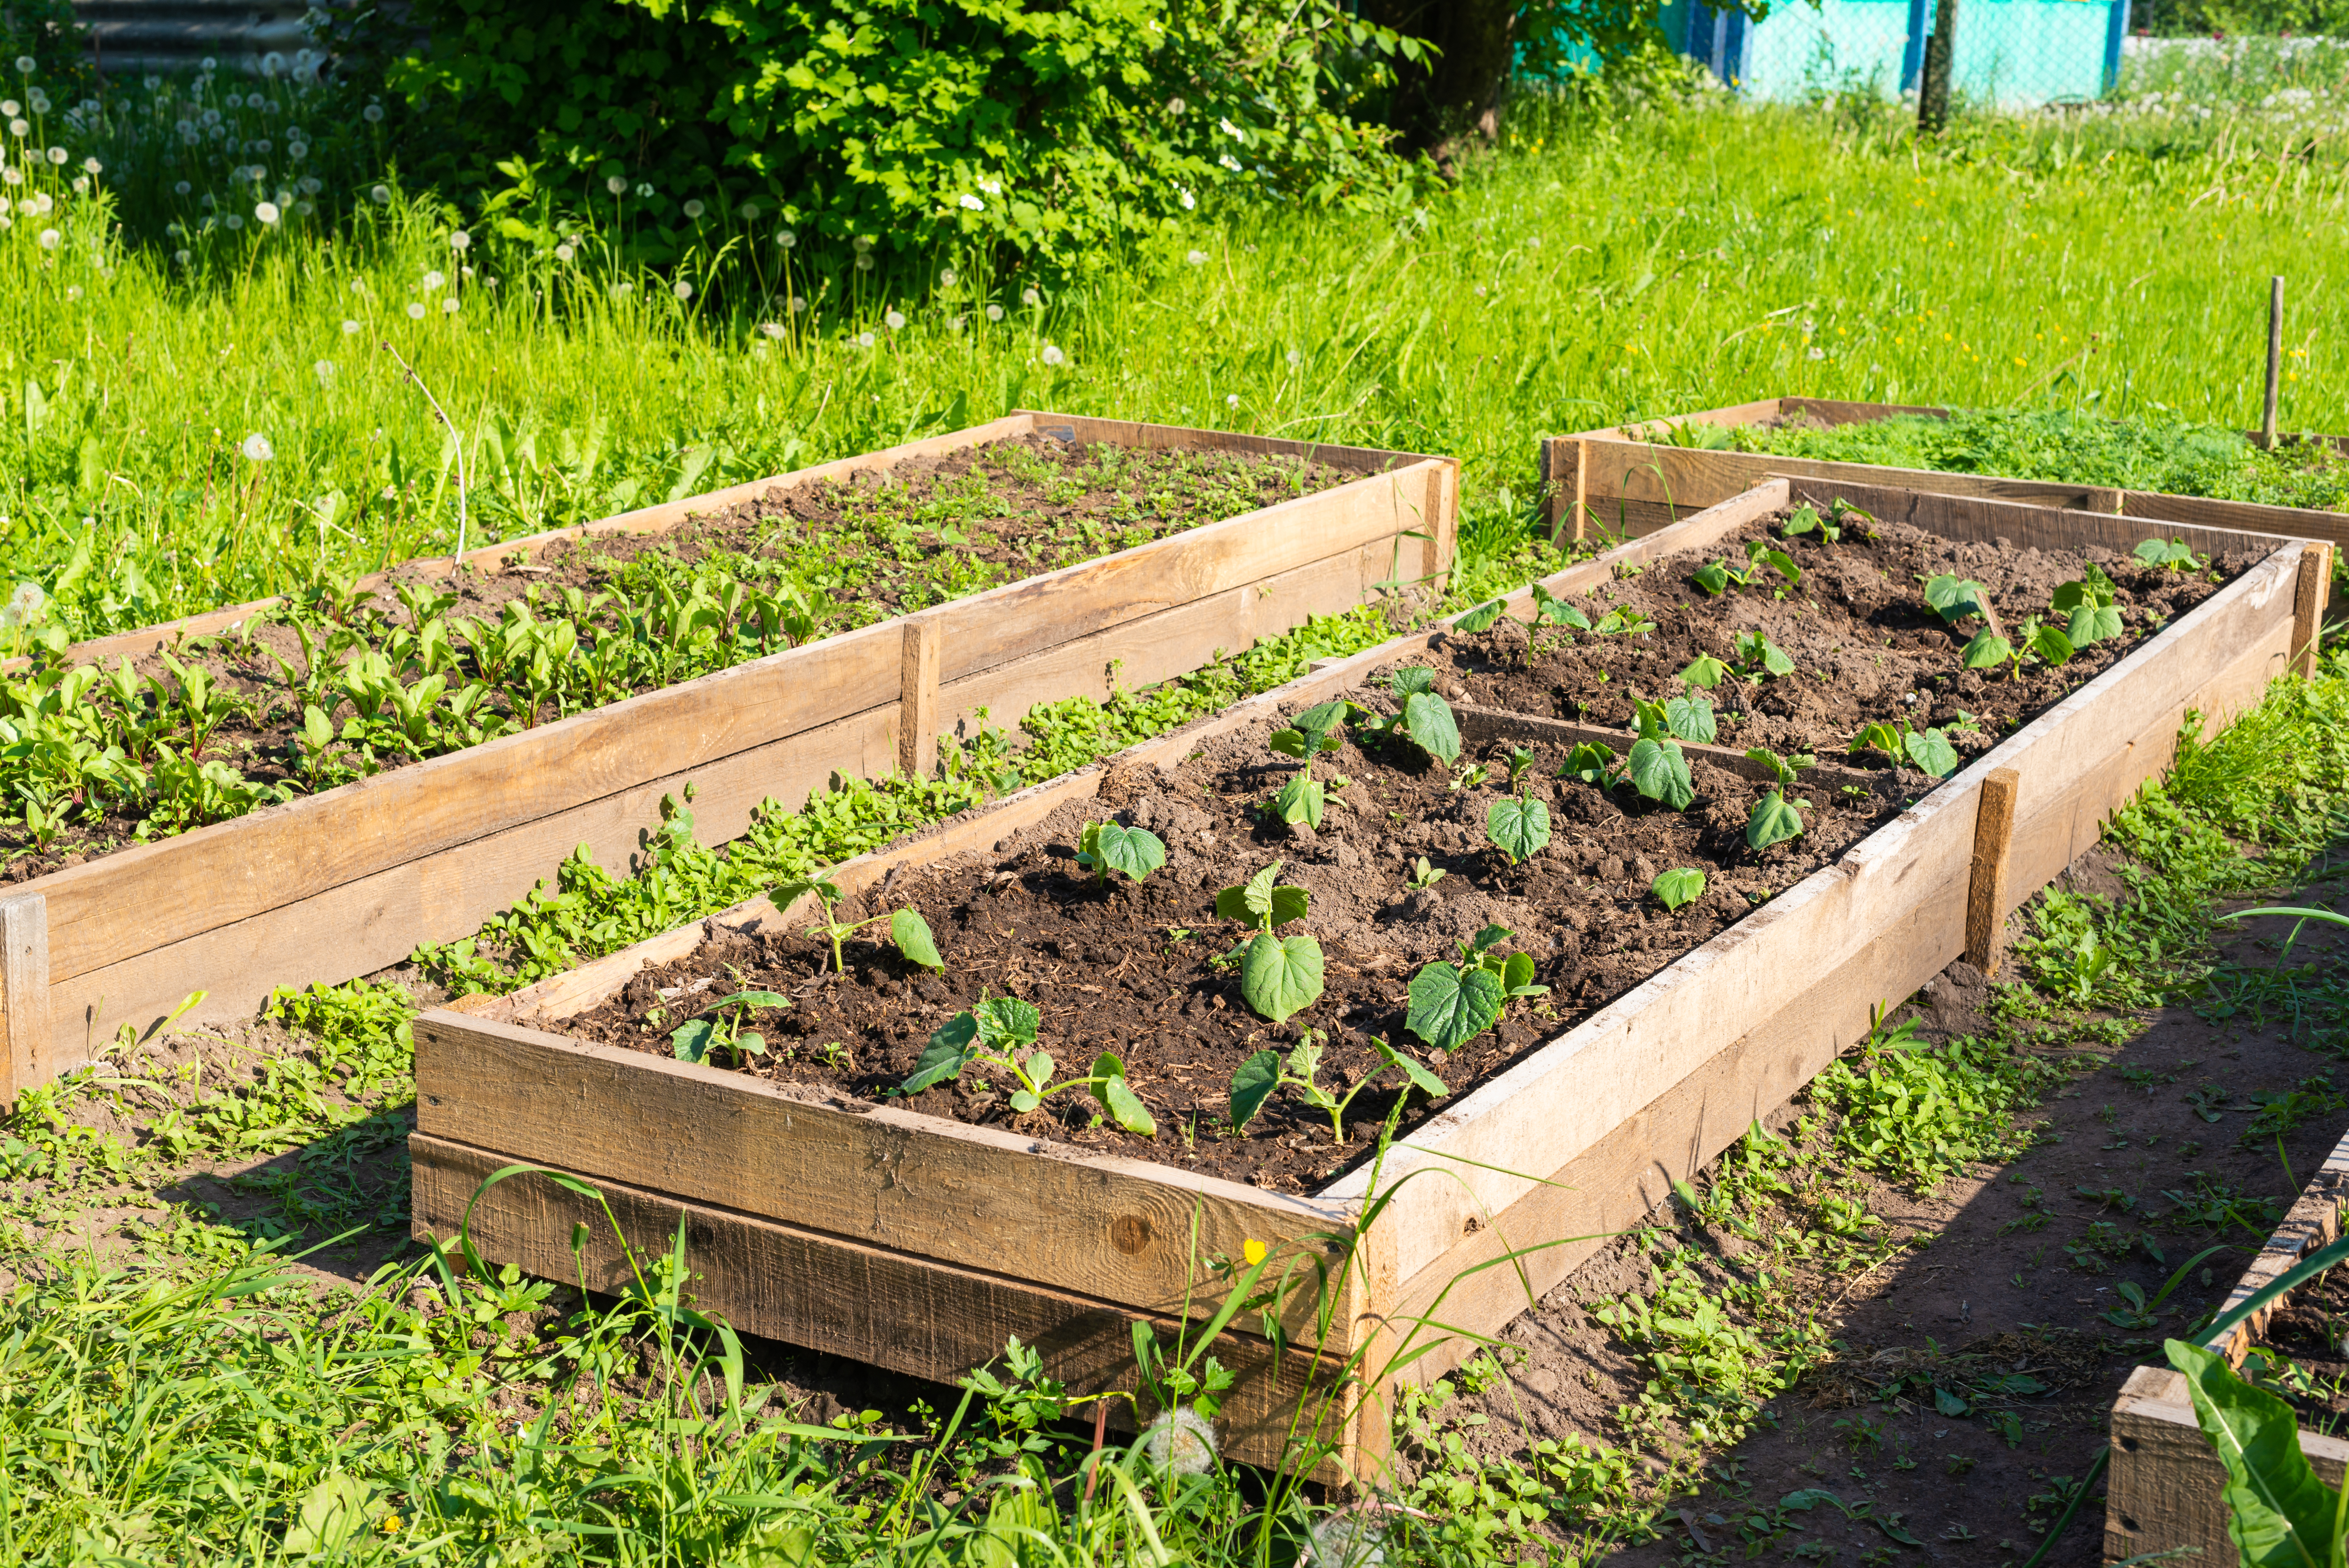
- Keep in mind that soil in raised beds will typically warm up faster because the volume of soil is lower and it’s exposed to warmer air.
- Black plastic silage tarps can be used on the soil surface to help capture the sun’s heat and warm the soil. Clear plastic sheeting will warm the soil even more quickly and will ‘solarize’ the soil- which helps to kill soil-borne pathogens but may also harm beneficial soil life.
- You can also apply a thick layer of well-aged compost onto the surface of the soil to plant into.
Different crops have different preferred soil temperatures for germinating and growing. There’s no rush to get heat-loving crops in the ground if the soil isn’t yet staying consistently warm enough for them to grow.
Ensure the soil is dry enough to work
Soggy soil can be a problem in springtime with rainy weather and snowmelt (in some areas) saturating the ground. Wet soil ideally shouldn’t be walked on or worked as this can cause compaction and degrade the soil structure. Soil that is too wet can also cause seeds and seedlings to rot.
Some of the same techniques that can be used to warm the soil can also help the soil to dry out for spring planting. Tarps help to protect the soil surface from excess rainfall, and raised beds typically drain faster than in-ground beds.
If you consistently have drainage issues especially in spring, consider building up your in-ground beds slightly and incorporate lots of organic matter throughout the season to optimize drainage. You may also want to use a thick layer of wood chips in garden pathways to minimize compaction and to keep your boots from churning up a muddy mess!
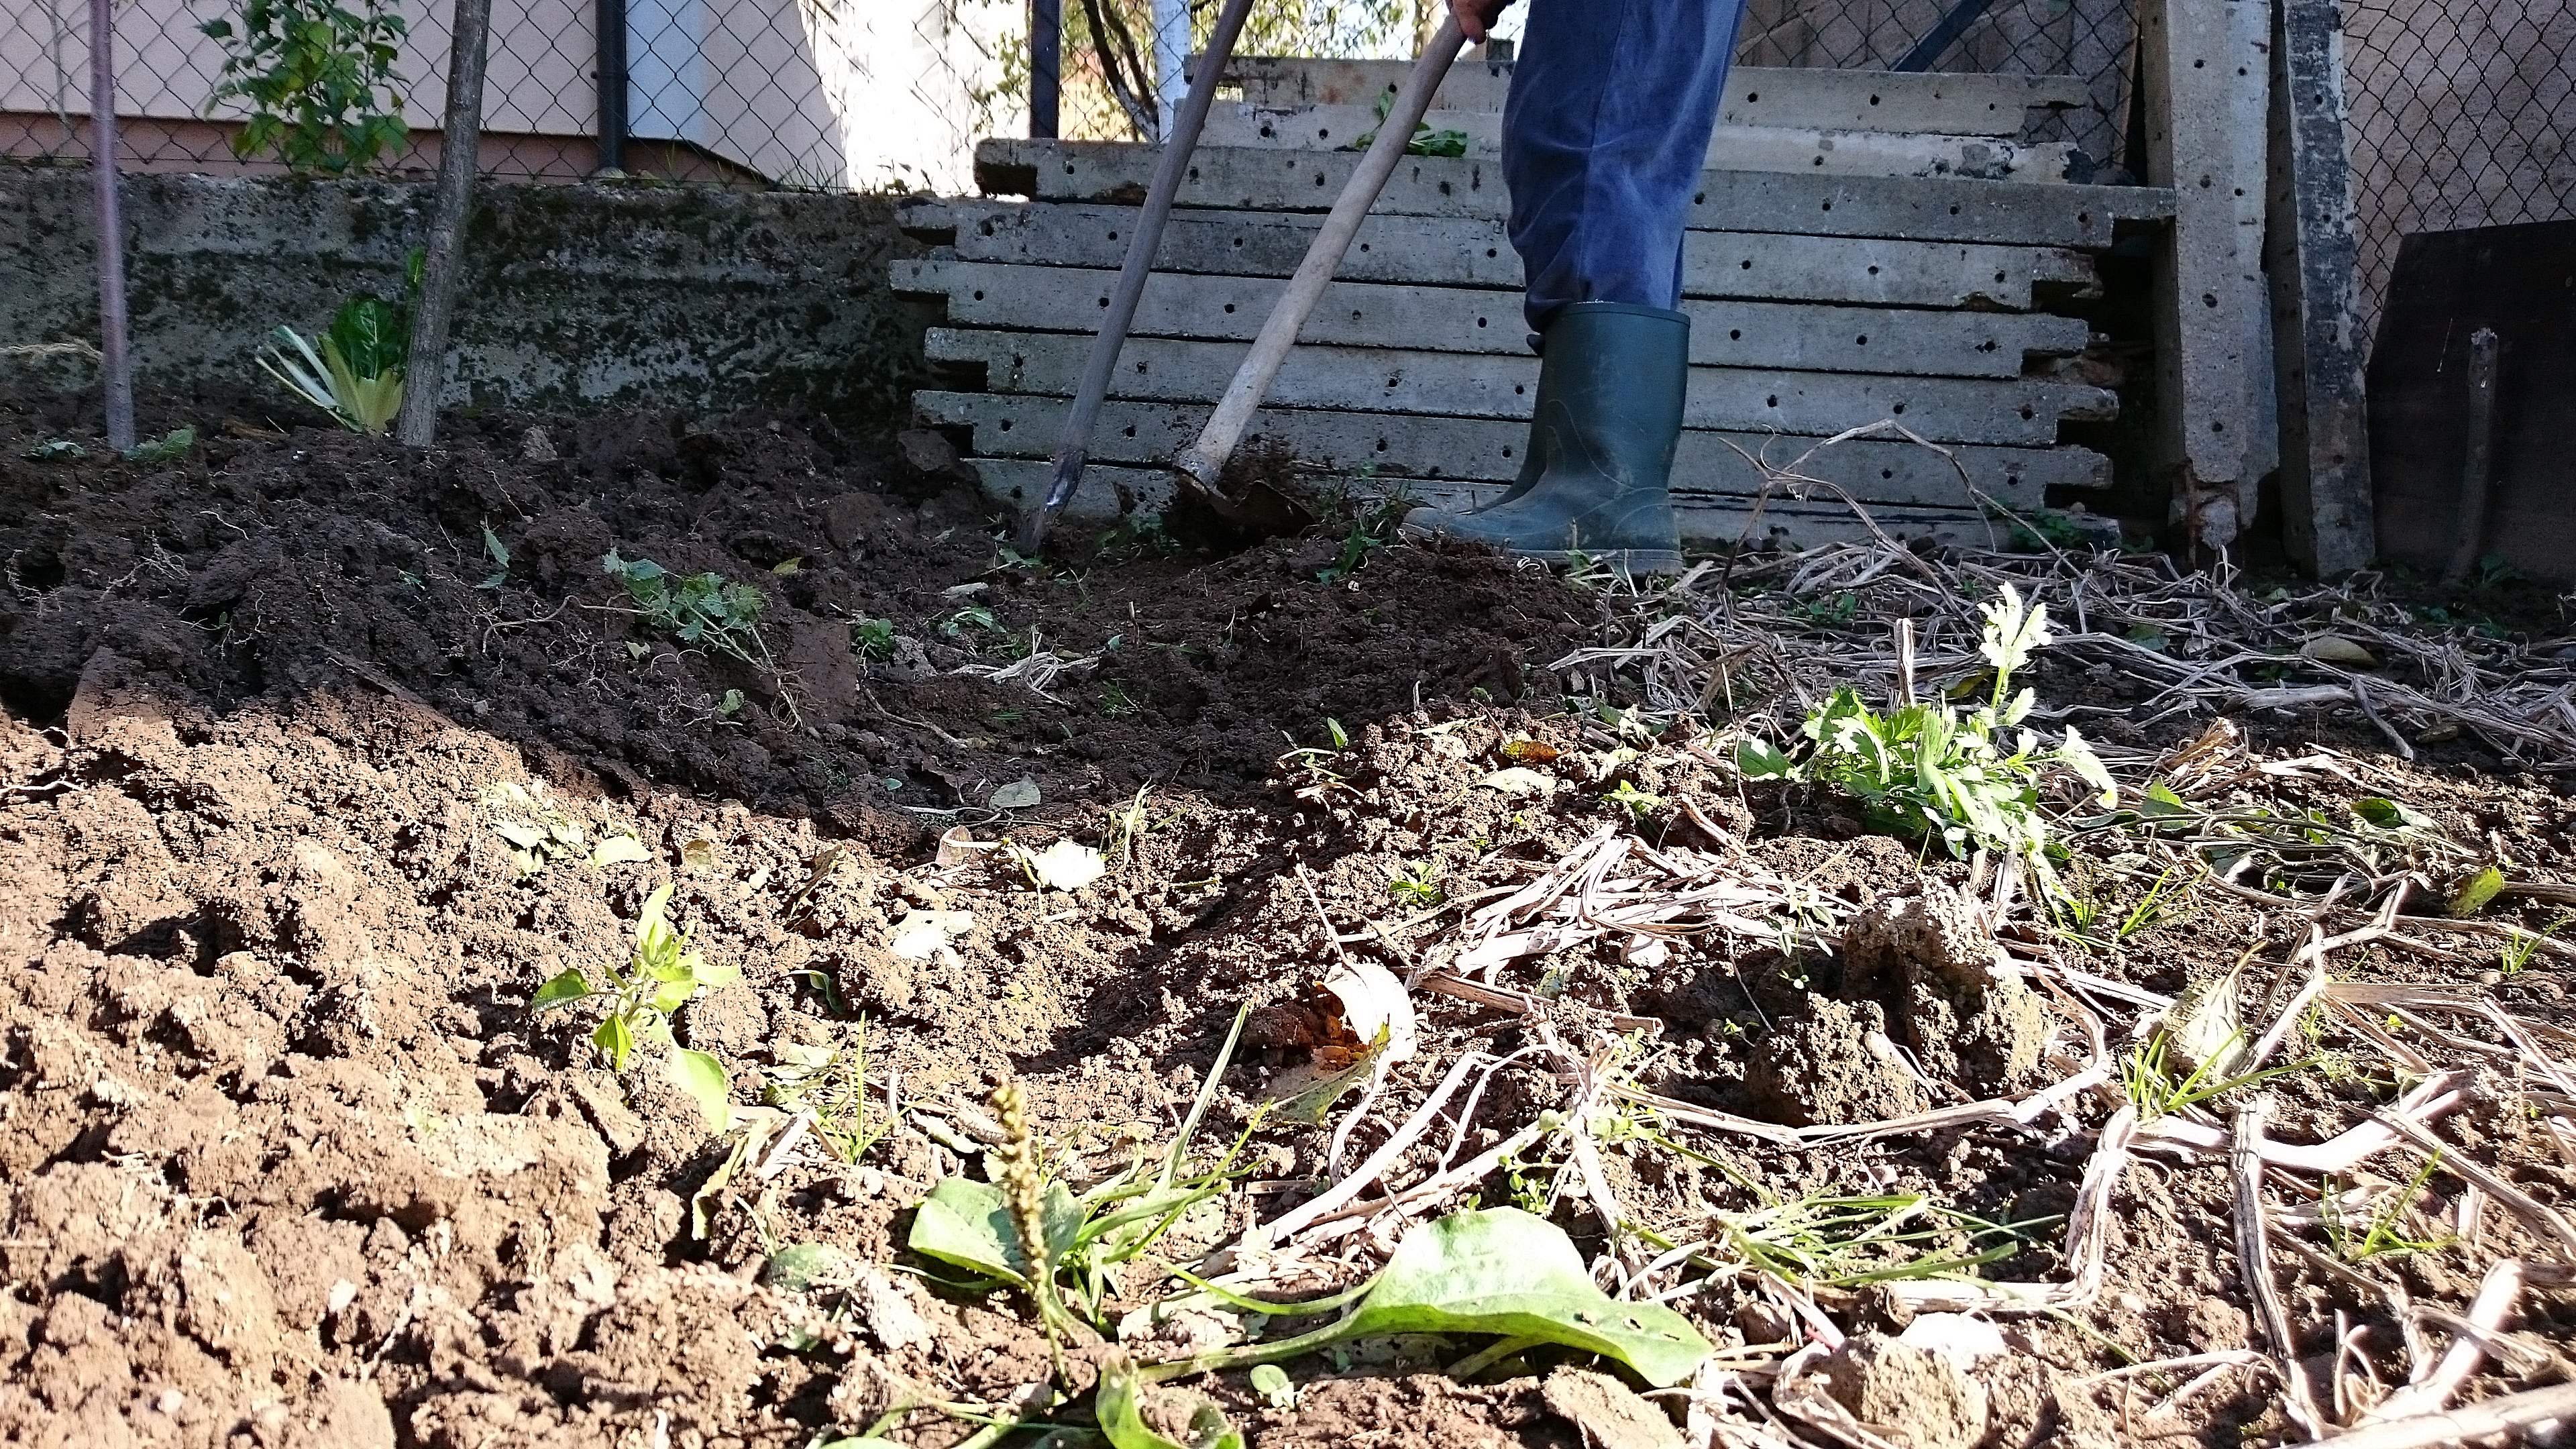
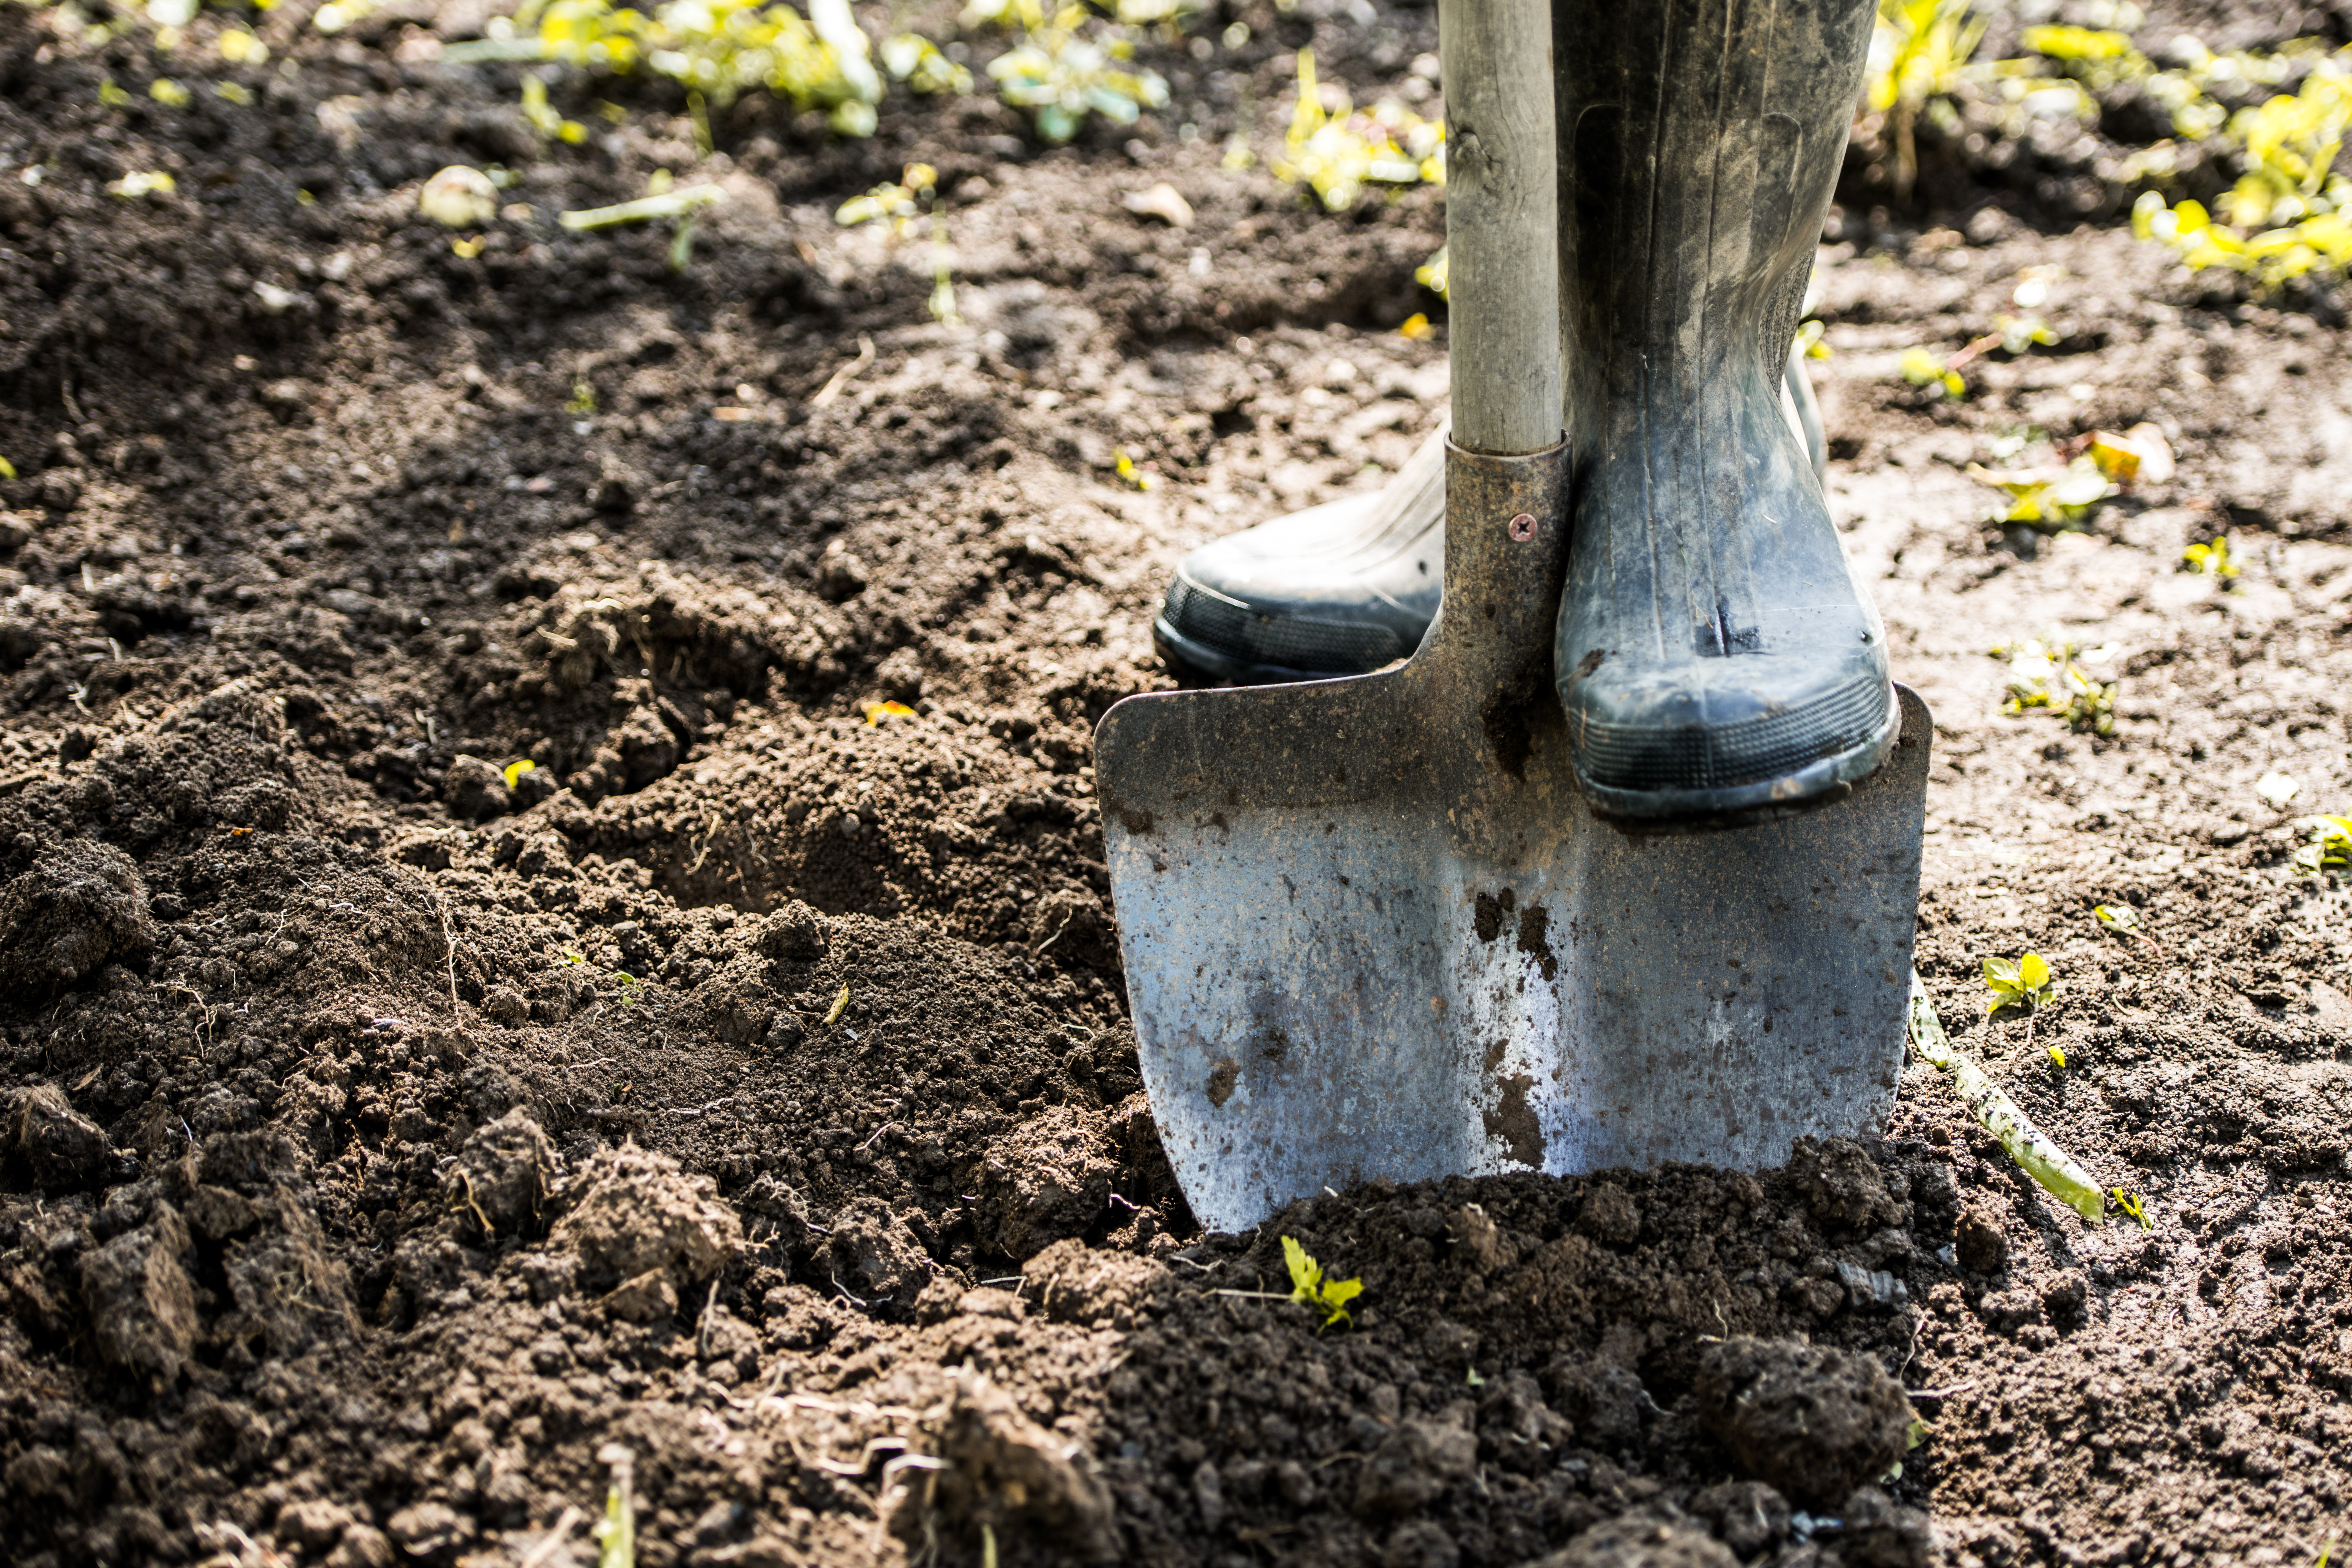
So how do you know when the soil is dry enough to be worked? You can test this by forming a ball of soil in your hand and applying gentle pressure to it- the soil should crumble easily rather than sticking together or forming a ‘ribbon’.
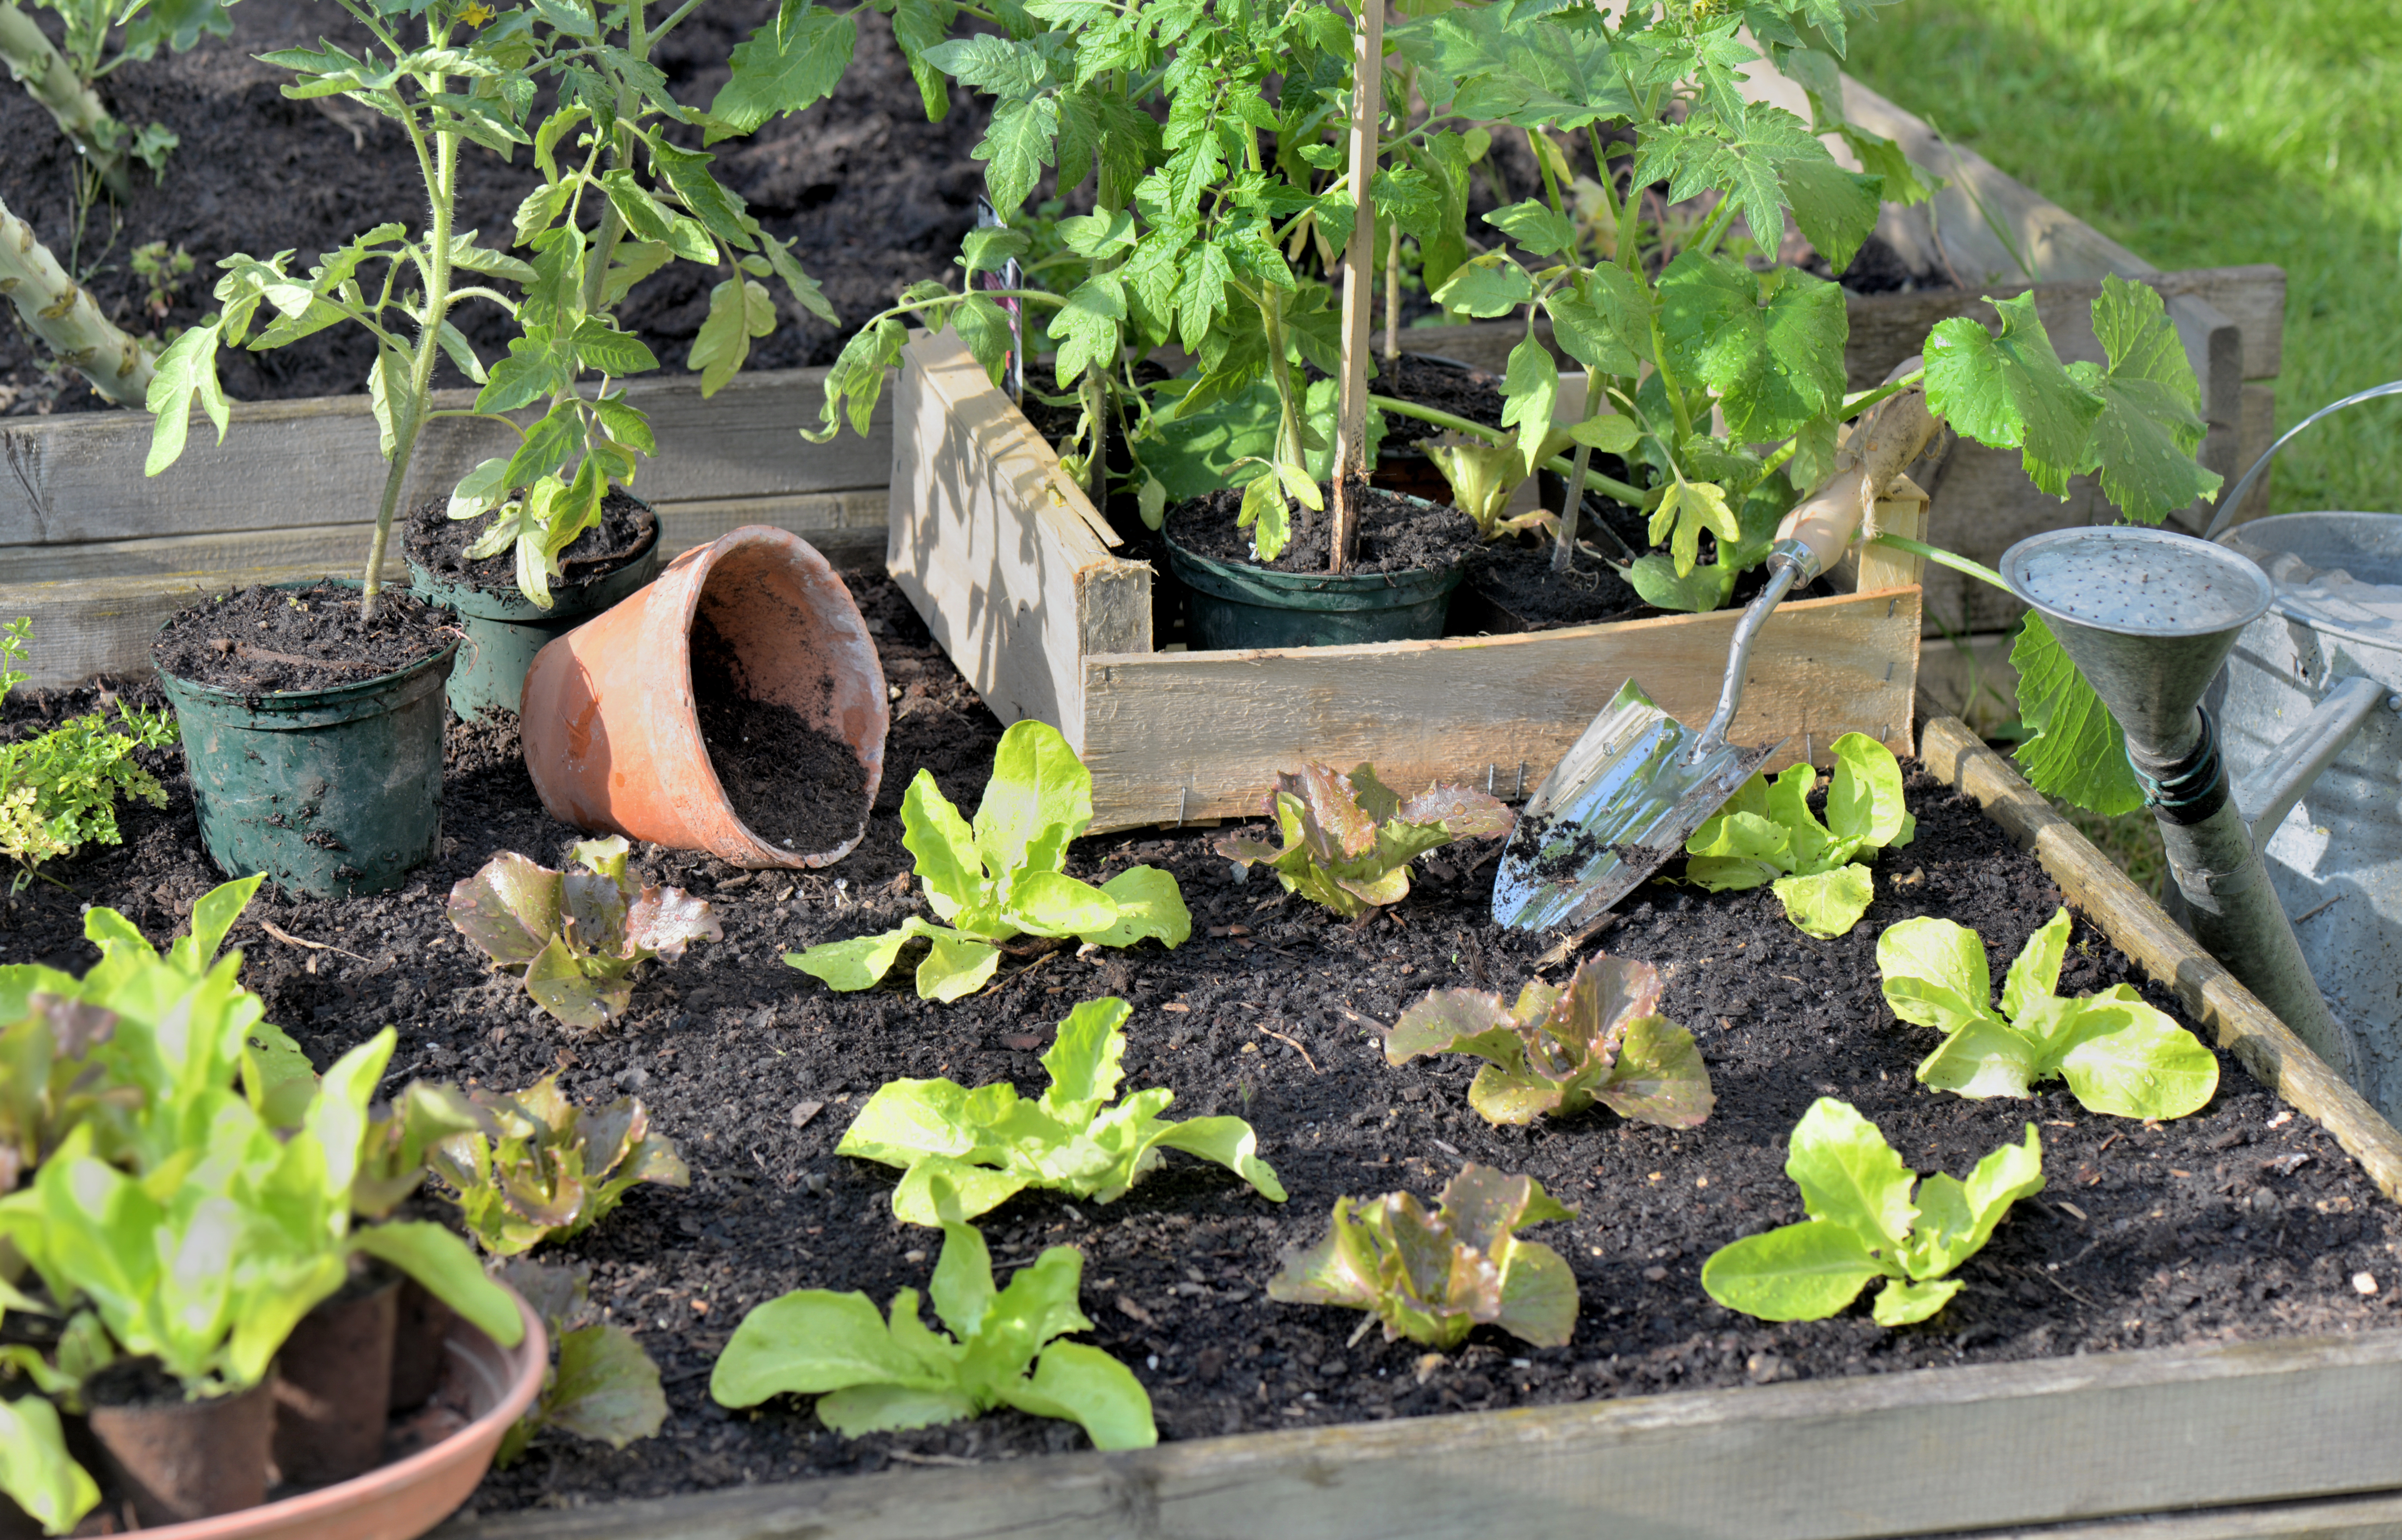
Clean up leftover plant debris
Many gardeners leave some plant debris in the ground over winter to help feed the soil and provide shelter for overwintering beneficial insects. In most cases you’ll want to remove dead plant debris in the spring to to create a clean, level surface to seed or transplant into. Sometimes you can leave dead plant roots in the ground and simply cut off the stems at ground level, amend the soil, then seed or transplant around them. If the roots are too thick and it’s awkward to plant around them, pull them out and compost them.
Tackle problematic weeds
While you garden beds are still empty in spring, take the opportunity to tackle persistent weed problems. If you’re dealing with nasty perennial weeds with underground root systems you may want to dig or fork them out before any plants go in. If you’re dealing mostly with annual weeds that are spreading by seed, you might want to limit the amount of cultivation you do in spring and instead consider applying a thick layer of well-aged compost as a mulch that can help prevent weed seeds from sprouting and reaching the soil surface. Tarps can also be used strategically to help kill off weeds before planting. Research your most problematic weeds to see if there are specific steps you can take in spring that will save you from weeding headaches (and backaches) throughout the season.
Add soil amendments and nutrients
Once the ground is workable, spring is great time to apply or work in compost to help build organic matter in the soil. If your soil is lacking nutrients, you’ll also want to apply fertilizer prior to spring planting. Just be cautious not to apply significant quantities of nitrogen around perennial plants too early in the season, as this can stimulate a flush of tender growth that could get killed off in a cold snap. If you need to raise or lower the PH of your soil fall is usually the best time to apply PH-changing agents, but if you missed the fall window go ahead and apply them in spring- better late than never!
Set-up garden infrastructure
As a final step to preparing your spring garden beds you’ll want to install garden infrastructure (e.g., trellises, stakes, arches, cages, irrigation lines) either just before or just after planting. If you wait too long to install infrastructure it can be difficult to delicately weave the structures, wires, and lines around larger plants, and you could damage the root systems by poking stakes into the ground.

It can be hard to spend the time in spring to properly prepare our garden beds- either because we’re eager to get planting, or because we’re eager to hurry inside and warm up our hands! But a well-prepared garden bed will lead to more abundant harvests throughout the season. So hold off for a sunny spring day, and spend a few hours to get your garden in shape for a successful growing season!