
When it comes to food preservation, there are countless methods to choose from. Canning, freezing, and drying are all popular options, but there’s one technique that often gets overlooked: root cellaring. Now, you might be thinking, “But I don’t have a root cellar!” Fear not, dear reader, for we are here to share with you the art of root cellaring without a root cellar. Yes, it is possible to store your fresh produce for months without the need for a traditional dedicated root cellar.
Advantages and Disadvantages of the Traditional Root Cellar
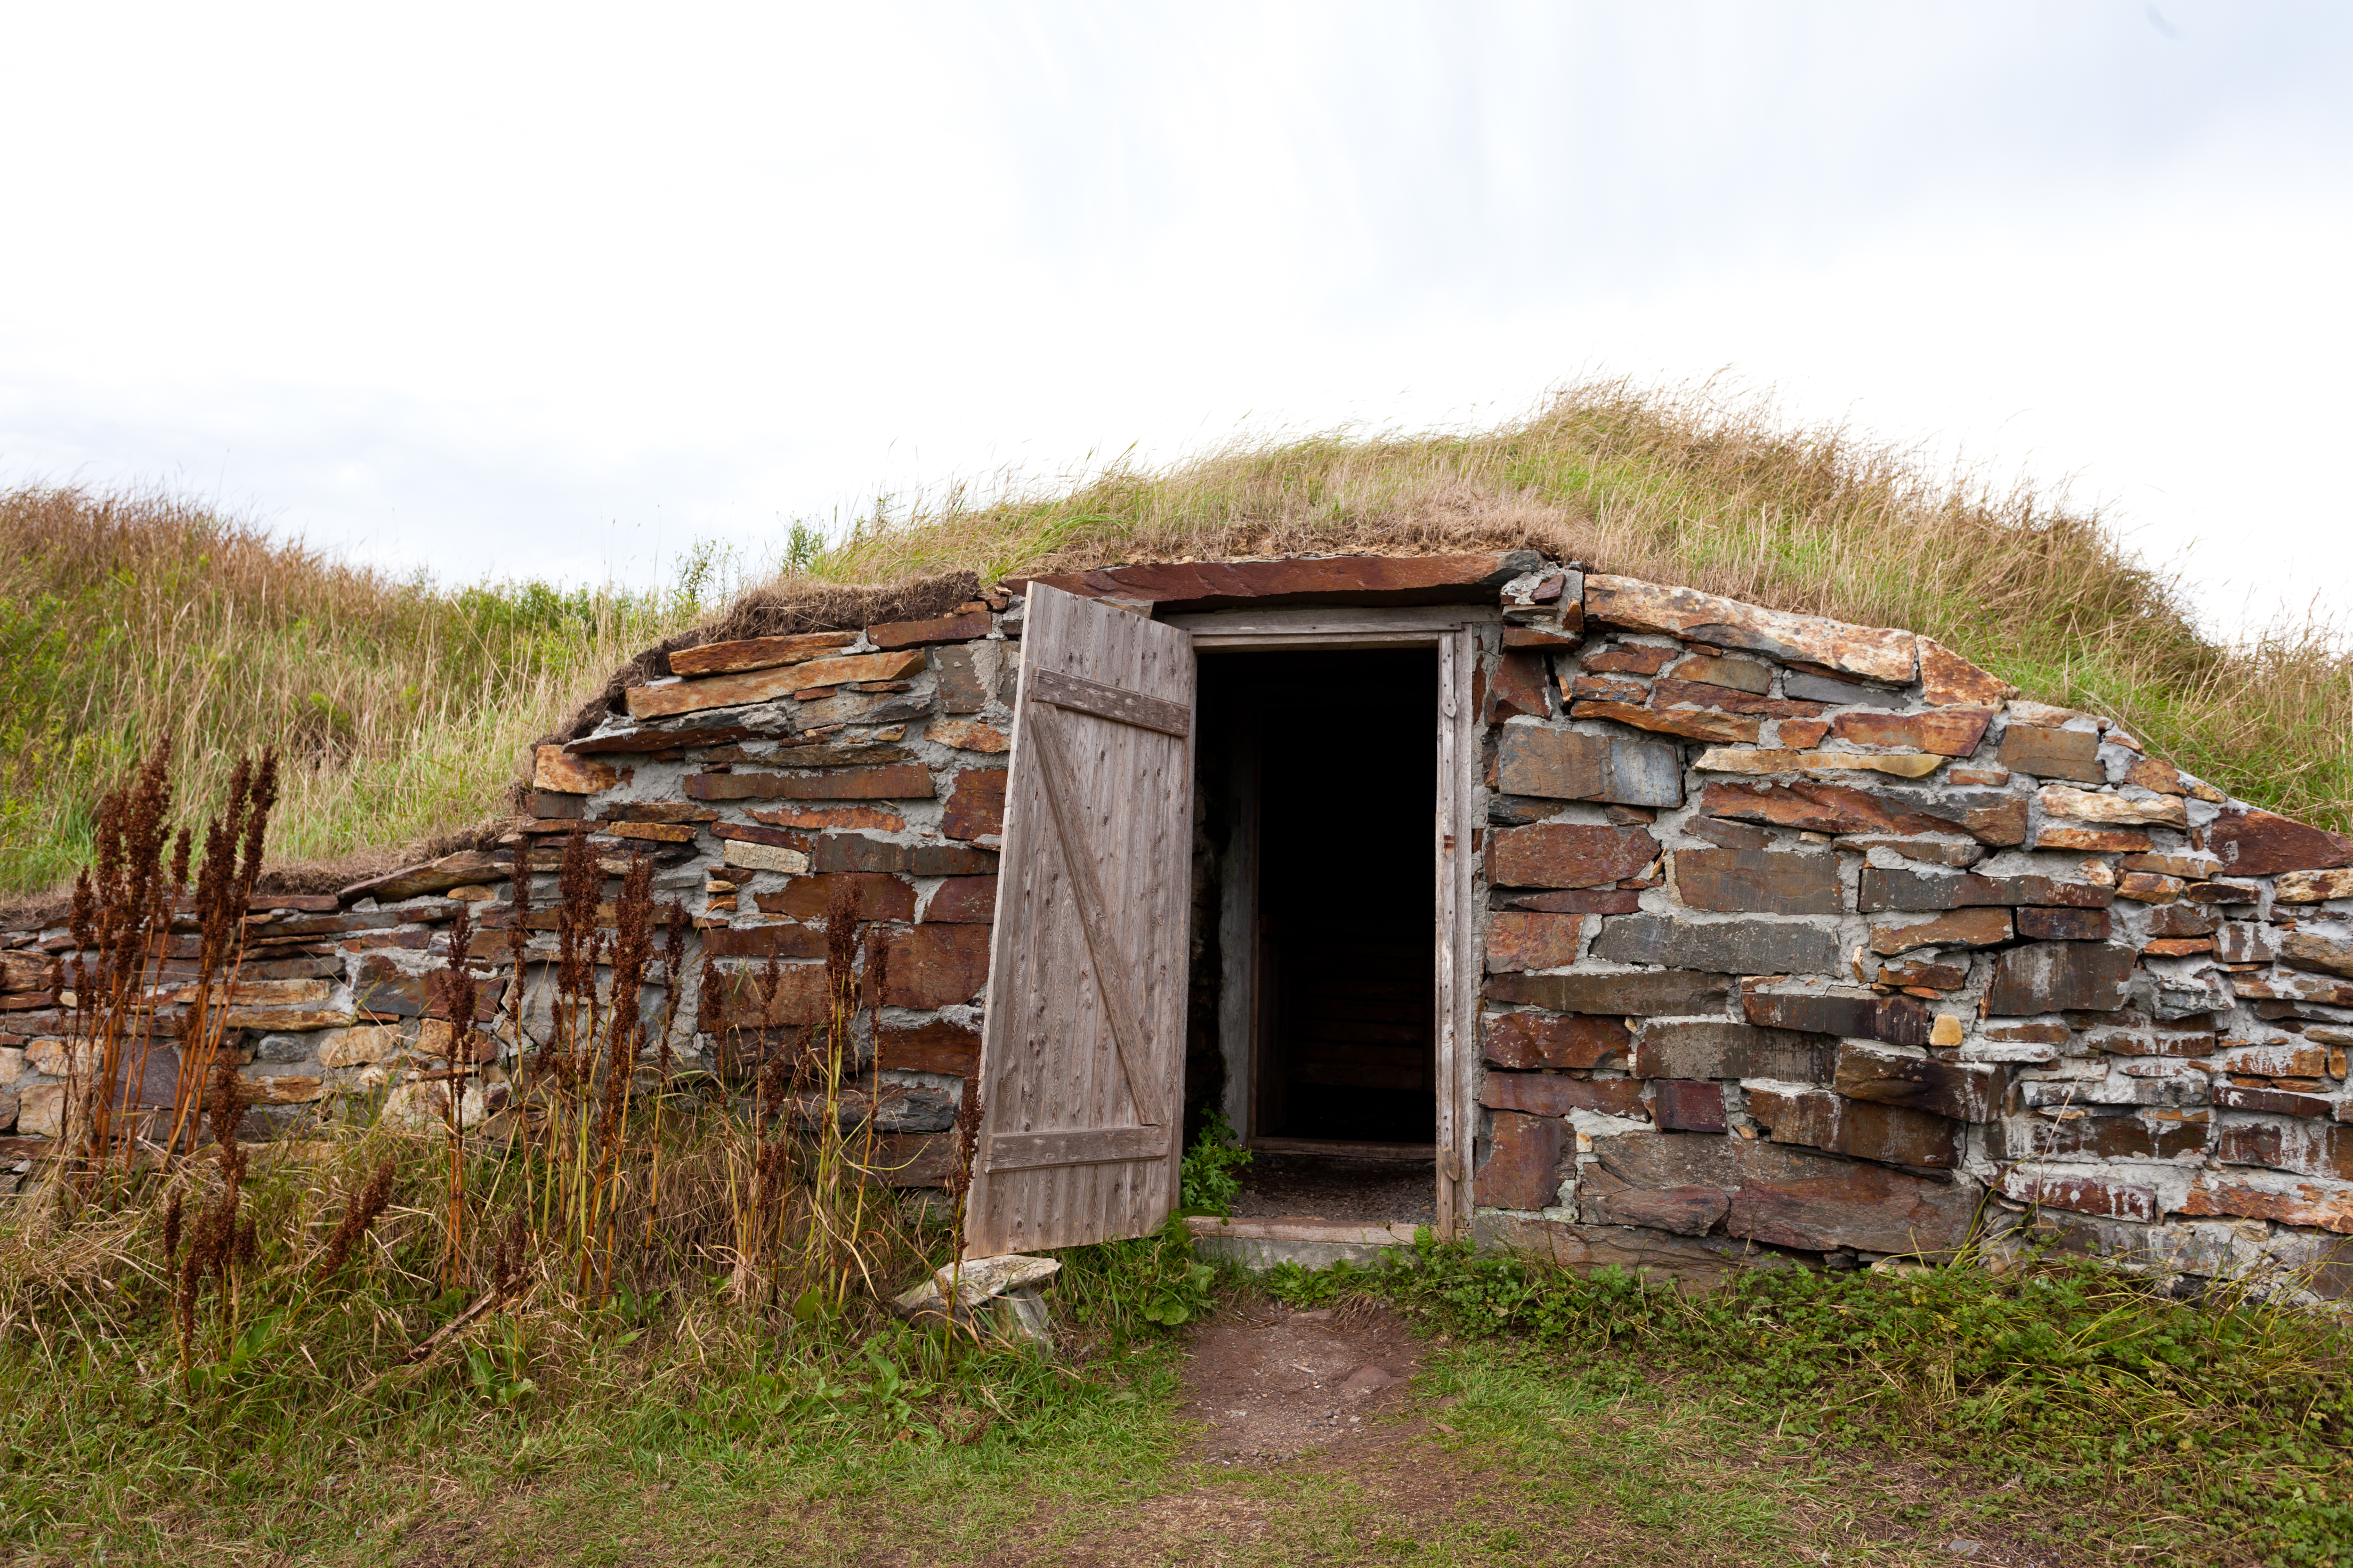
But first, before we delve into the alternative methods of root cellaring, let’s take a moment to appreciate the advantages of the traditional root cellars. The primary advantage, of course, is the ability to store a tremendous amount of produce in a comparatively small space. A well-built root cellar also provides cool, consistent temperatures as well as high humidity levels, that are ideal for storing root vegetables and other produce so they stay fresh and don’t dry out. They are also very convenient for easily walking in and out of to add or retrieve food.
However, there are a few disadvantages to consider. First and foremost, not everyone has access to a root cellar. And if you’d like to have one built, not many contractors regularly build these kinds of structures any longer so expertise is often lacking which can lead to a poor-quality root cellar. If you are a DIY’er, like many gardeners tend to be, building one yourself will likely still be expensive and time consuming. Furthermore, traditional root cellars require proper ventilation and monitoring to prevent spoilage or the growth of mold, so they are not something you just build and forget about. But fear not, for we have some creative, low cost, yet high value solutions up our sleeves.
Different Methods of Root Cellaring:
Mounds
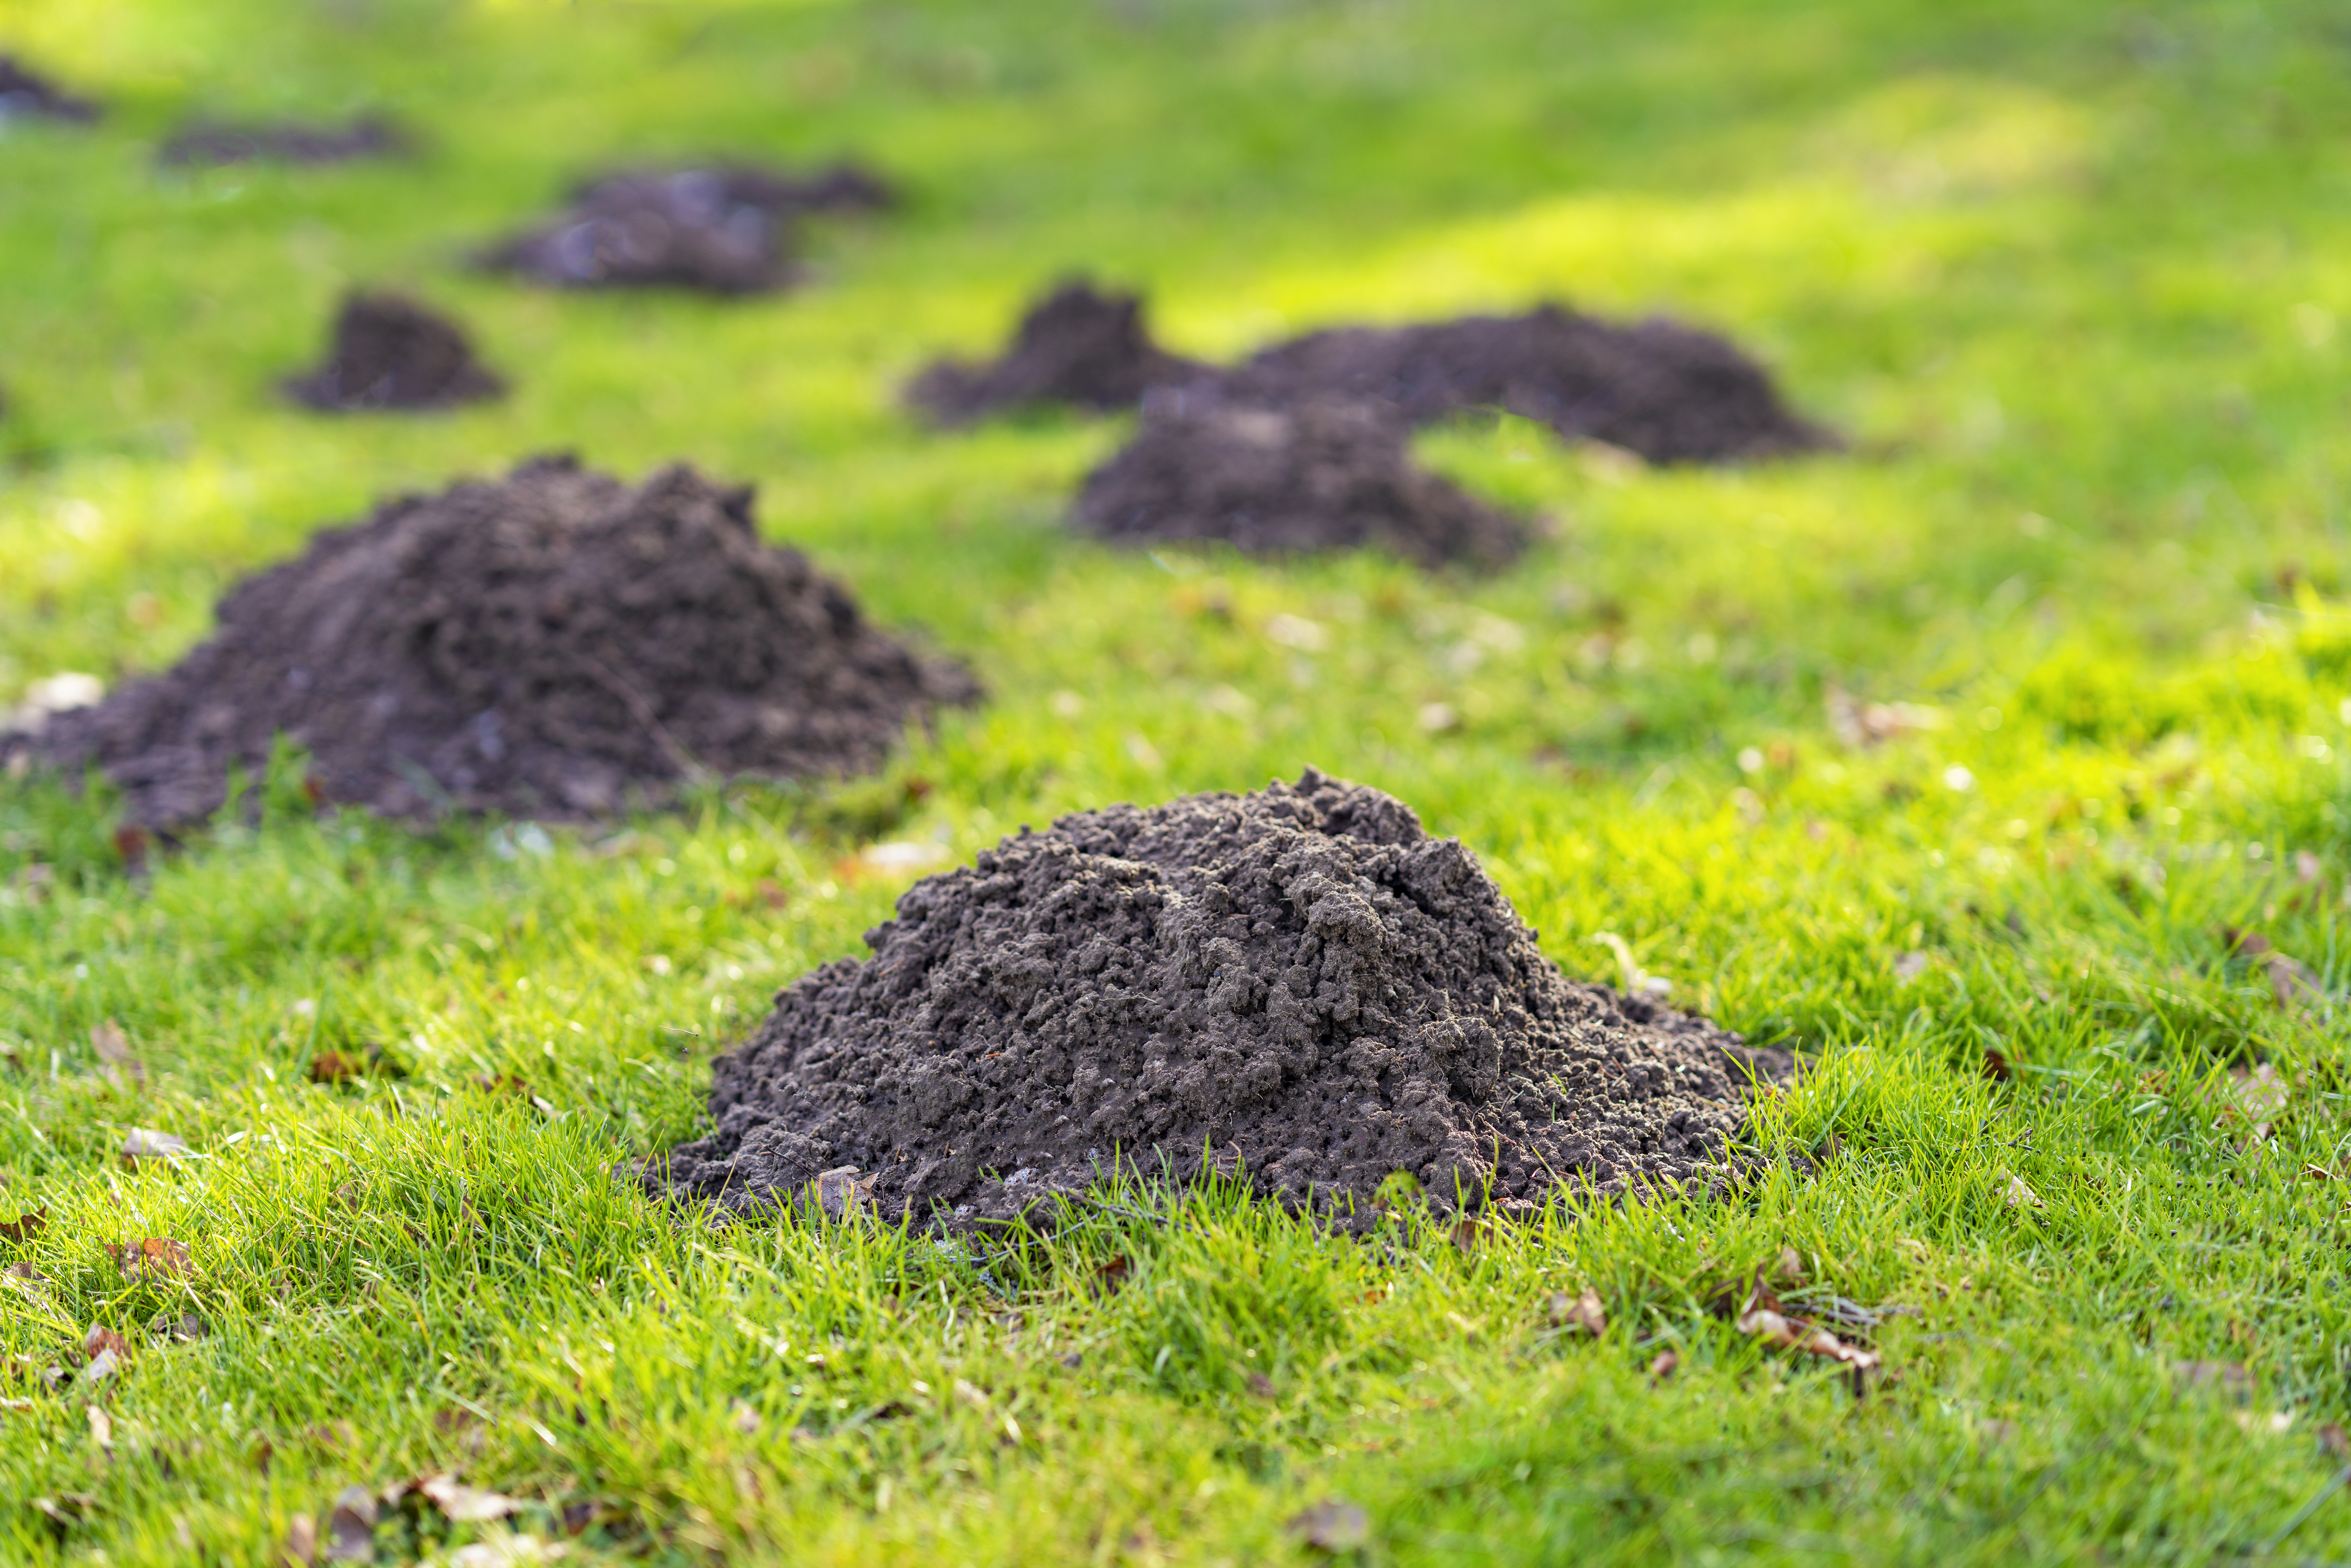
If you have a patch of land available, creating mounds is another option for root cellaring without a root cellar. Start by loosening the soil in your chosen area and shaping it into mounds. Place your vegetables in the center of each mound, making sure to cover them completely with soil. The soil acts as a natural insulator, protecting your veggies from extreme temperatures. Just remember to mark the location of your mounds so you can easily find them when it’s time to retrieve your stored produce.
Root Boxes
If you’re feeling handy, a root box might be the perfect root cellaring solution for you. This DIY project involves building a wooden box with slatted sides for ventilation. Line the box with straw or wood shavings and place your vegetables inside. The slatted sides will allow for proper air circulation while the insulation provided by the straw or wood shavings will help maintain a cool and humid environment. Place the root box in a cool, dark location, such as your basement, a well-ventilated garage, or even your attic and enjoy the convenience of having your own root cellar alternative.
Trenches/clamps
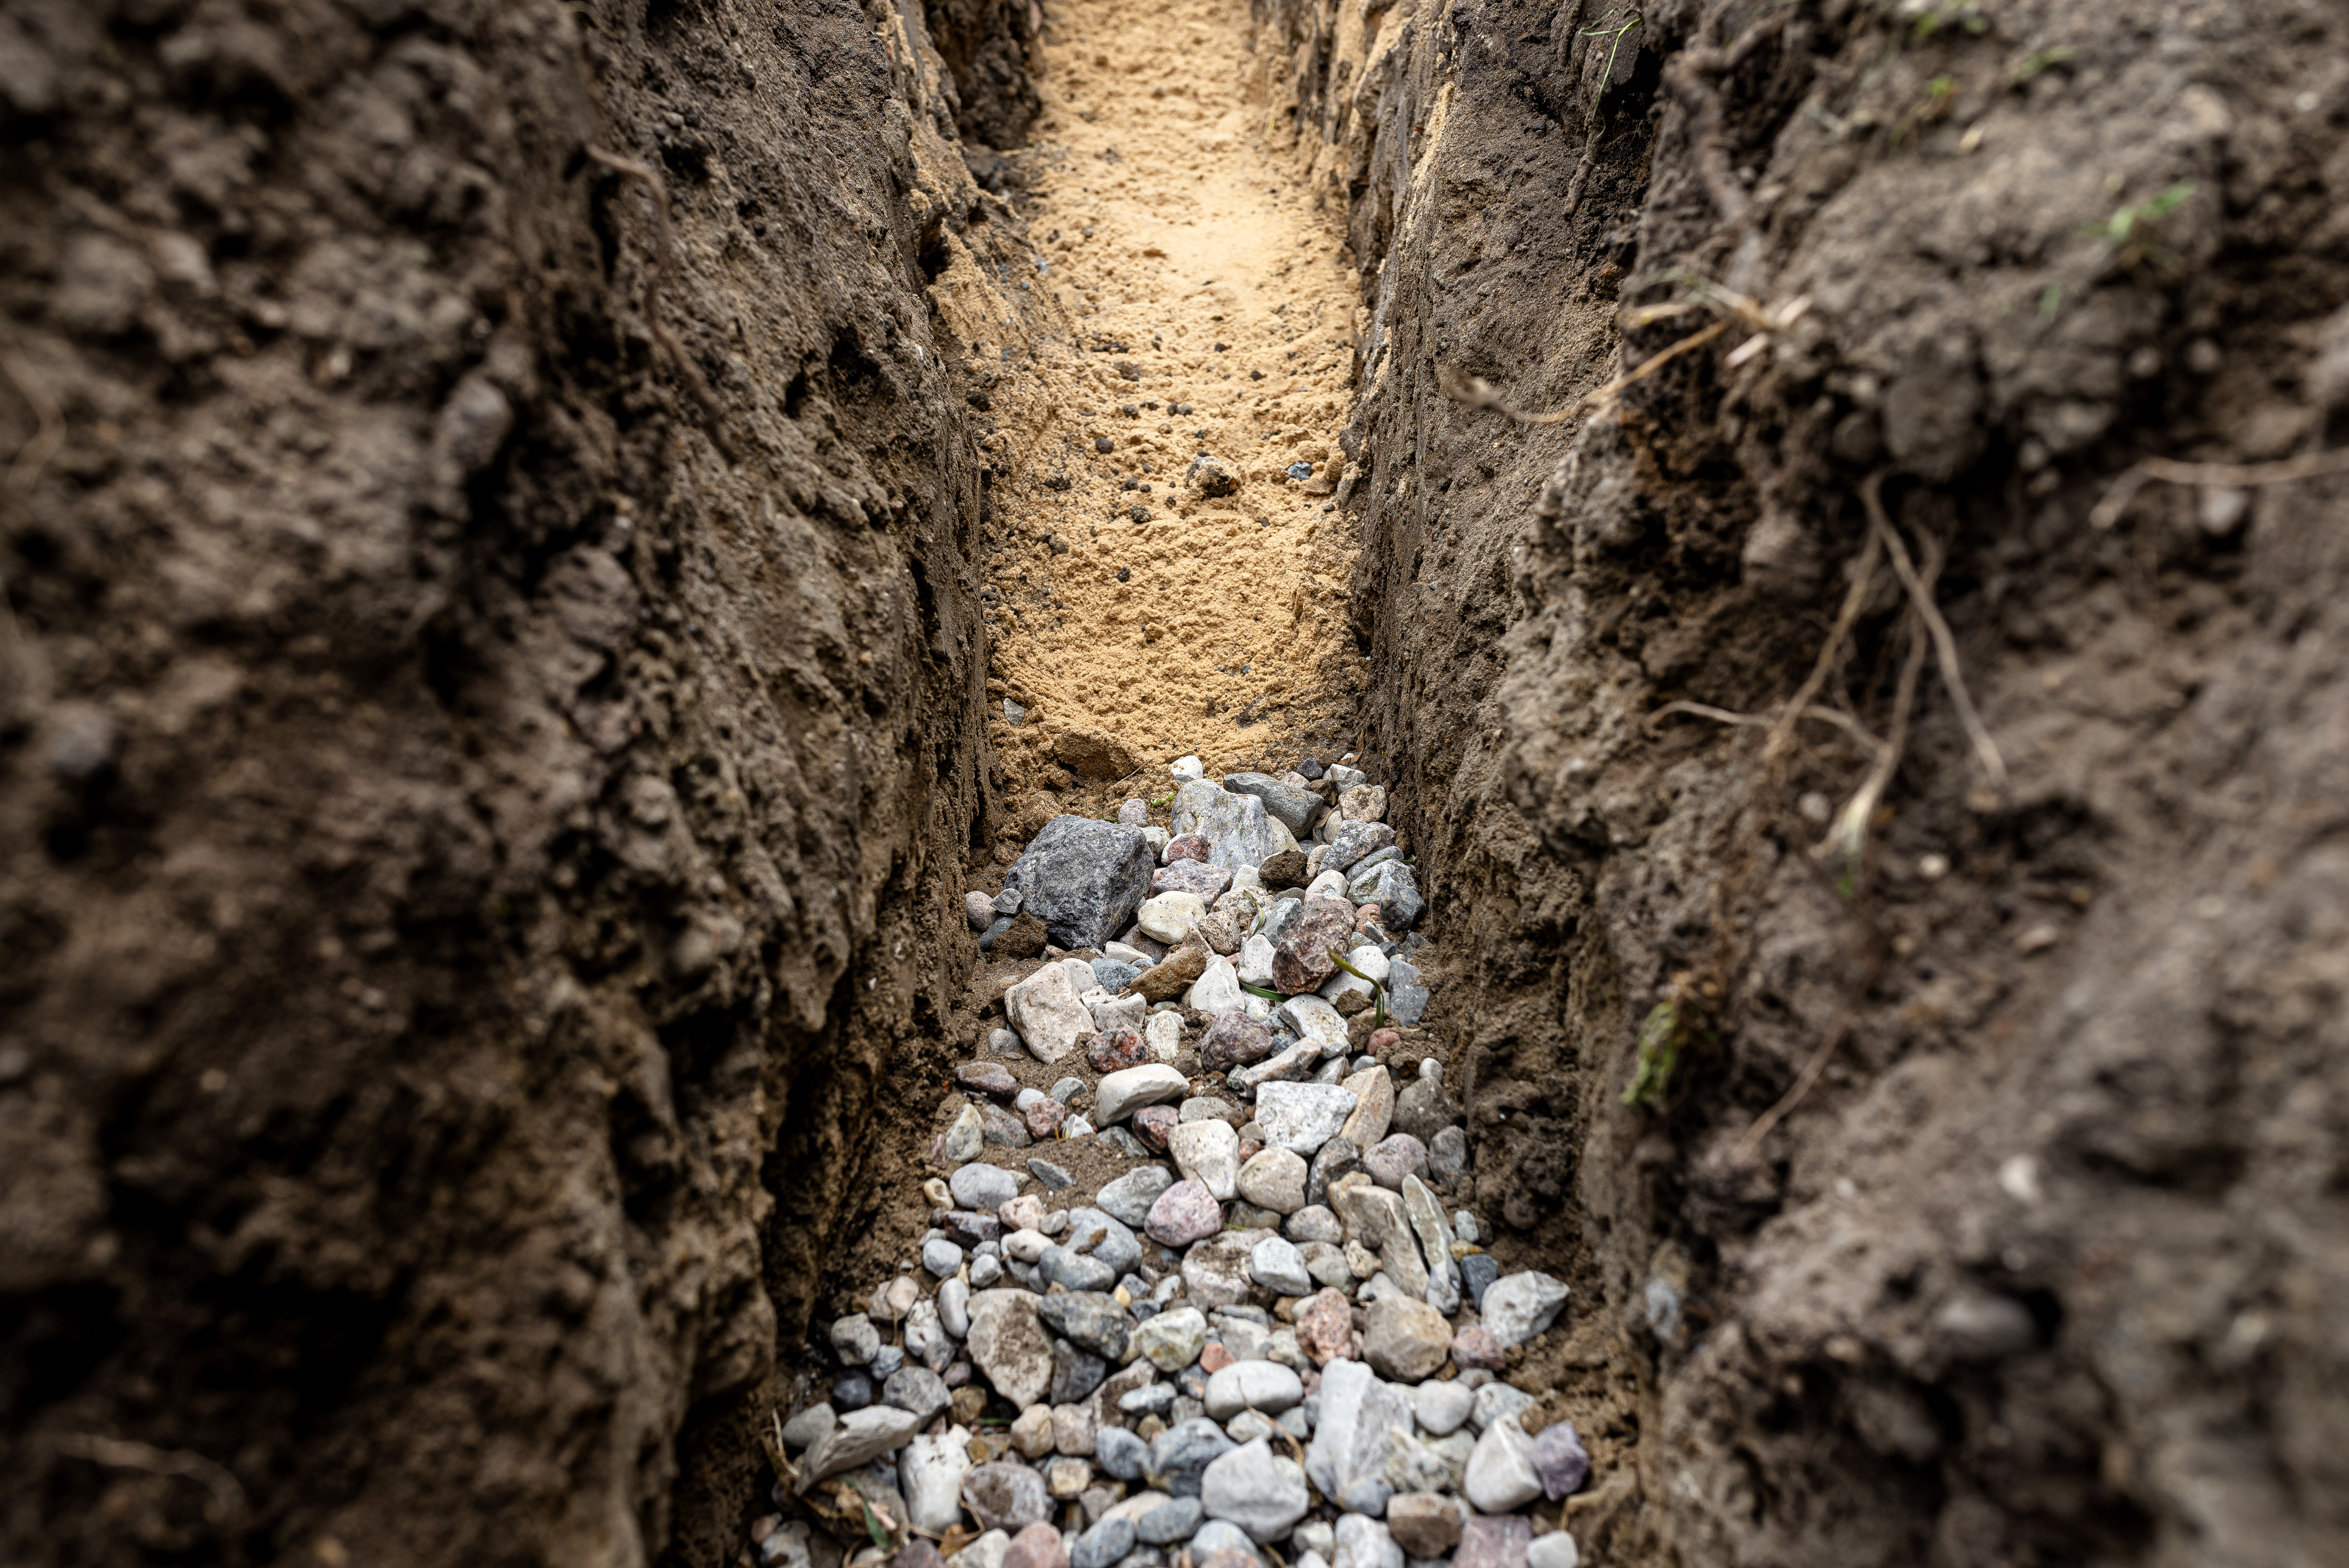
If you have a medium to large unused patch of yard, trenches are an excellent option for root cellaring without a root cellar. Dig a trench approximately one foot deep and place your vegetables inside, making sure they are not touching each other. Cover the vegetables with straw or leaves for insulation, and top it off with a thick layer of soil. If drainage is a problem in your area, you can also cover the bottom of the trench with a layer of gravel topped with sand before placing your vegetables inside. You can create multiple trenches for different types of vegetables or use one long trench for a variety of produce. Just remember to mark the location of your trenches for easy access when it’s time to dig up your stored treasures.
In-Row Storage
For those with limited space, in-row root cellaring is a space-saving alternative. Simply leave your root vegetables in the ground and cover them with a thick layer of straw or leaves. This provides insulation and protection from freezing temperatures. To harvest your veggies, simply remove the straw layer and dig them up as needed. This method works well for vegetables like carrots, beets, and potatoes that can withstand colder temperatures without spoiling.
Choose the Right Vegetables for Storage
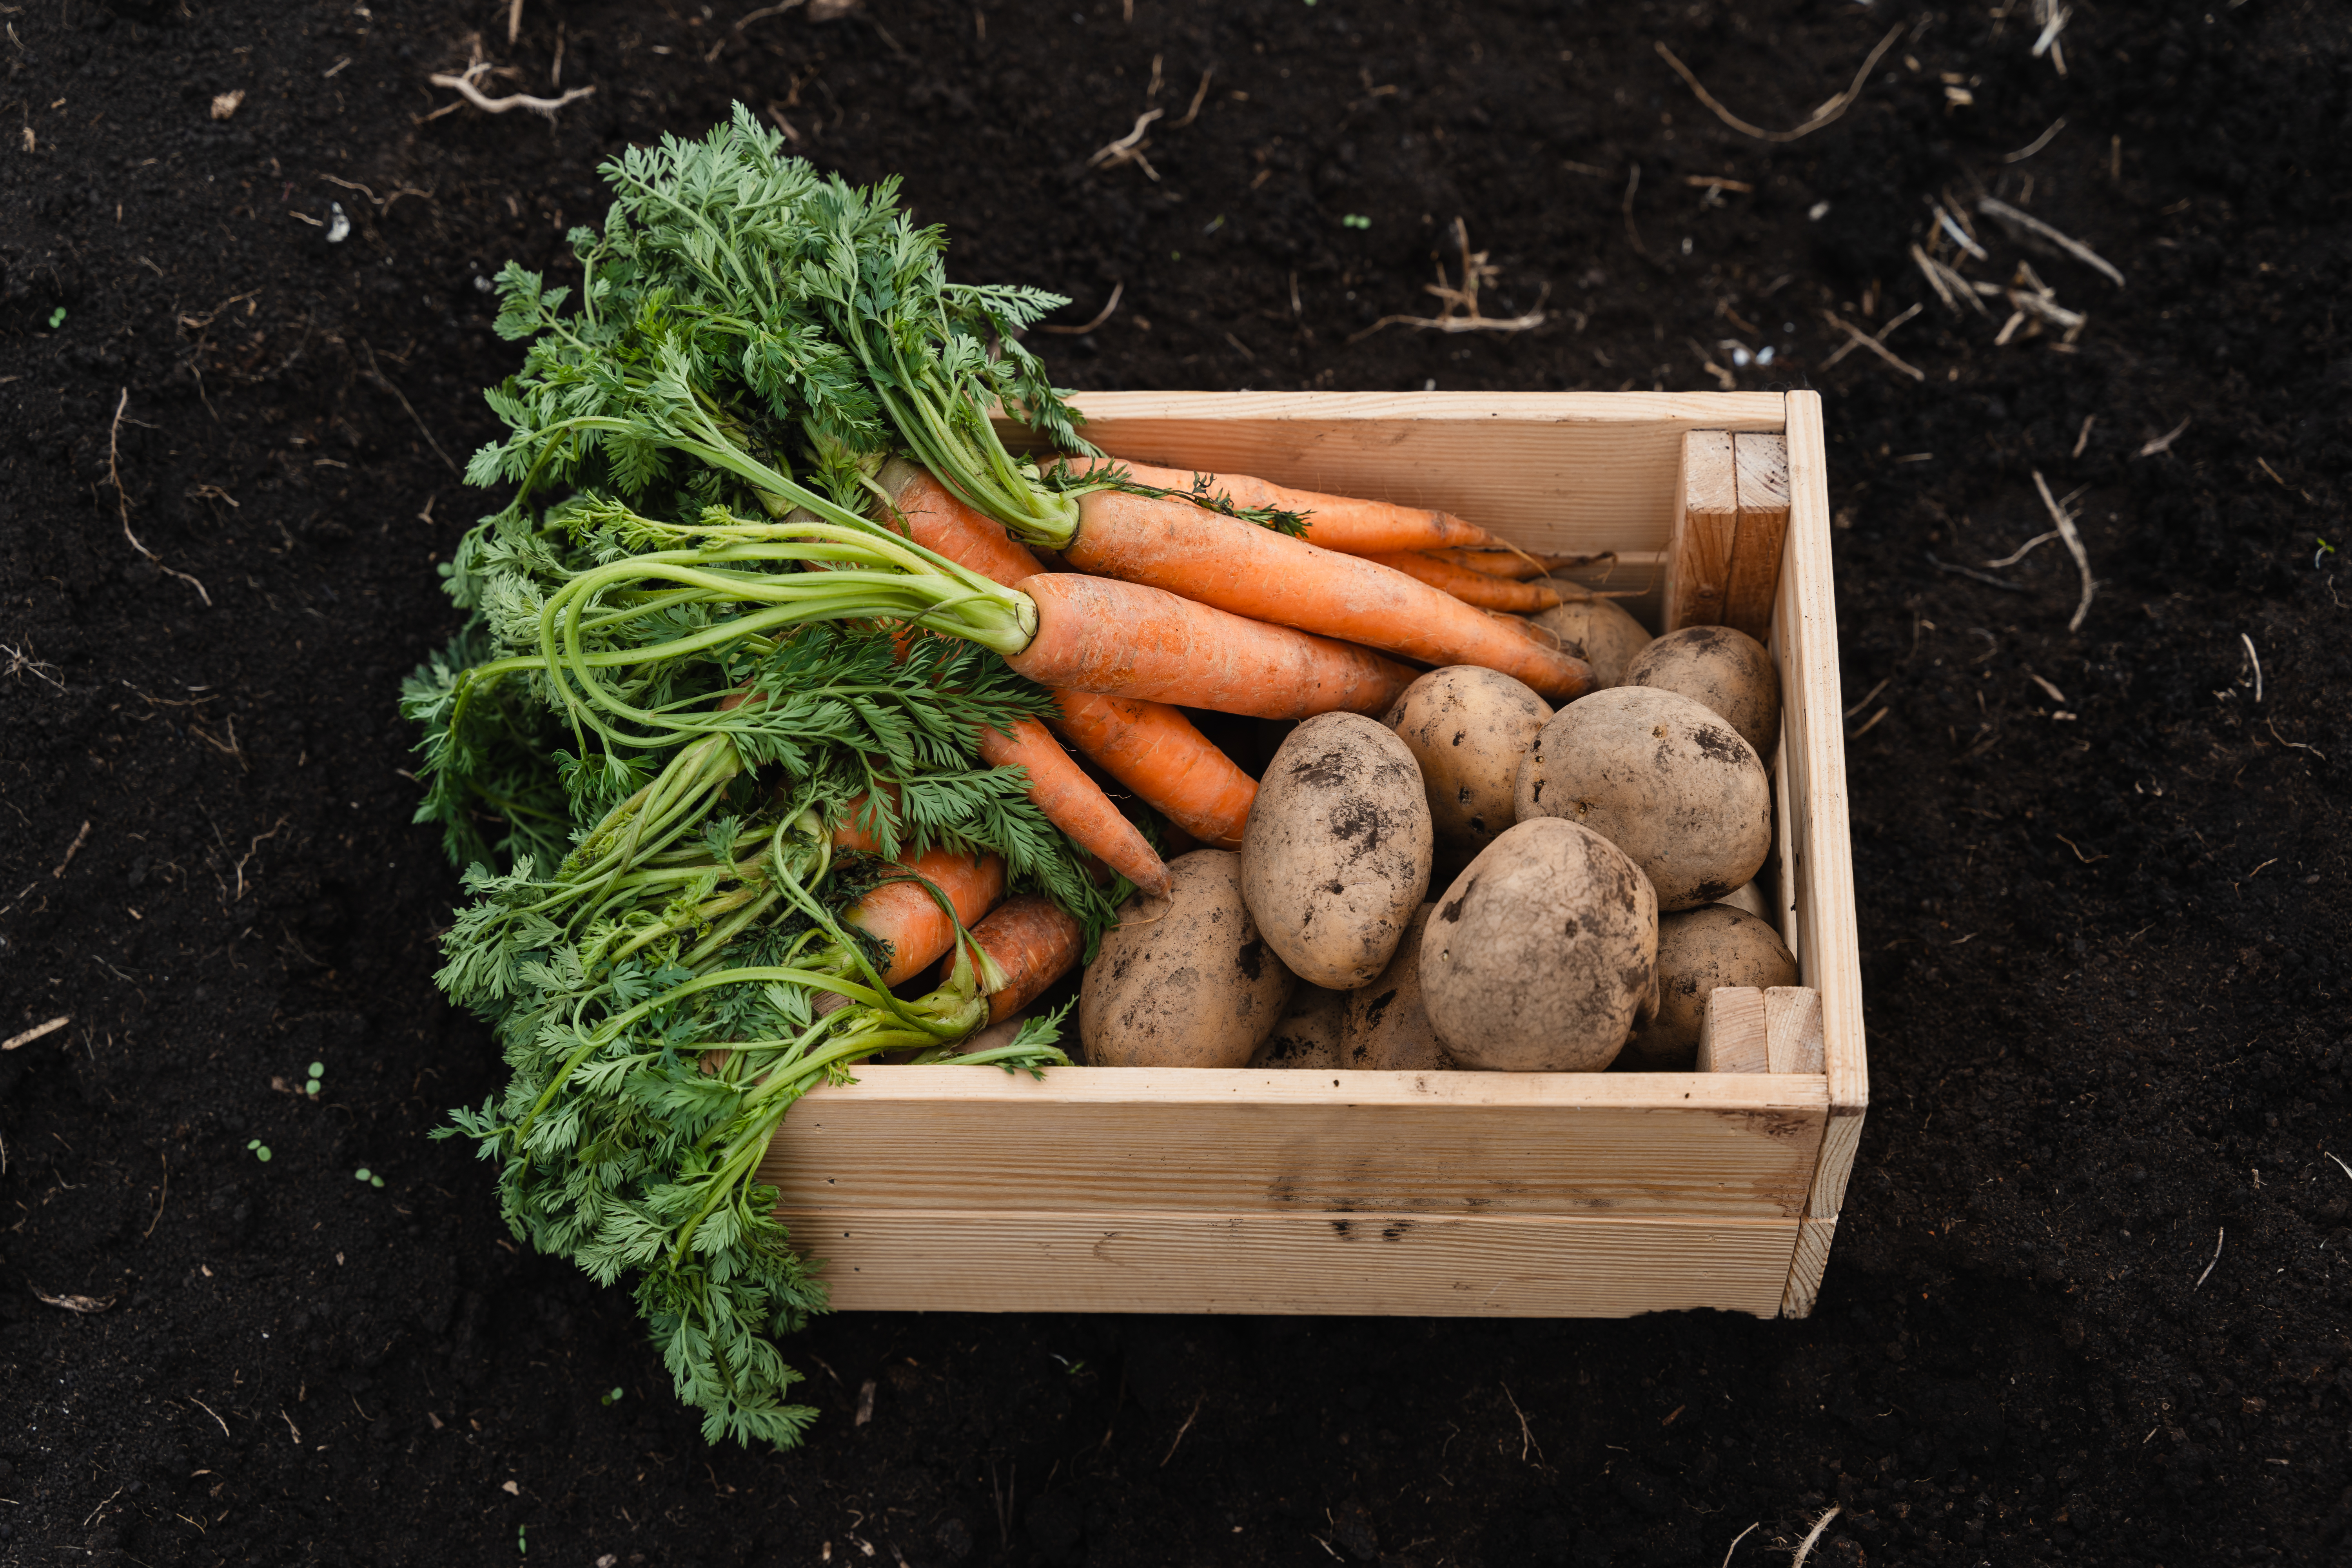
Not all vegetables are created equal when it comes to root cellaring. Some are better suited for long-term storage, while others will quickly turn into a mushy mess. So, before you embark on your root cellaring adventure, it’s important to choose the right vegetables. Root vegetables like carrots, beets, turnips, and potatoes are excellent candidates for long-term storage. These hearty veggies store extremely well in the cool temperatures and high humidity required for successful root cellaring.
On the other hand, vegetables like tomatoes, cucumbers, and peppers are not well-suited for root cellaring. These tender veggies prefer warmer temperatures and are better preserved through other methods such as canning or freezing. So, keep this in mind when selecting which vegetables to store without a root cellar. Now that we’ve got our veggie lineup sorted, let’s explore some alternative methods of root cellaring.
Tips for Successful Root Cellaring and Common Mistakes to Avoid
Now that you’re armed with plenty of root cellaring options, let’s go over some tips and common mistakes to ensure your root cellaring endeavors are a success.
#1 Temperature and Humidity Monitoring: Regardless of the method you choose, it’s crucial to monitor the temperature and humidity levels in your storage area. Invest in a thermometer and hygrometer to keep a close eye on the conditions. For most vegetables, aim for a temperature between 33°F (Near 0°C) and 40°F (4°C) and a humidity level of around 80 - 90% for optimal storage.
#2 Proper Ventilation: When using root boxes, or any other out-of-soil storage method, good air circulation is key to preventing the growth of mold and the buildup of ethylene gas, which can cause vegetables to spoil. Ensure that your chosen storage method allows for proper ventilation, whether it’s through slatted sides or periodic airing.
#3 Inspect and Sort: Regularly inspect your stored vegetables and remove any that show signs of spoilage. One bad apple can indeed spoil the bunch, so it’s important to stay vigilant. Additionally, sort through your stored produce periodically to remove any damaged or rotting vegetables, as these can quickly spread decay to the rest of your stash.
#4 Avoid Storing Bruised or Damaged Vegetables: Only store vegetables that are in good condition. Bruised or damaged vegetables are more prone to spoilage and can affect the quality of neighboring produce. It’s best to consume or process these vegetables immediately rather than risk storing them.
#5 Check for Pests: Keep an eye out for any unwanted visitors in your storage area. Rodents, insects, and other critters can quickly ruin your hard-earned harvest. Consider using natural pest deterrents such as cedar chips or peppermint oil to keep critters at bay. Additionally if you have some chicken wire or mesh screens laying around, this will also help keep mice from stealing your future lunch.
Wrap Up
Root cellaring without building a dedicated traditional root cellar may seem like a daunting task at first, but with a little creativity and the right techniques, you can successfully store your fresh produce for months. With the tips and tricks, I outlined above, you’ll be well on your way to enjoying your own homegrown vegetables all year round. Happy root cellaring!