Making an herbal-infused oil is easy. The hardest part is growing, harvesting, and drying the herbs. Herbal oils are a fantastic way to experience the benefits of herbs topically. Infused oils can be used alone, in salve, body butter, lip balm, soap, and more.
There are different ways to make an herbal-infused oil. The easiest way is known as the folk method. Herbs are placed in a jar, covered with your choice of oil, and left to sit for a few weeks. Dried herbs are usually preferred over fresh because your oil is more likely to grow mold when you use fresh plant material. That said, if you take specific measures, you can make an oil with fresh plants. Sometimes, fresh plants are preferred for certain infusions, like when making St. John’s Wort oil.
Use the warm method if you don’t have a few weeks to wait for an infusion. Dried herbs are still placed in a jar and covered with oil, but they are heated at low temperatures for a few hours up to a few days. The most common way to do this is in a crockpot on low (in a water bath or lay a towel underneath the jars). This is faster than the folk method, but you must stir the mixture regularly and ensure it isn’t getting too hot. It’s also a good idea not to leave the crockpot completely unattended.
What you want to do with your oil can help you decide which oil to choose. Olive oil is a popular choice for herbal infusions because it does not go rancid as quickly as other oils. It’s also fairly neutral in smell. Olive oil is a good choice for most skin types, and it is not known to clog the skin, but it can feel too heavy for some. Olive oil is a good choice for salve-making. Avocado oil is also good for salves, and since it’s “heavy,” it’s a good choice for soap making.
Some oils that feel light on the skin are argan, apricot, and meadowfoam.
Whatever you choose, it’s always best to use an oil that is “cold-pressed” or “expeller-pressed.” This means that no weird chemicals or damaging heat were used to make the oil. Cold-pressed oils have the best shelf life.
Calendula (Calendula officinalis)-This superstar herb soothes skin, promotes wound healing, and is gentle enough for the whole family.
Comfrey (Symphytum officinale)-used for stubborn wounds that need a little extra care. (do not use comfrey over deep wounds due to concerns about pyrrolizidine alkaloids).
Lavender -has anti-inflammatory properties and makes a great base for homemade whipped body butter.
Yarrow (Achillea millefolium) -is known to have anti-fungal and antiseptic properties.
A note of caution: while using herbally infused oils is generally very safe, everyone reacts differently to plants. A patch test can be helpful to determine if you will tolerate a new herb. Rub a dot of herbal oil on your inner wrist and wait 24 hours to see if any irritation appears. If you are allergic to certain plants, always know what family an herb belongs to before using it.
Grind your dried herbs using a mortar and pestle, crumble them by hand, or chop them up. This ensures a good extraction of the herb constituents or healing properties.
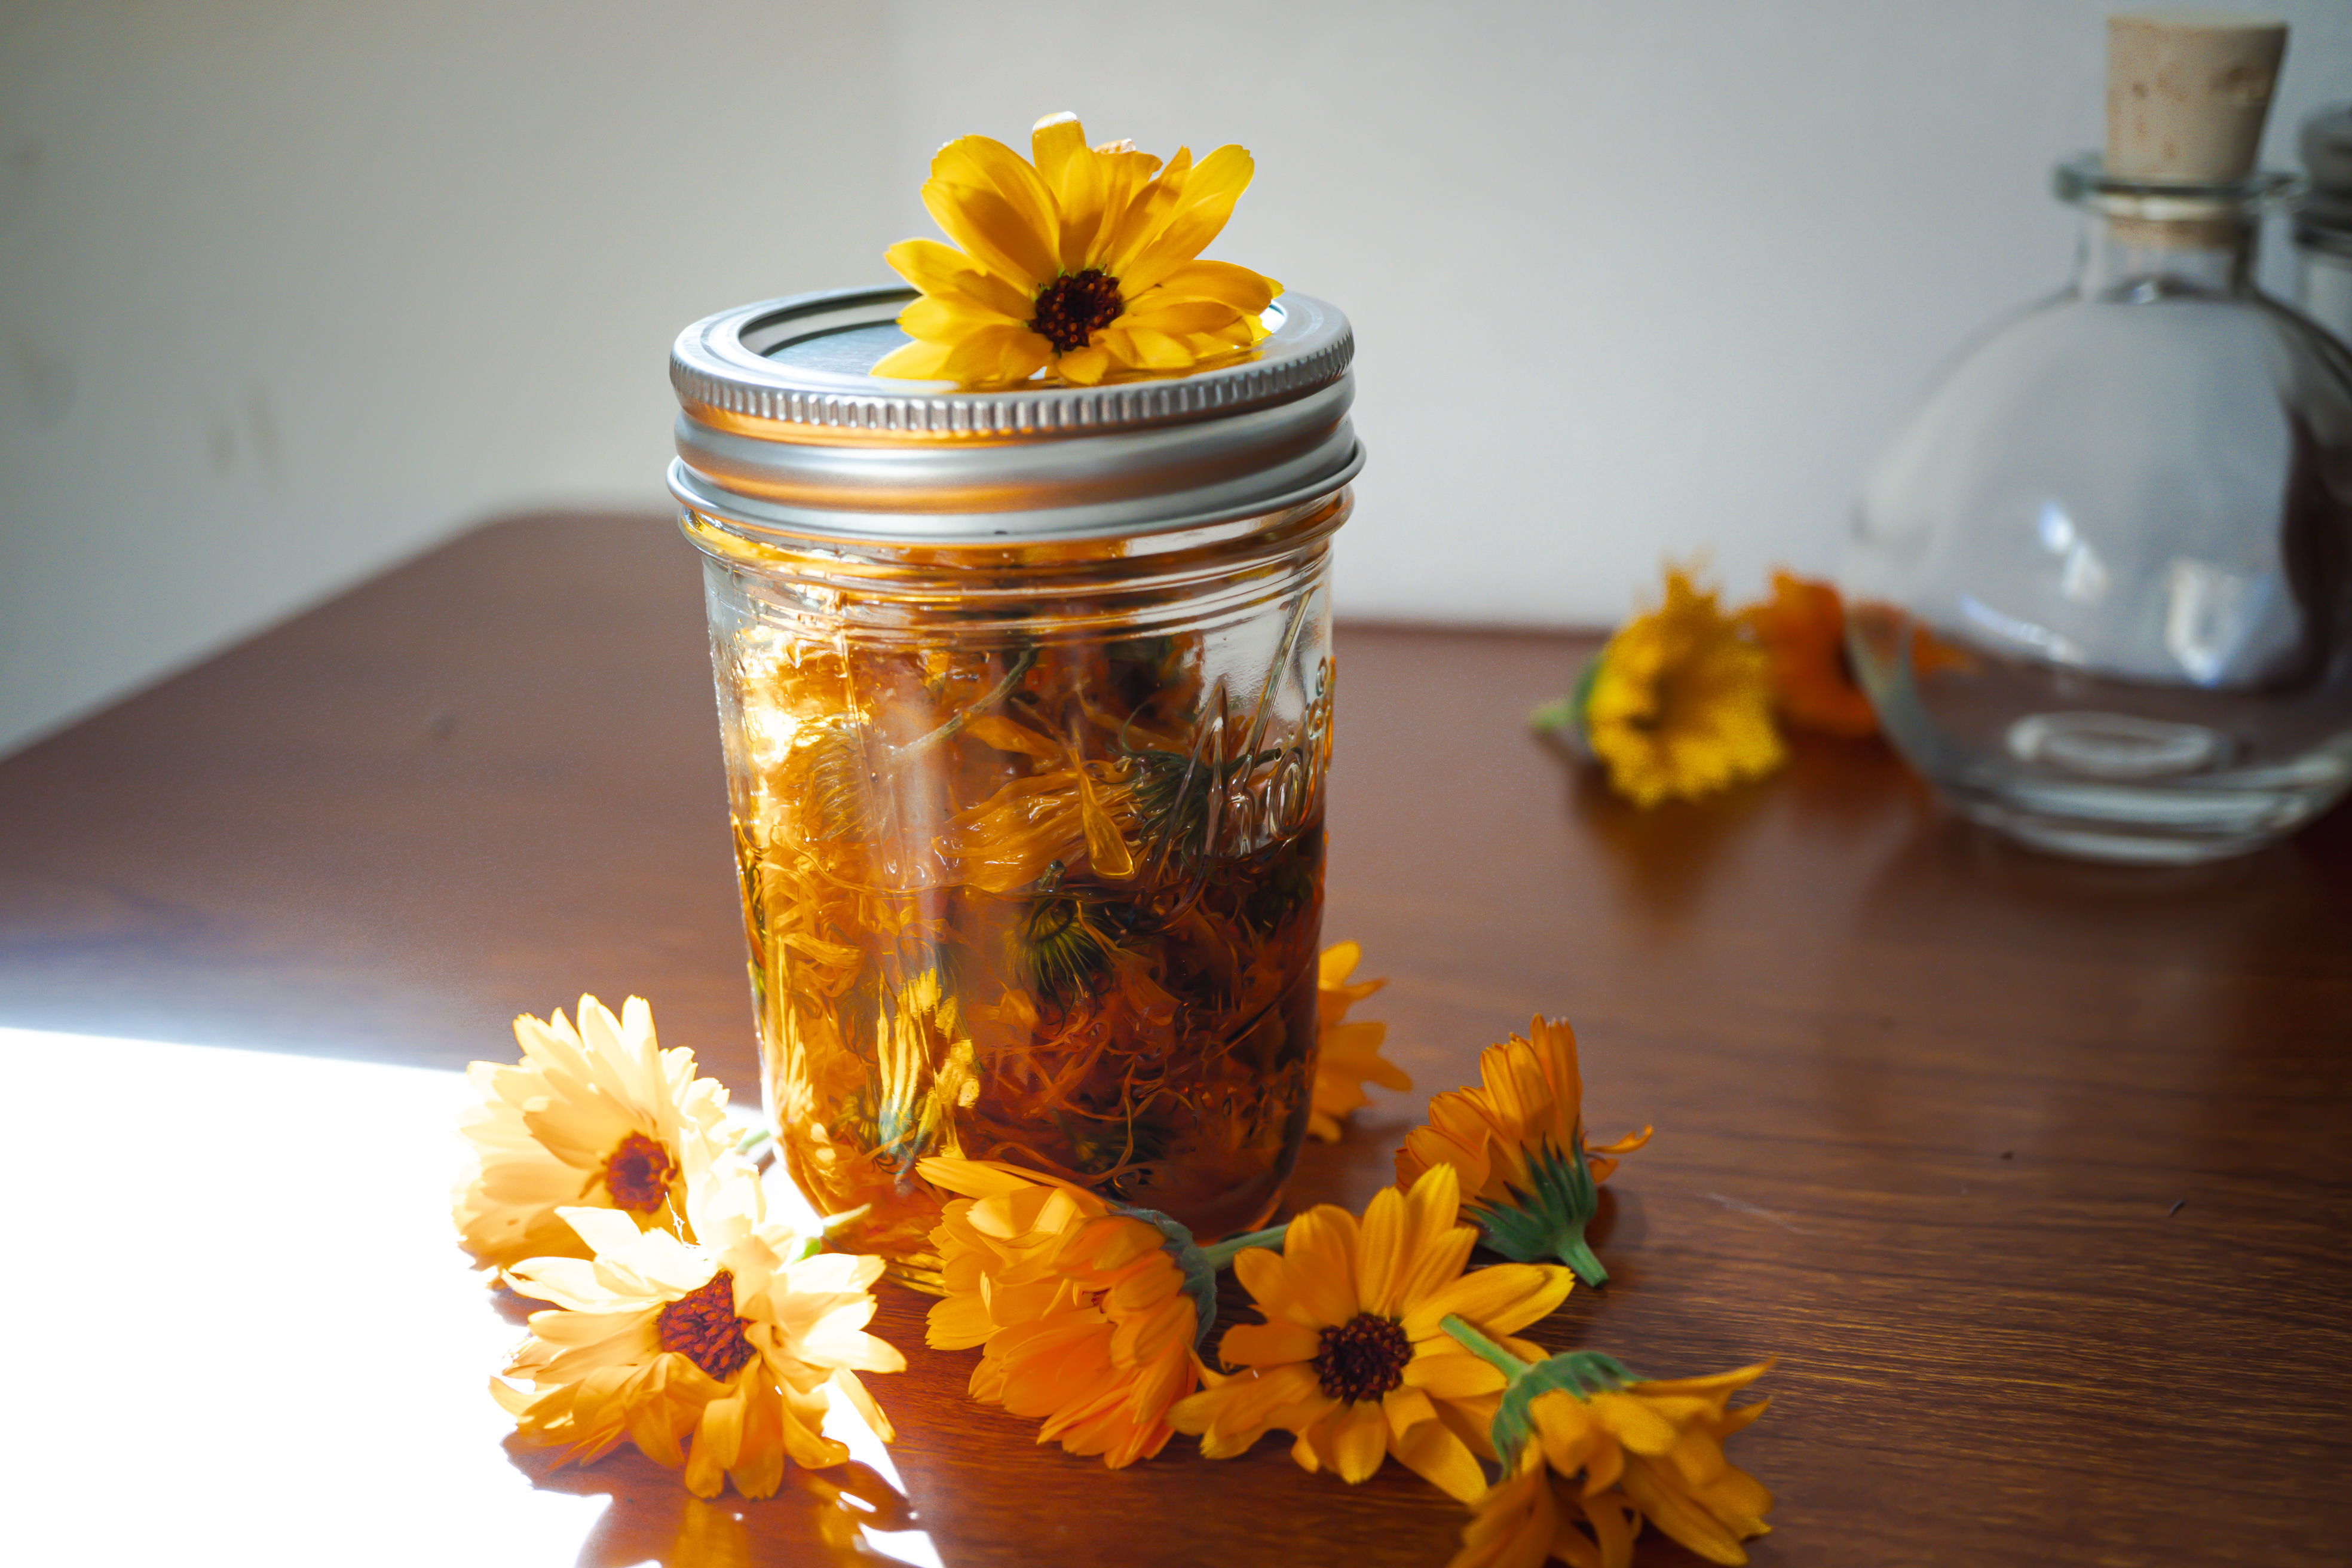
Fill a jar halfway with the dried herbs.
Cover the herbs oil, but leave ½-1 inch of space at the top. You do not want to overfill the jar. The herbs are going to soak up the oil and expand. If your jar is too full, you might experience an oil leak. If your jar isn’t full enough, you could expose your mixture to too much air, leading to a shorter shelf life.
Label your jar with the type of herb(s) and oil used. Put the date on your label to track how long it has been infusing. Masking tape is a good label because it comes off easily.
Place the jar in an area that is reasonably warm and dark. Some herbalists prefer to infuse their oils in the sun, and in some cases, such as when making a St. John’s Wort-infused oil, this is the traditional way. I always infuse St. John’s Wort oil in the sun (and with freshly wilted flowers), but I keep all other infusions in the dark. It helps protect your oil from any deterioration from the sun.
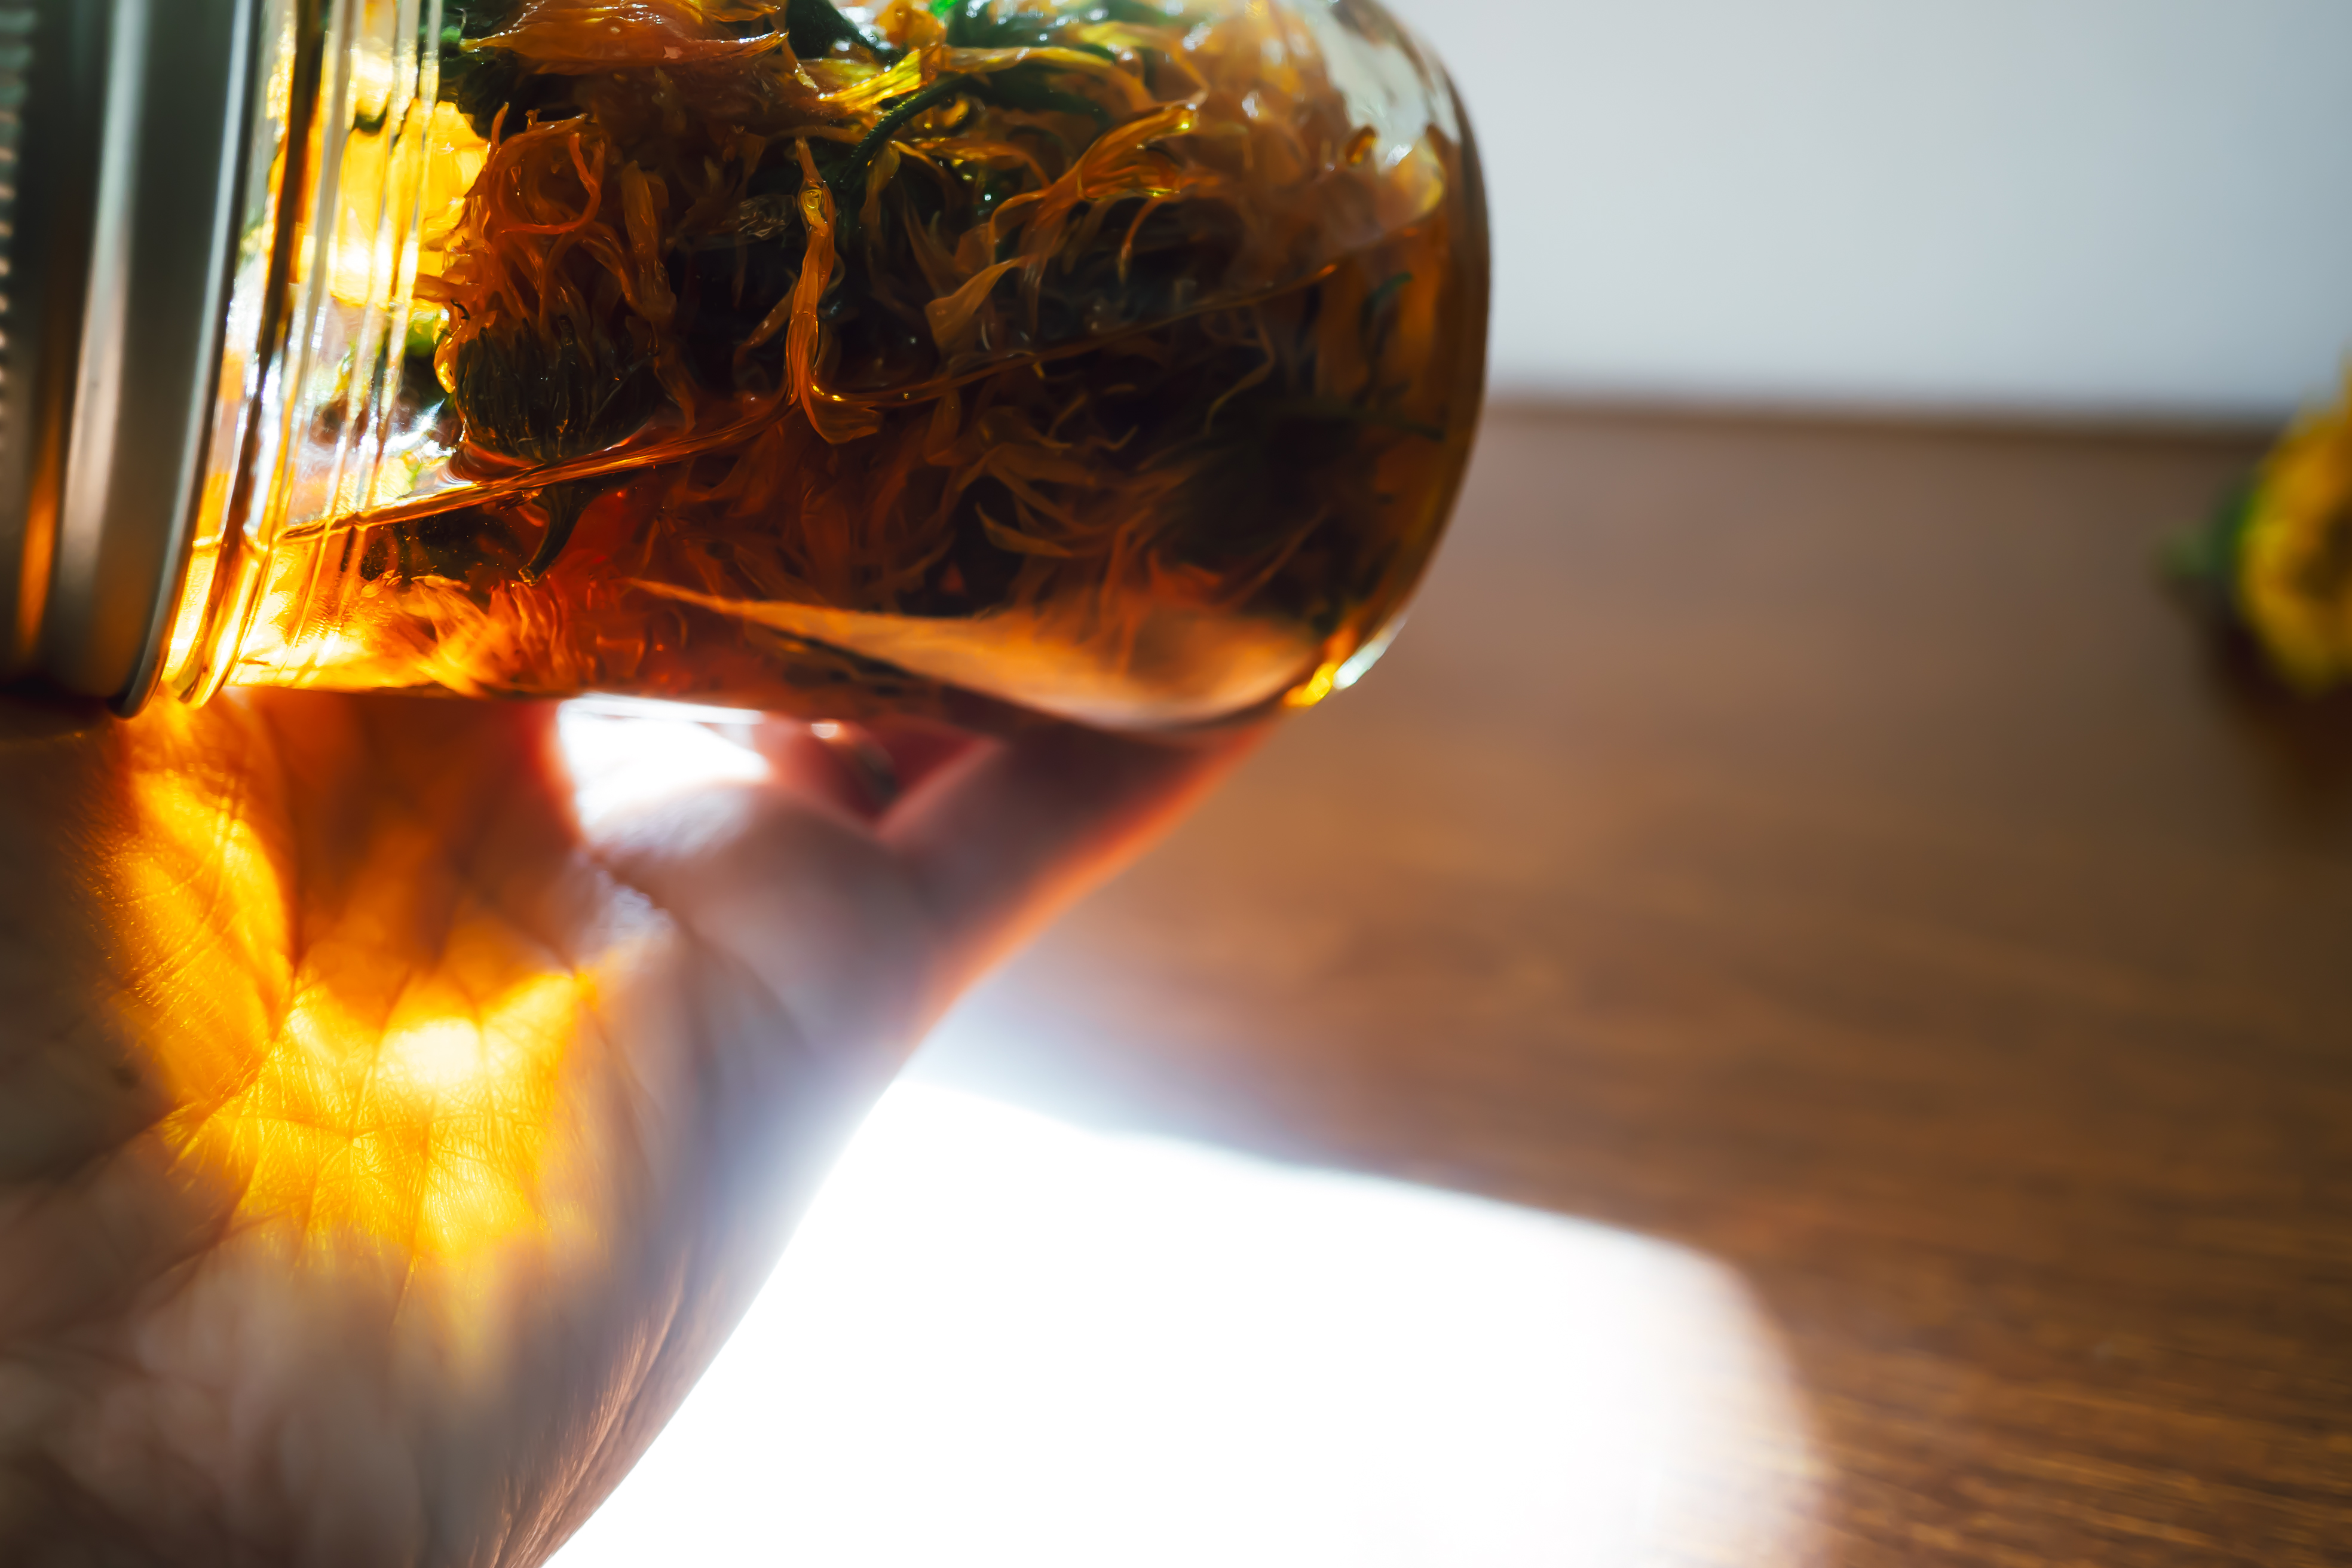
Let the oil infuse for 4-6 weeks. Remember to check on it and give it a gentle shake or roll every day or so. Resist the urge to open the jar to see what’s happening. You want to avoid exposure to the air as much as possible.
After 4-6 weeks, it’s time to strain. If you go over 6 weeks, it’s not a big deal; nothing bad will happen. Infused oil has a shelf life, so it’s best to get it to use.
To filter your oil, you will need a clean jar, a funnel, cheesecloth, or a coffee filter. A regular mesh strainer will generally not filter out all the tiny bits of herbs very well.
Place the funnel into the jar and line it with the cheesecloth or coffee filter. Carefully pour your mixture over the filter. It takes a while for the oil to filter, especially if you use a coffee filter.
After a while, you can use a clean spoon to press down on the herbs to help extract the oils they have soaked up. Or, with clean hands, you can very carefully squeeze the filter or cheesecloth to get every last drop you can. You can compost the herbs afterwards.
Sometimes, even after good filtering, you can be left with cloudy debris of herbal sediment. Let your oil settle to the bottom, and slowly pour it into another jar, trying to avoid the sediment. Or you can filter that oil one more time.
A couple of drops of Vitamin E can be added to help maintain the oil’s freshness. It does not kill germs, but it helps fight oxidation.
Your oil is now ready for bottling or being used in making salves or other herbal products.
Bottle the oil in dark-colored bottles or jars. This helps protect the oil from light and air. Use bottles with small necks. Store the oil in a cool, dark location. Always use clean hands when dispensing oil. Properly stored herbal oils, on average, last around a year.
Label the bottle with the type of oil used, the herb(s) used, and the date it was made.