Known for its warm and spicy flavor, ginger is a very popular spice and herb. It’s native to Asia, but it has been enjoyed all over the world for a very long time. It’s a tropical plant that loves heat and humidity, growing conditions that many of us don’t have, especially in the northern hemisphere. Those of us in the colder climates can still grow our own ginger at home.
Zingiber officinale, or ginger, can be grown as a perennial in zones 9 and above. In the colder zones, it can be grown as an annual. It can take over a year of growing for a ginger rhizome to be considered mature. The ginger we buy at the grocery store is mature and has a thick skin which allows it to be stored for months. If you start growing ginger at home in late winter or early spring, you will be able to harvest “baby” ginger in about 4-6 months time. Baby ginger does not store for long because it has a very thin skin, but the thin skin means it is very tender and you can slice right through it.
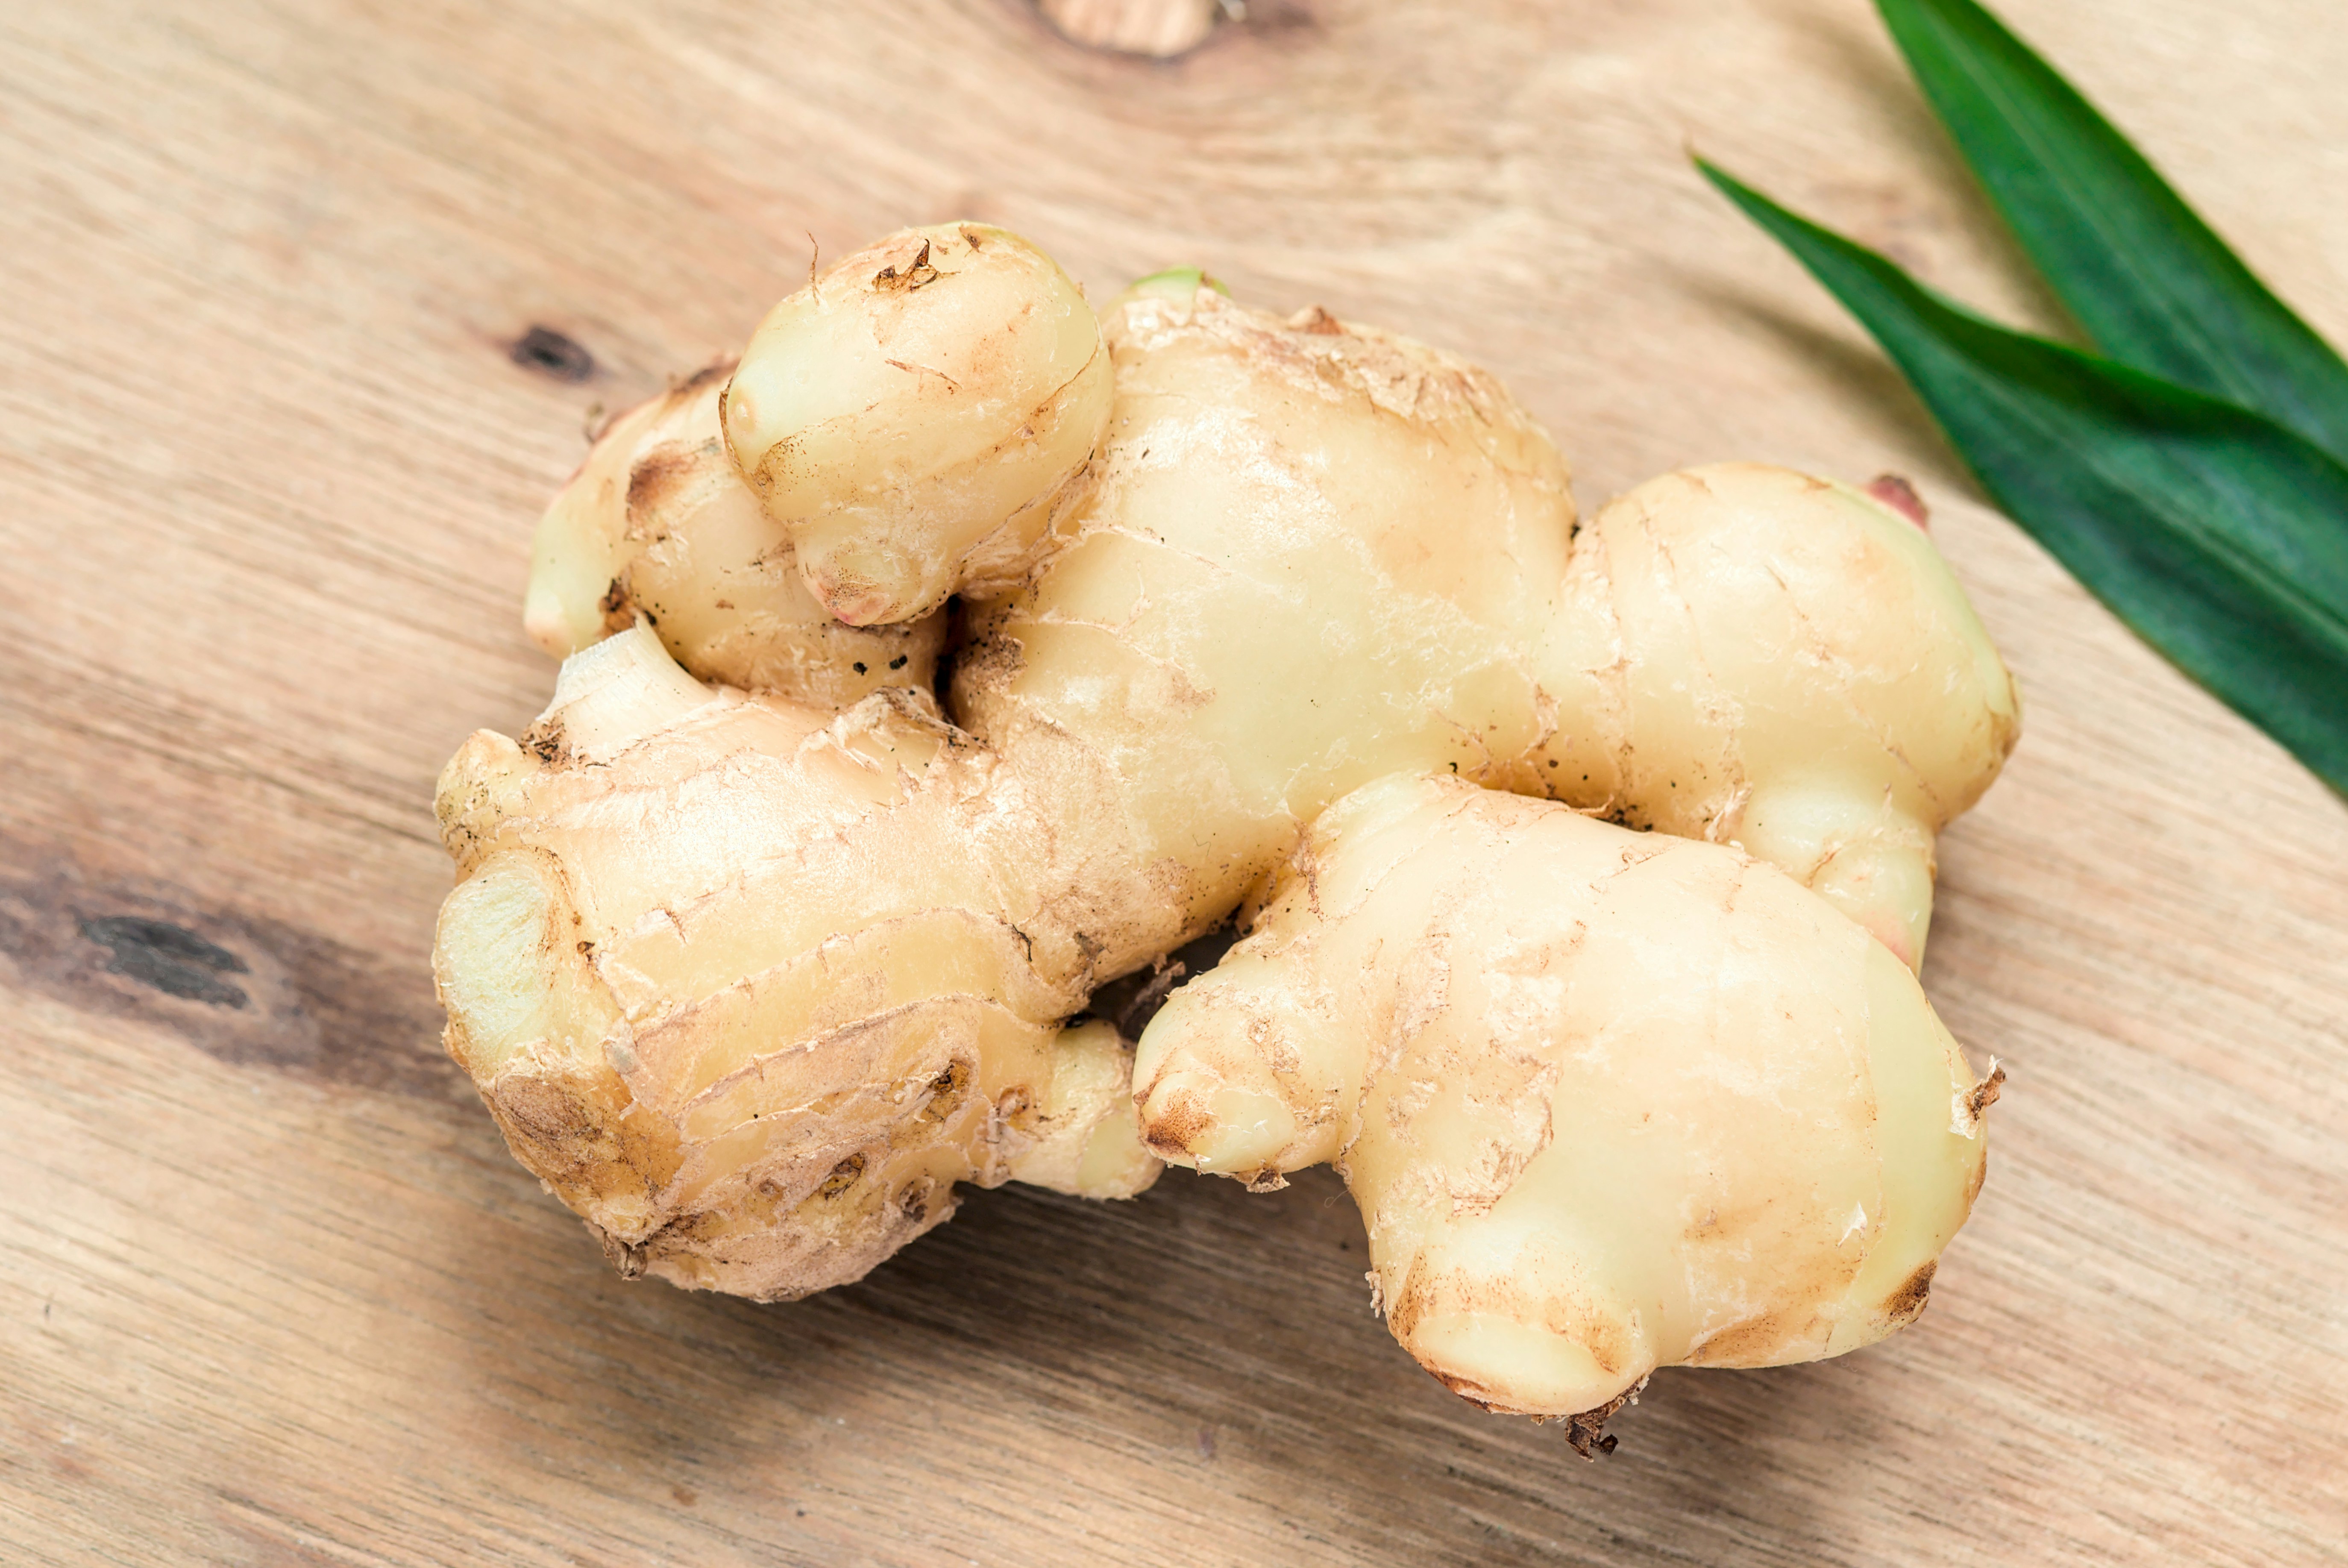
Ginger is grown from a rhizome instead of a seed. Some farms offer “seed pieces” or “mother” ginger for sale. Most ginger farms sell rhizomes that are certified organic and disease-free. You can also use ginger you find at the grocery store. It’s not too common, but store-bought ginger has a small chance of carrying fungus and disease. Sometimes conventionally grown, store-bought ginger is treated with an inhibitor to control early sprouting. Choosing organically grown ginger minimizes the risk of problems with sprouting and disease.
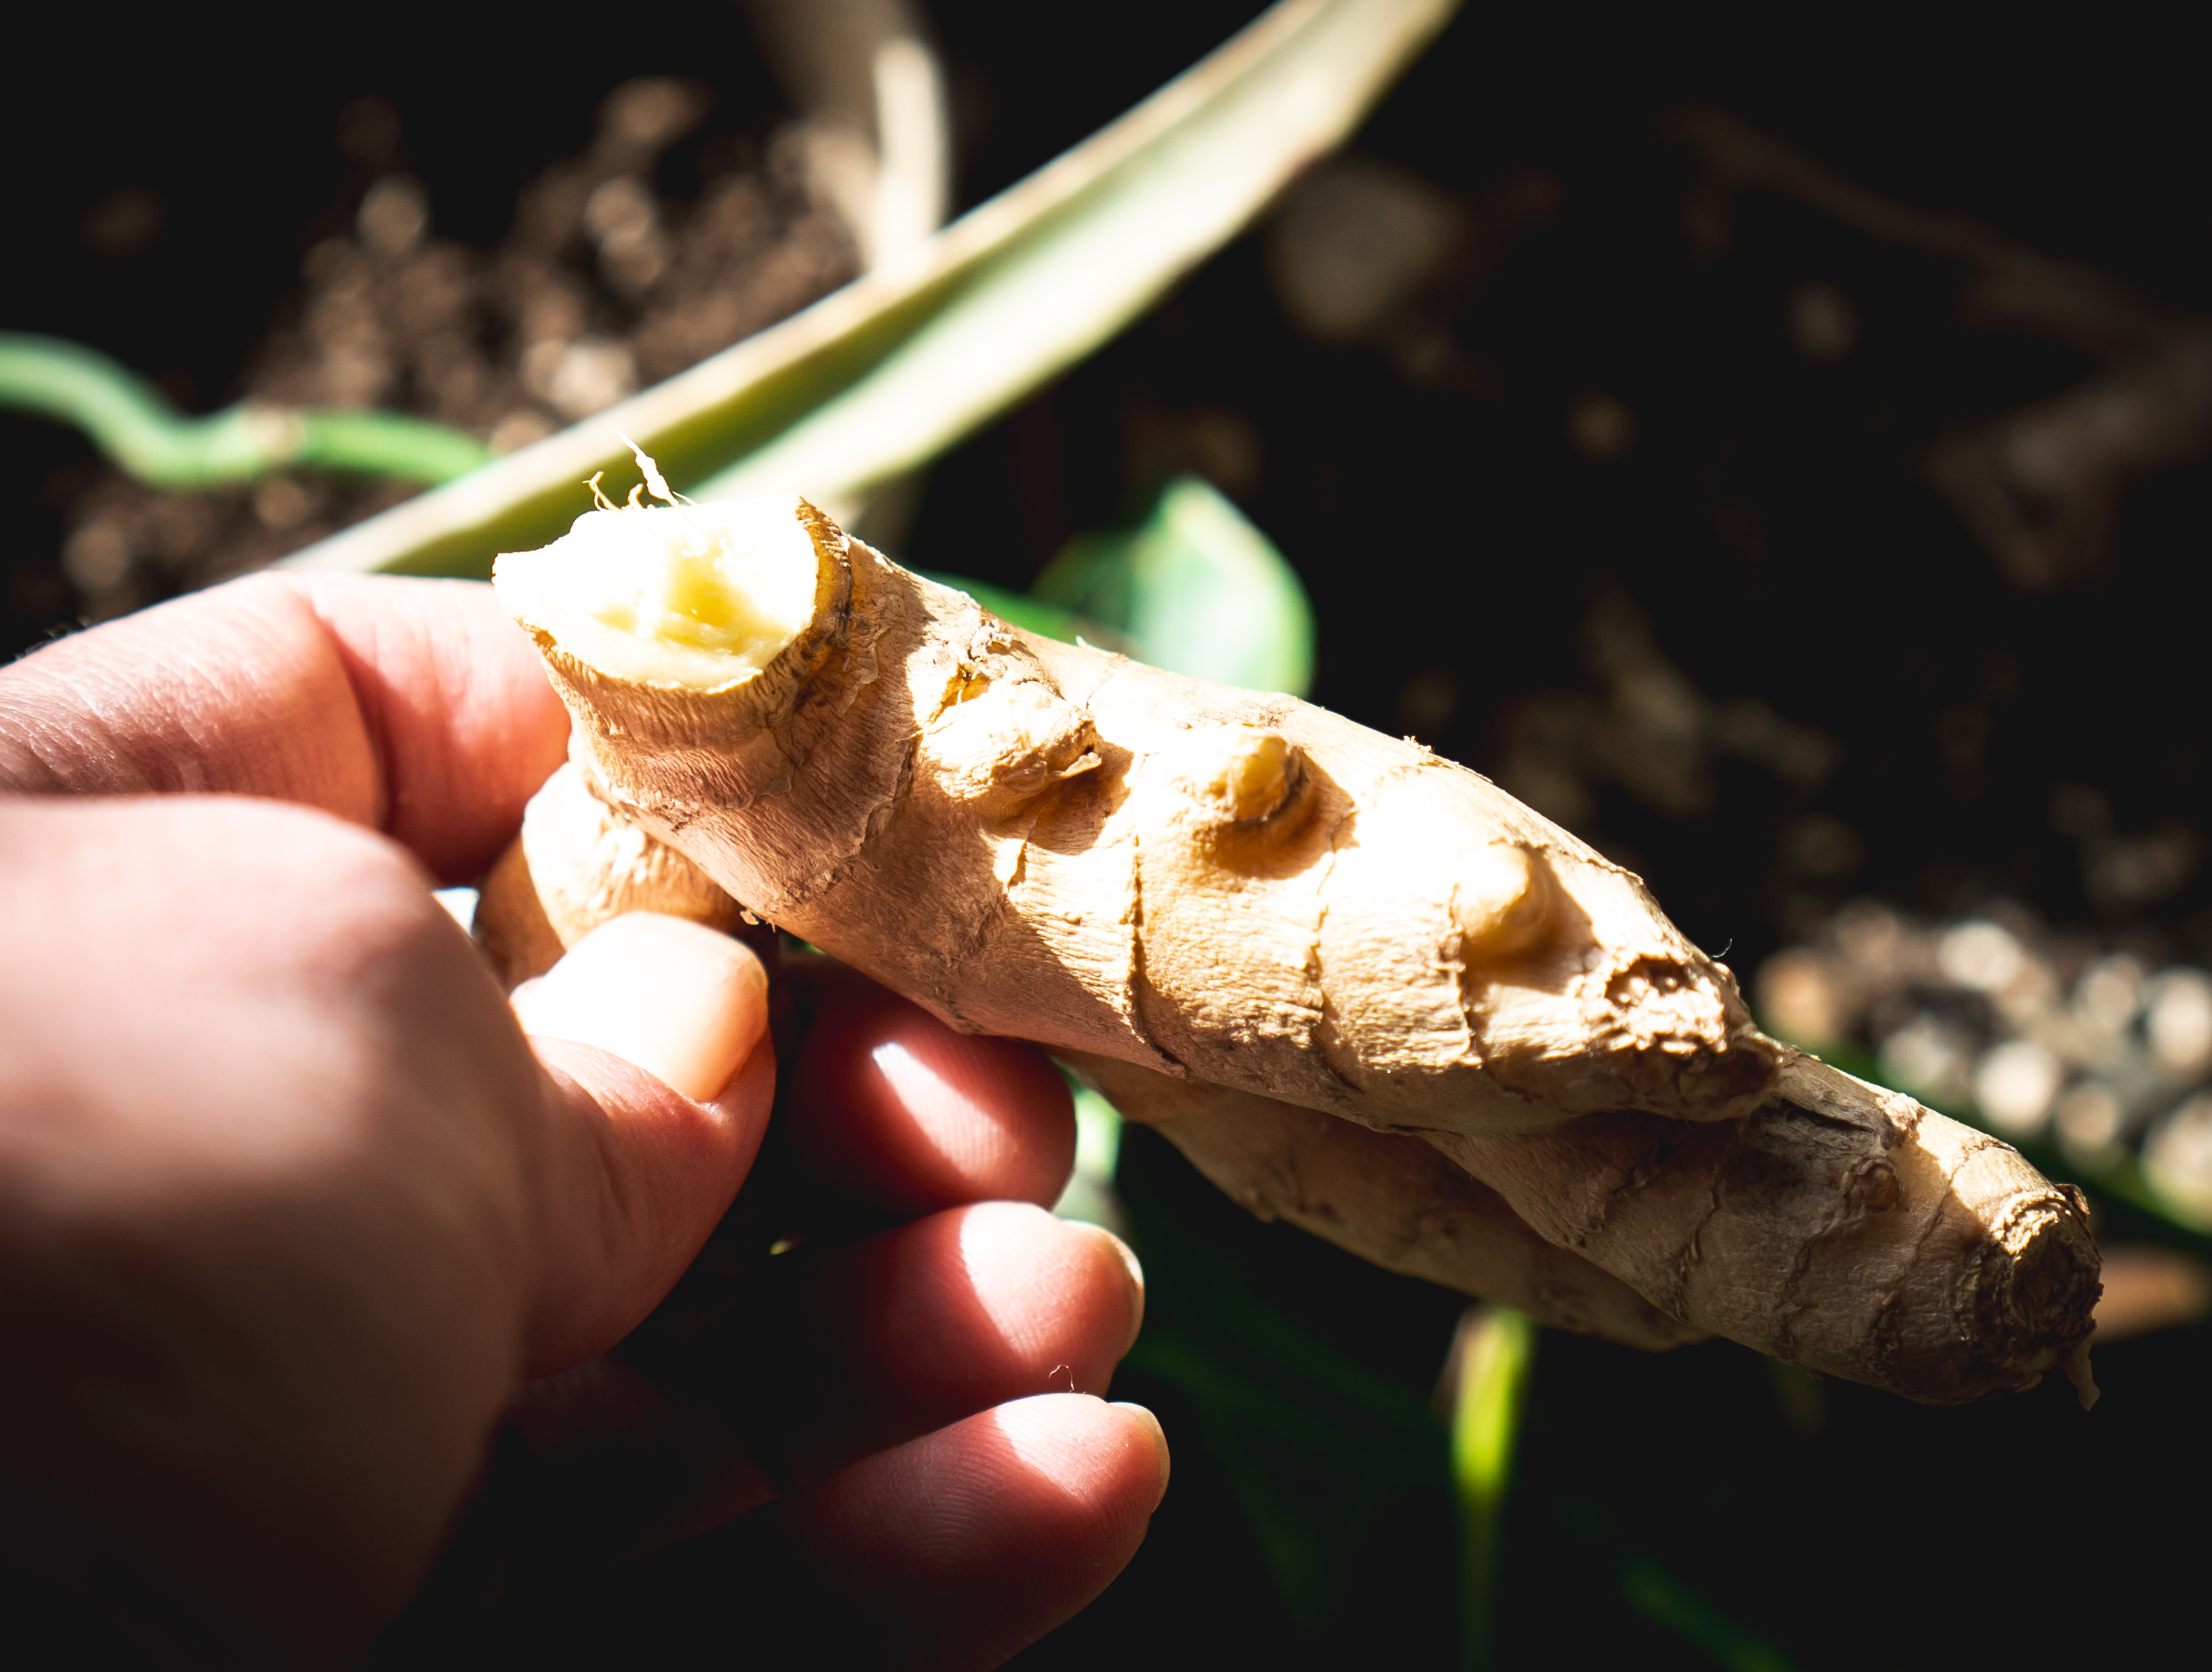
Choose a rhizome that feels firm (no squishy, bruised, or moldy ones). Look for ginger with a few big “eyes”. This is where the sprouts will come from.
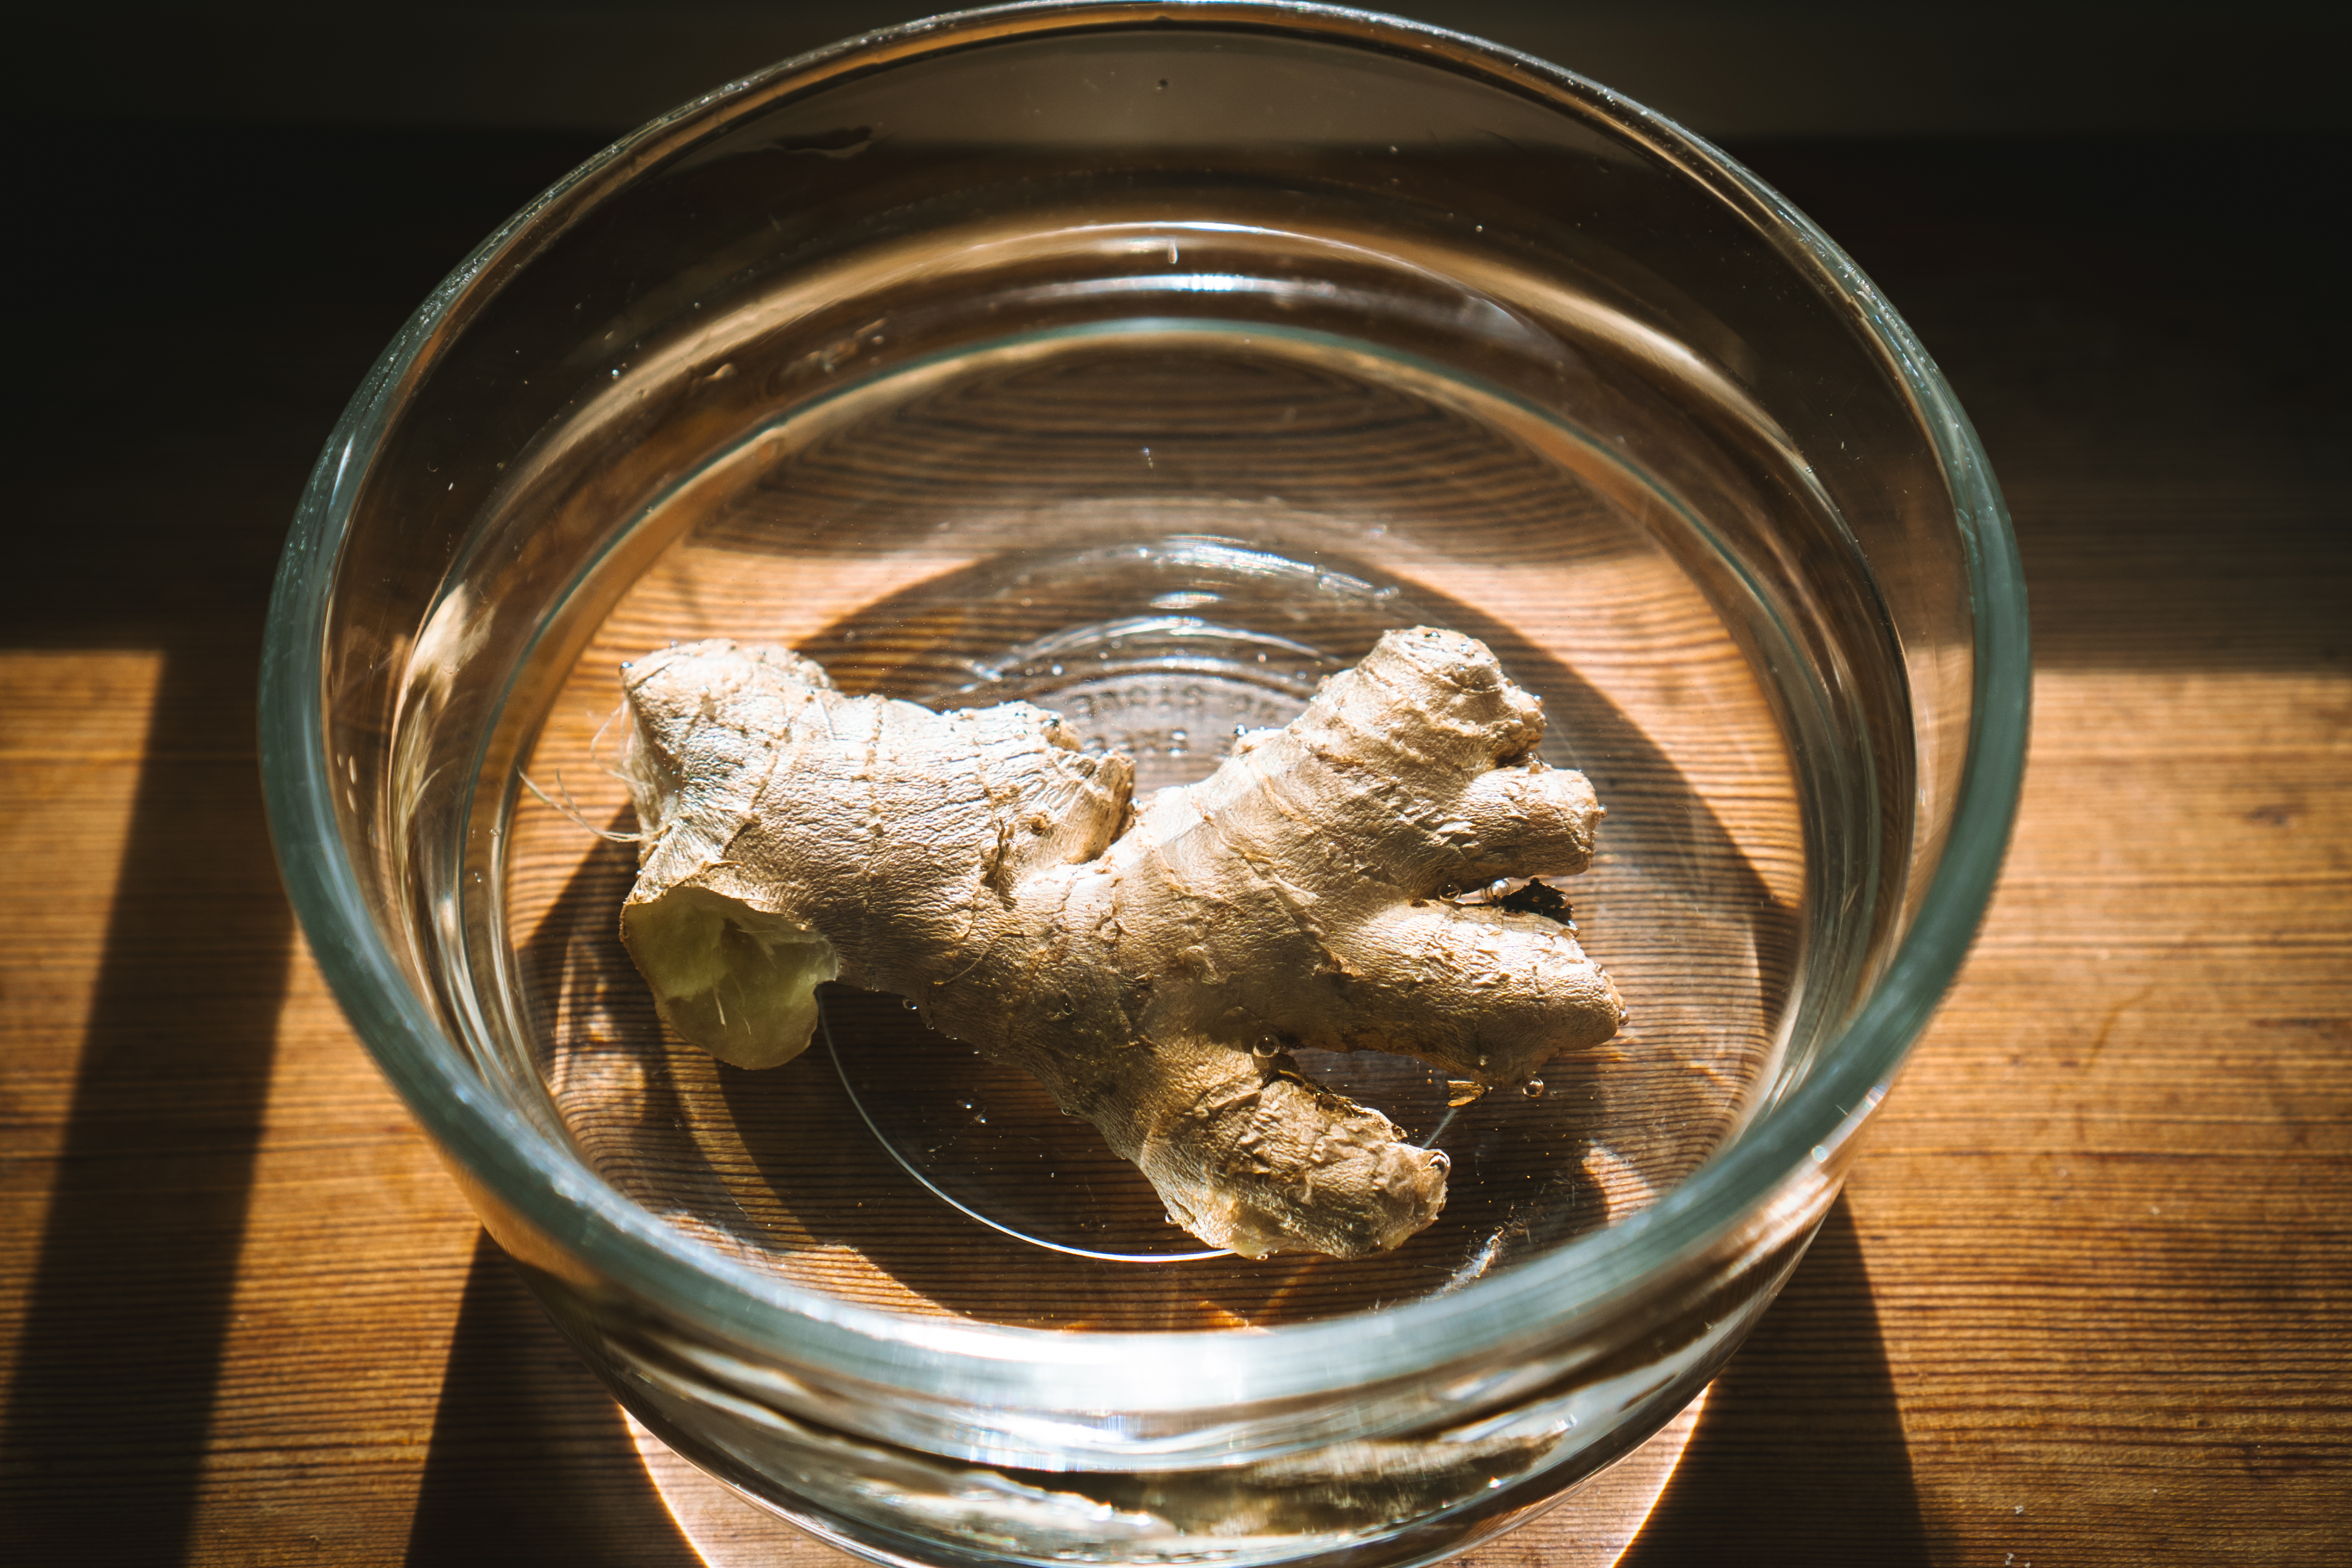
It isn’t necessary to soak ginger in water before planting, but it can take off any growth inhibitor that might be on it and it helps to rehydrate the ginger, possibly making sprouting faster. So, it’s a step worth mentioning. You can soak it overnight or for a day or two.
Ginger soaking in water
If you have temperatures that are consistently above 60 degrees at night, you can start ginger outside, in an area with some dappled shade and moist, rich soil.
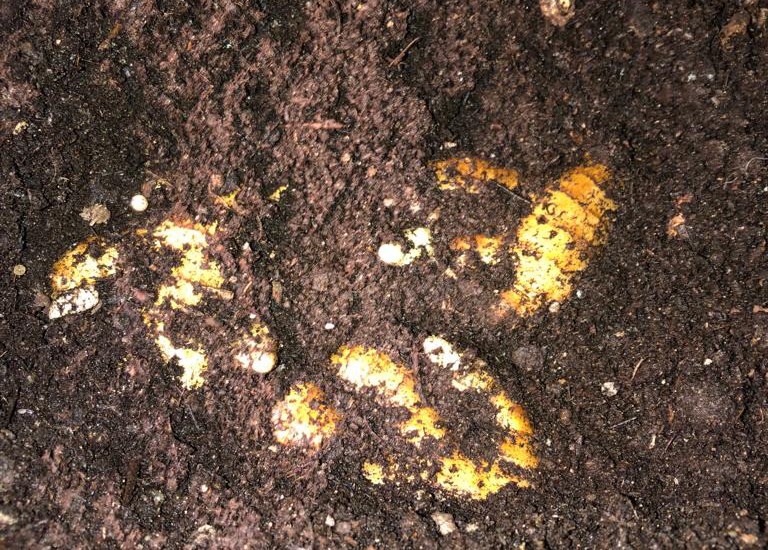
Ginger plants grow outwards rather than deep down in the soil, so if you plan on keeping your ginger in a container, choose one that is wide, with good drainage. Good drainage is a must. If ginger sits in water it can rot. Place your ginger rhizome on the surface of a rich potting mix, with the “eyes” facing upward. You can bury it in the soil about an inch down, or you can gently firm it on the surface, topping it off with soil but leaving the eyes exposed. Either way works. Leaving the eyes exposed might result in faster sprouting. If your container is big enough, you can put more than one rhizome in. Just make sure to leave some space for growth. Water your newly planted ginger. Use a heated seedling mat to help encourage growth. Keep it somewhere warm and bright, but out of direct sunlight. Heated greenhouses are a perfect place for ginger, but as long as it is kept warm it will do well in the house.
It can take a few weeks to see any shoots or roots from your ginger. If you left your eyes exposed to the light, start covering them up with soil once you see some growth.
Keep your ginger happy by making sure it gets watered regularly, not too much, but just enough to keep the soil moist. If the soil is too wet and too cold the ginger can start to rot. So it’s also important to make sure that the soil is staying warm enough. You can keep a heated seedling mat underneath your pot until it’s ready to go outside. Being a tropical plant, ginger loves high humidity in the air. Keep your potted ginger close to other potted houseplants to naturally increase the humidity. Use a humidifier in your home if your air is extremely dry. It’s a good idea to feed ginger every month with a low-nitrogen fertilizer, being careful not to apply it directly to the plant.
You must keep ginger protected in your home or greenhouse until outside temperatures are, ideally, in the 70’s and above. For a lot of us, that means summer. Ginger does well in pots so you can simply move your pot outdoors when the time comes. Just make sure to place it in a partially shaded spot as you don’t want to be baking ginger in the sun. If you move the plant directly into a garden bed, the same rules apply.
For baby ginger, the best time to harvest is 4-6 months after you started growing it. If you want to harvest mature ginger you can continue to grow it on, but you must move it back inside before the temperatures start going below 50 degrees. For mature ginger, harvest when it is about 1 year old.
Mature ginger has a tough skin so it can be stored in the refrigerator for many weeks. Baby ginger is very tender and is best used fresh. It can be stored at room temperature or in the refrigerator for about 2 to 3 weeks. You can extend the shelf life of ginger, baby or mature, by chopping it up and freezing it.
Ginger is so versatile in the kitchen and can be used for sweet or savory dishes. In traditional medicine, ginger is used to take the edge off of nausea, improve digestion, promote good circulation, and many studies show it has anti-cancer potential.
Sure, it’s easy to go to the grocery store and pick up ginger any time you want it, but there’s something exciting about growing your own. It’s nice to have a little bit of tropical flair in your garden too. If you have the extra time and a little bit of space I think it’s worth trying out at least once!
You can find more helpful growing tips in the Planter app
For educational purposes only and not to be considered medical advice. Please refer to your health care provider before using herbs.