
Trees are wonderful. They provide shade, structure, habitat, and beauty to a garden. But if you’ve planted a tree in your yard, it may not be in its natural or preferred environment. Supporting its growth means helping recreate those natural conditions wherever possible. While trees get around 90% of their mass from carbon in the air, the remaining 10% from the soil is equally vital.
So, how can you mimic that natural nutrient cycle and the accumulation of organic matter on the ground at home? One of the simplest and most effective methods is mulching.
Why Mulch Matters
Mulching does more than make a tree look tidy. A proper layer of mulch:
- Helps the soil retain moisture for longer.
- Regulates soil temperature by providing shade and a frost barrier.
- Suppresses weeds, reducing competition for water and nutrients.
- Adds organic matter as it breaks down.
- Creates a physical barrier for the roots, minimizing damage from lawnmowers and foot traffic.
A good layer of mulch is generally at least 2–3 inches thick, though this can vary depending on your location. Mulching is best done in spring or fall, when the tree is free from the stresses of winter and summer. This timing also allows for careful digging around the tree without harming its roots.
Choosing Your Mulch
Organic, undyed mulch is always best for your garden. These mulches are free from chemicals or dyes that could contaminate the soil. Common store-bought options include:
- Shredded bark
- Wood chips
- Coarse compost
You can also make your own at home:
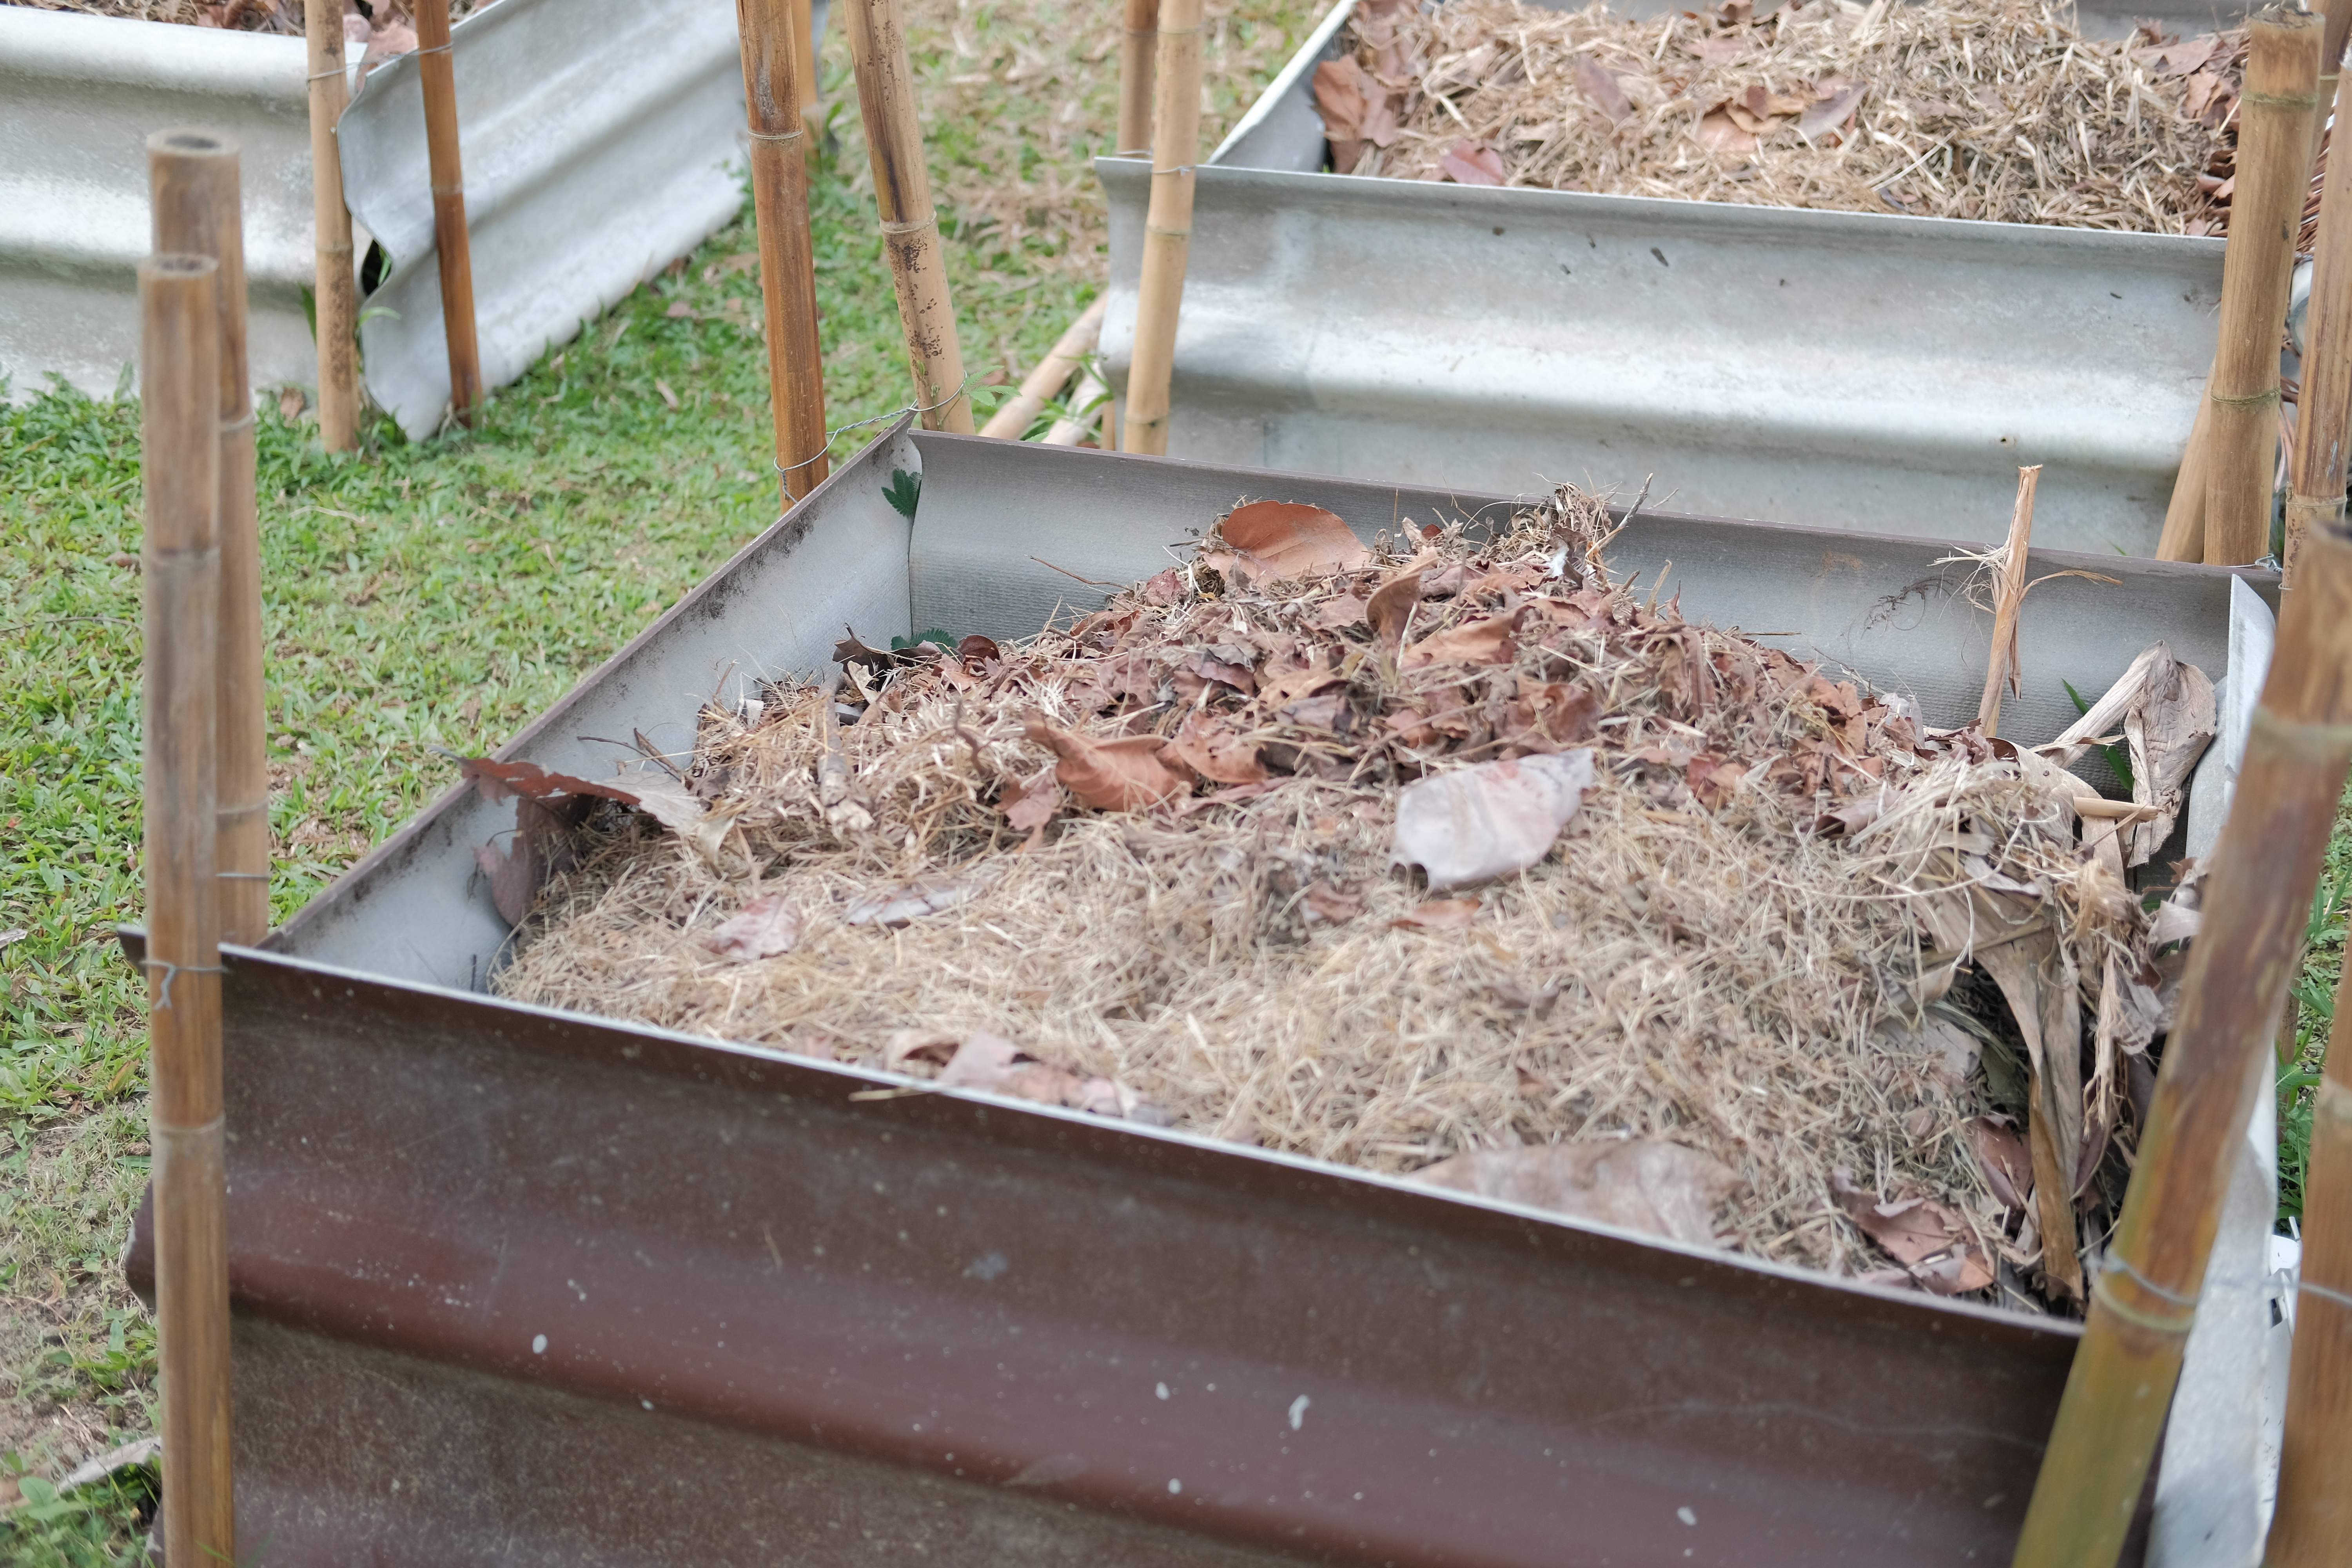
- Shredded leaves
- Leaf mold
- Coarse compost
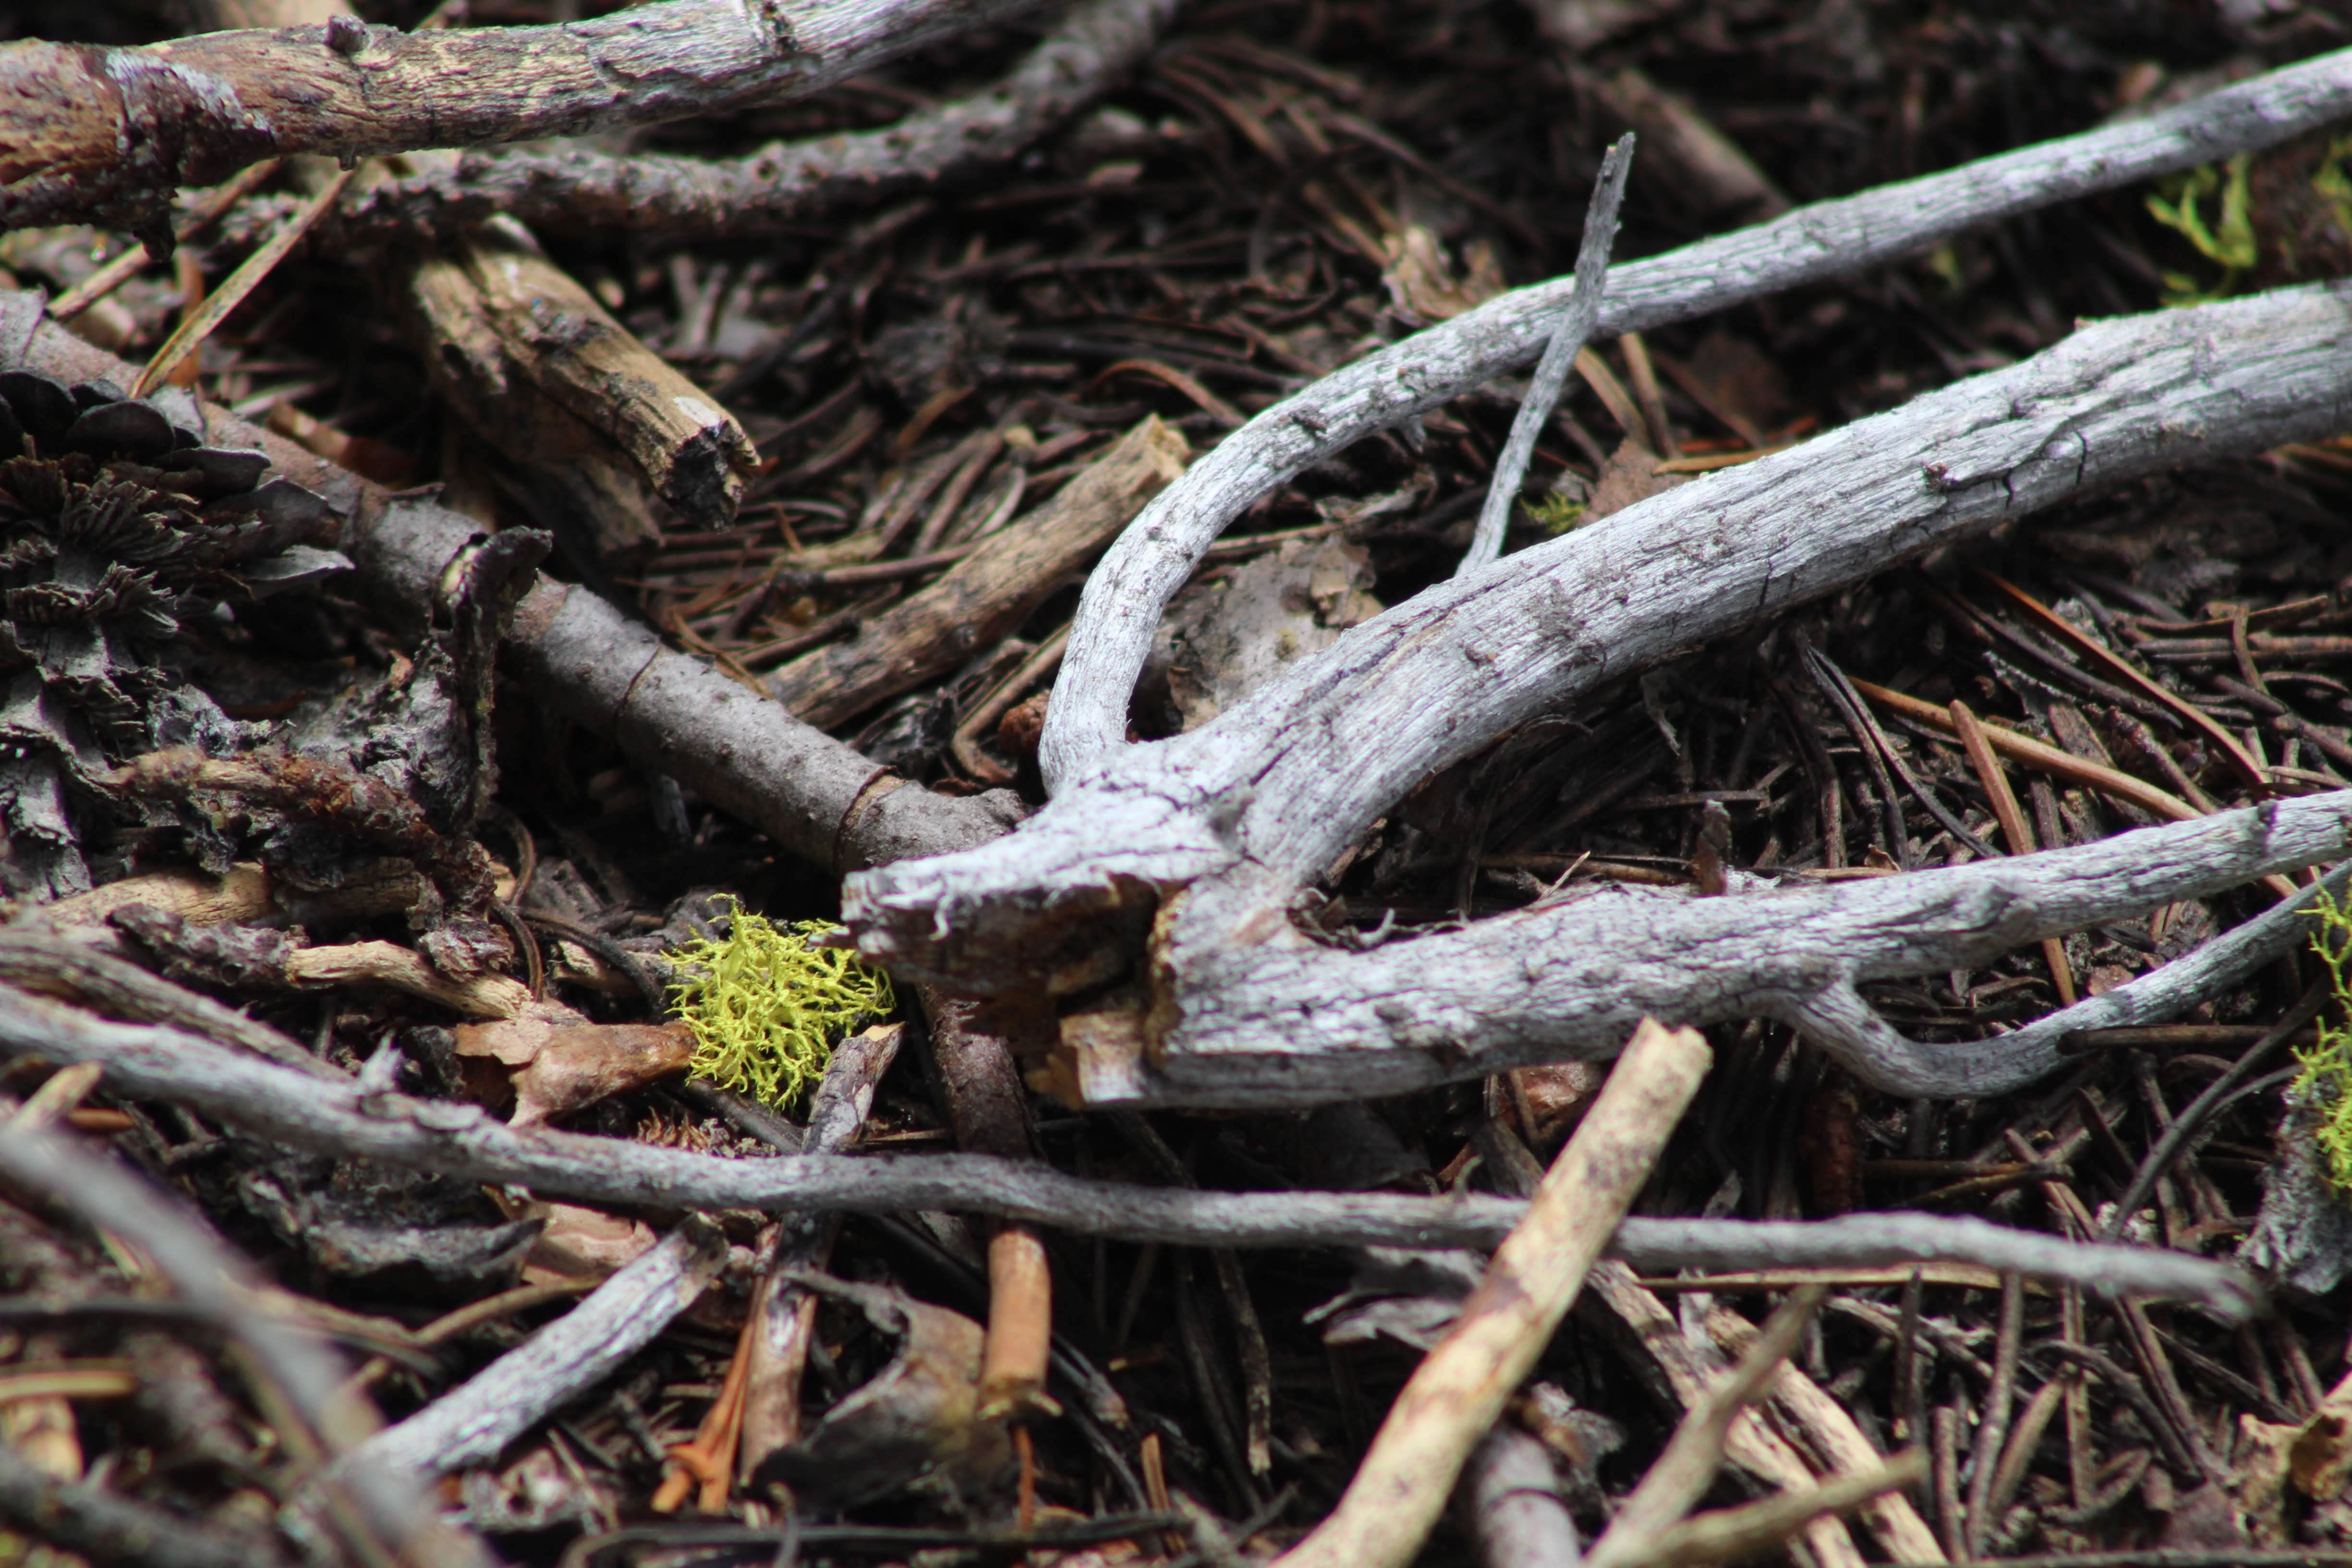
Coarse compost should be high in brown matter (twigs, woody stems, branches), which provides the main nitrogen source the tree draws from the soil.
Avoid rocks and gravel unless you live in a desert environment such as the Desert Southwest. Care should still be taken, however, (and should be mostly avoided), as the accumulation of rocks and gravel around trees can create a localized heat island that can scald roots and reflect heat onto the trunk.
Rock and gravel mulches also create prime growing spots for weeds, and while they need less new material added over time, they eventually compact the soil and starve the ground of oxygen and nutrients.
Material from the tree itself—leaves, small branches, twigs—is often the best choice. Mixing different types of mulch, such as bark chips with leaves and twigs, creates a more diverse habitat for beneficial insects and microbes, supporting a healthy soil ecosystem. Layers and size variation create stable pockets for air, and give places for water to run through.
How to Mulch a Tree: Step by Step
Mulching is best done in early spring or late fall when the soil is moist and temperatures are moderate. If you live in a climate with very hard frosts, some experts recommend waiting until after the first frost in fall, or after the last heavy frost in spring.
Step 1: Size your Mulch Ring The ideal mulch ring extends to the tree’s ‘drip line,’ or the general reach of the branches. For larger mature trees, this can get quite large, so a 4–6 ft diameter ring is a good place to start, although extending mulch as far as practical toward the drip line provides the greatest benefit.
Mark the ring with stakes, non-toxic chalk paint, or simply eyeball it for a more natural look. You can always adjust it later if needed.
Step 2: Clear the Base The area marked for your mulch ring should be free of weeds and grass before you spread mulch. Weeds can be smothered with cardboard or removed with a small shovel or tool. Remove the top layer of weedy and grassy soil carefully to minimize damage to roots.
Work slowly when digging around roots, using a small shovel, hori-hori knife, or hand cultivator to avoid harming the tree.
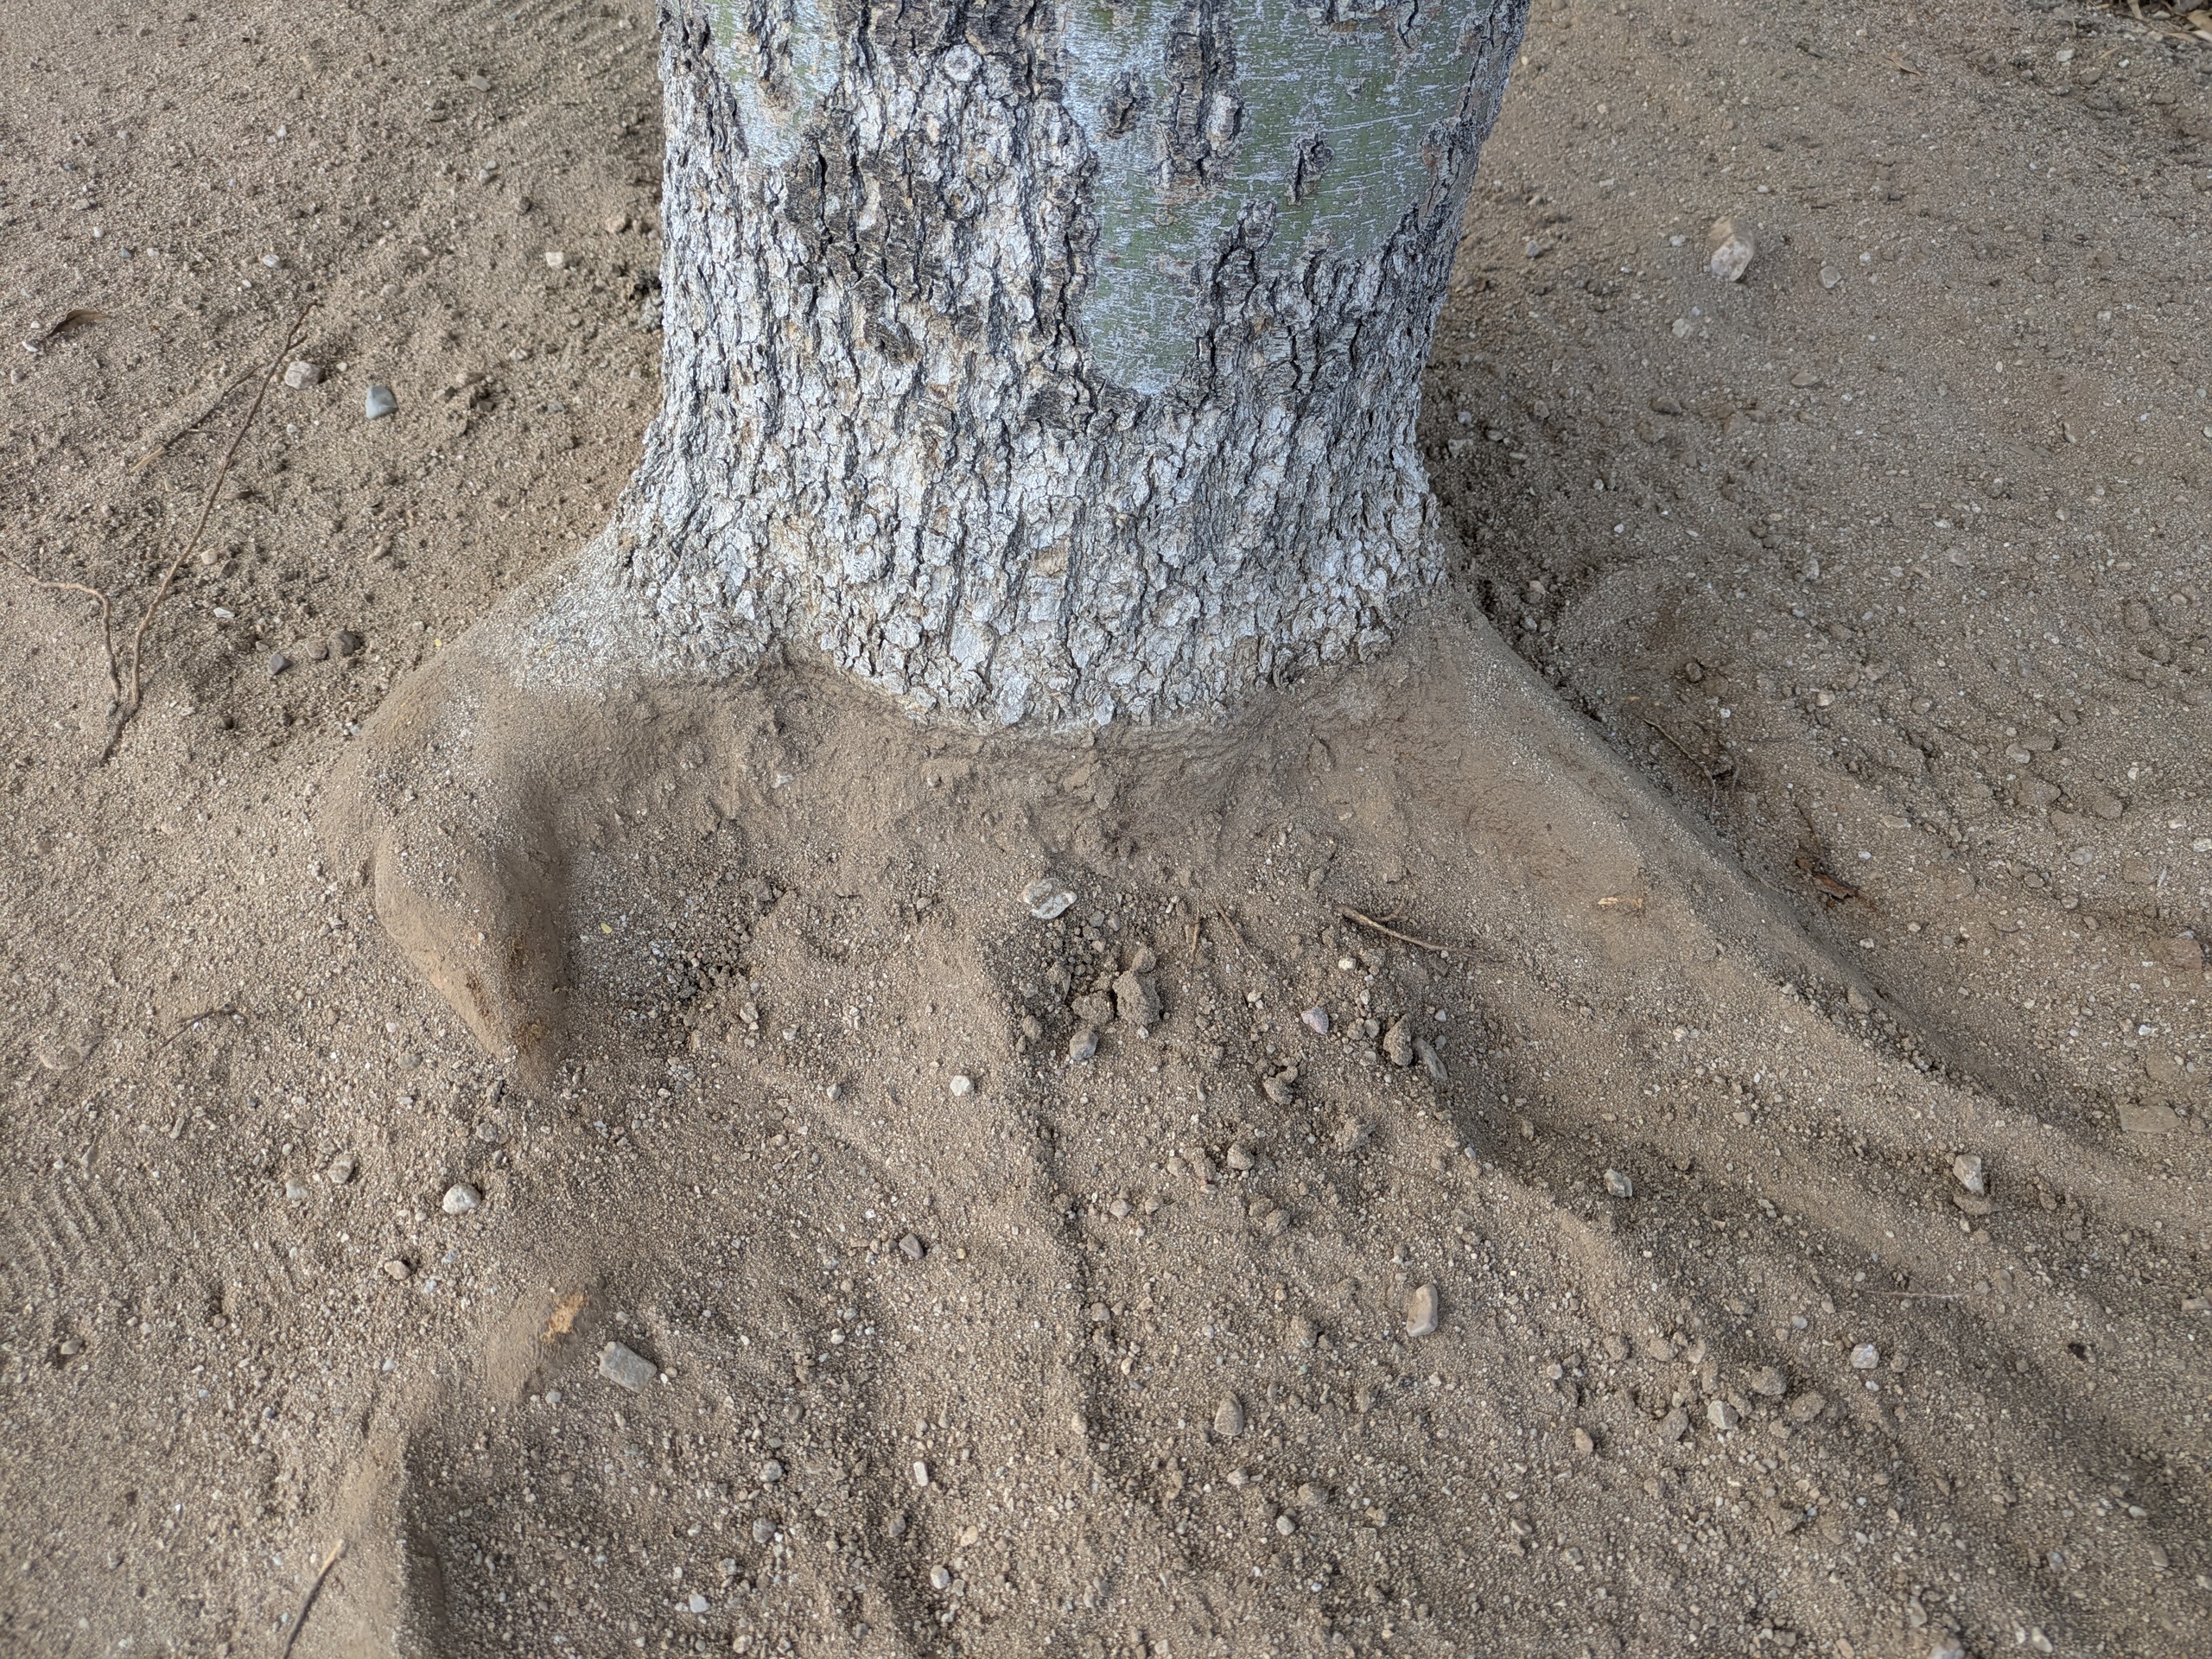
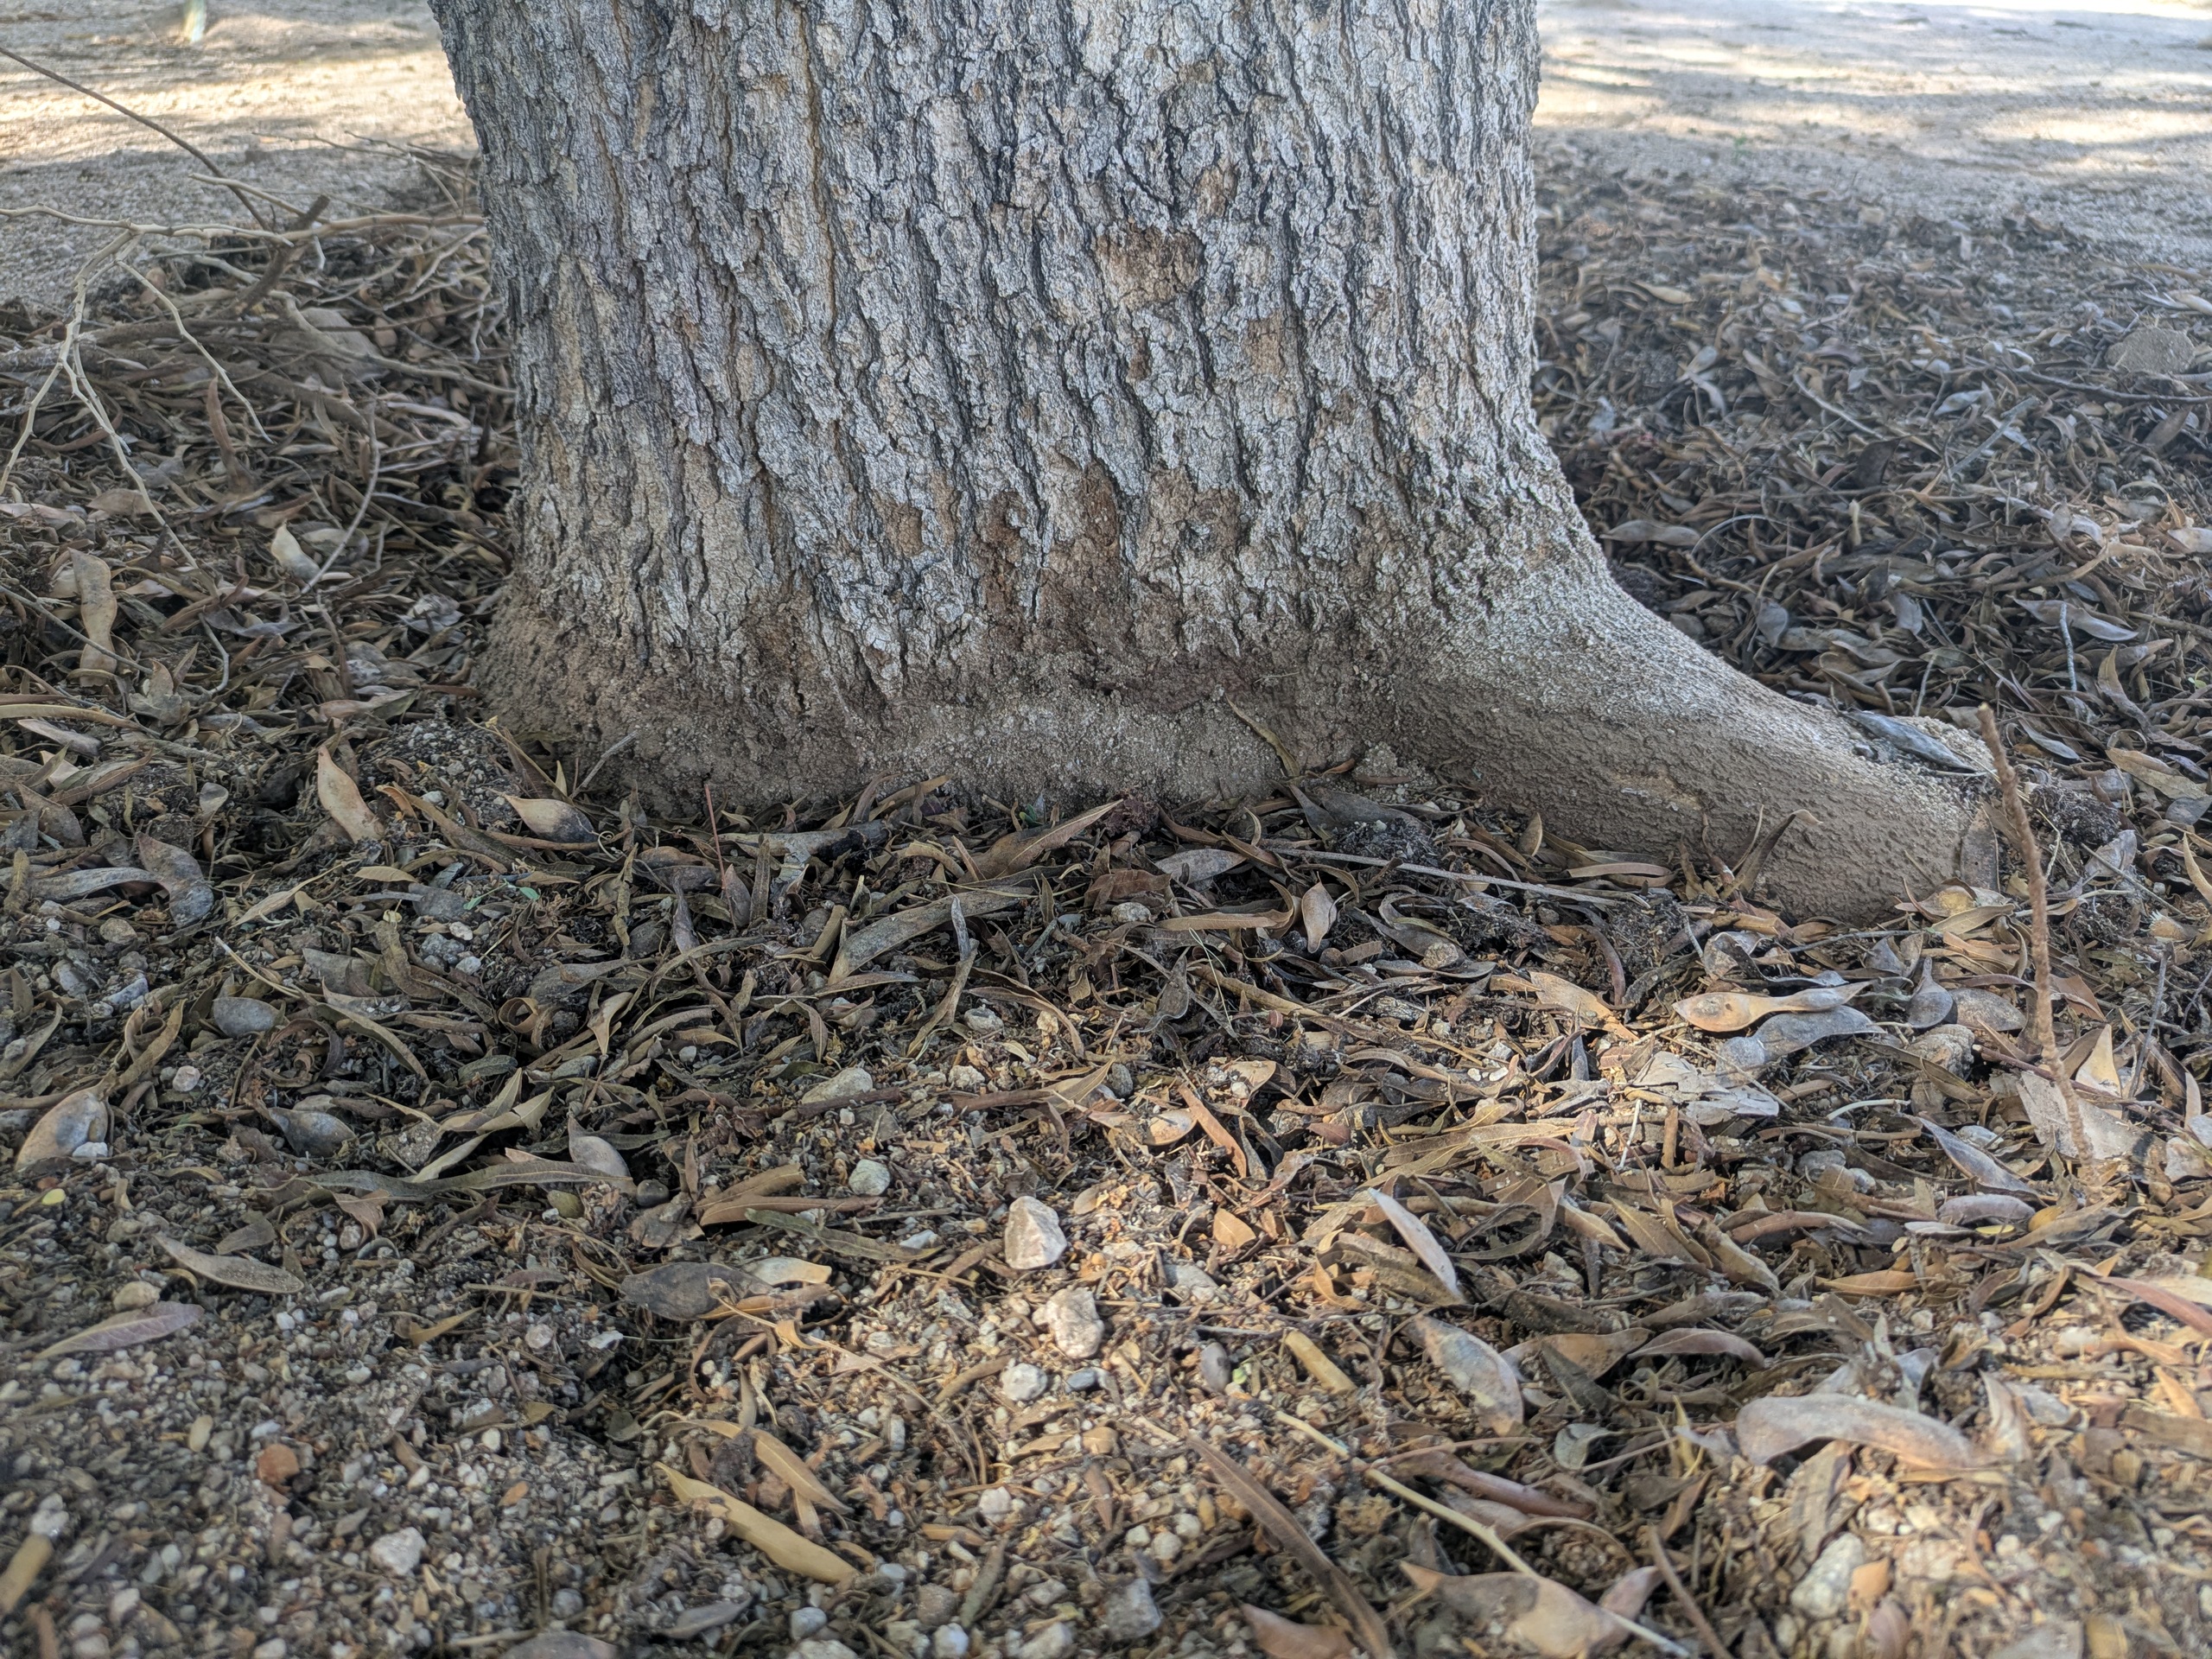
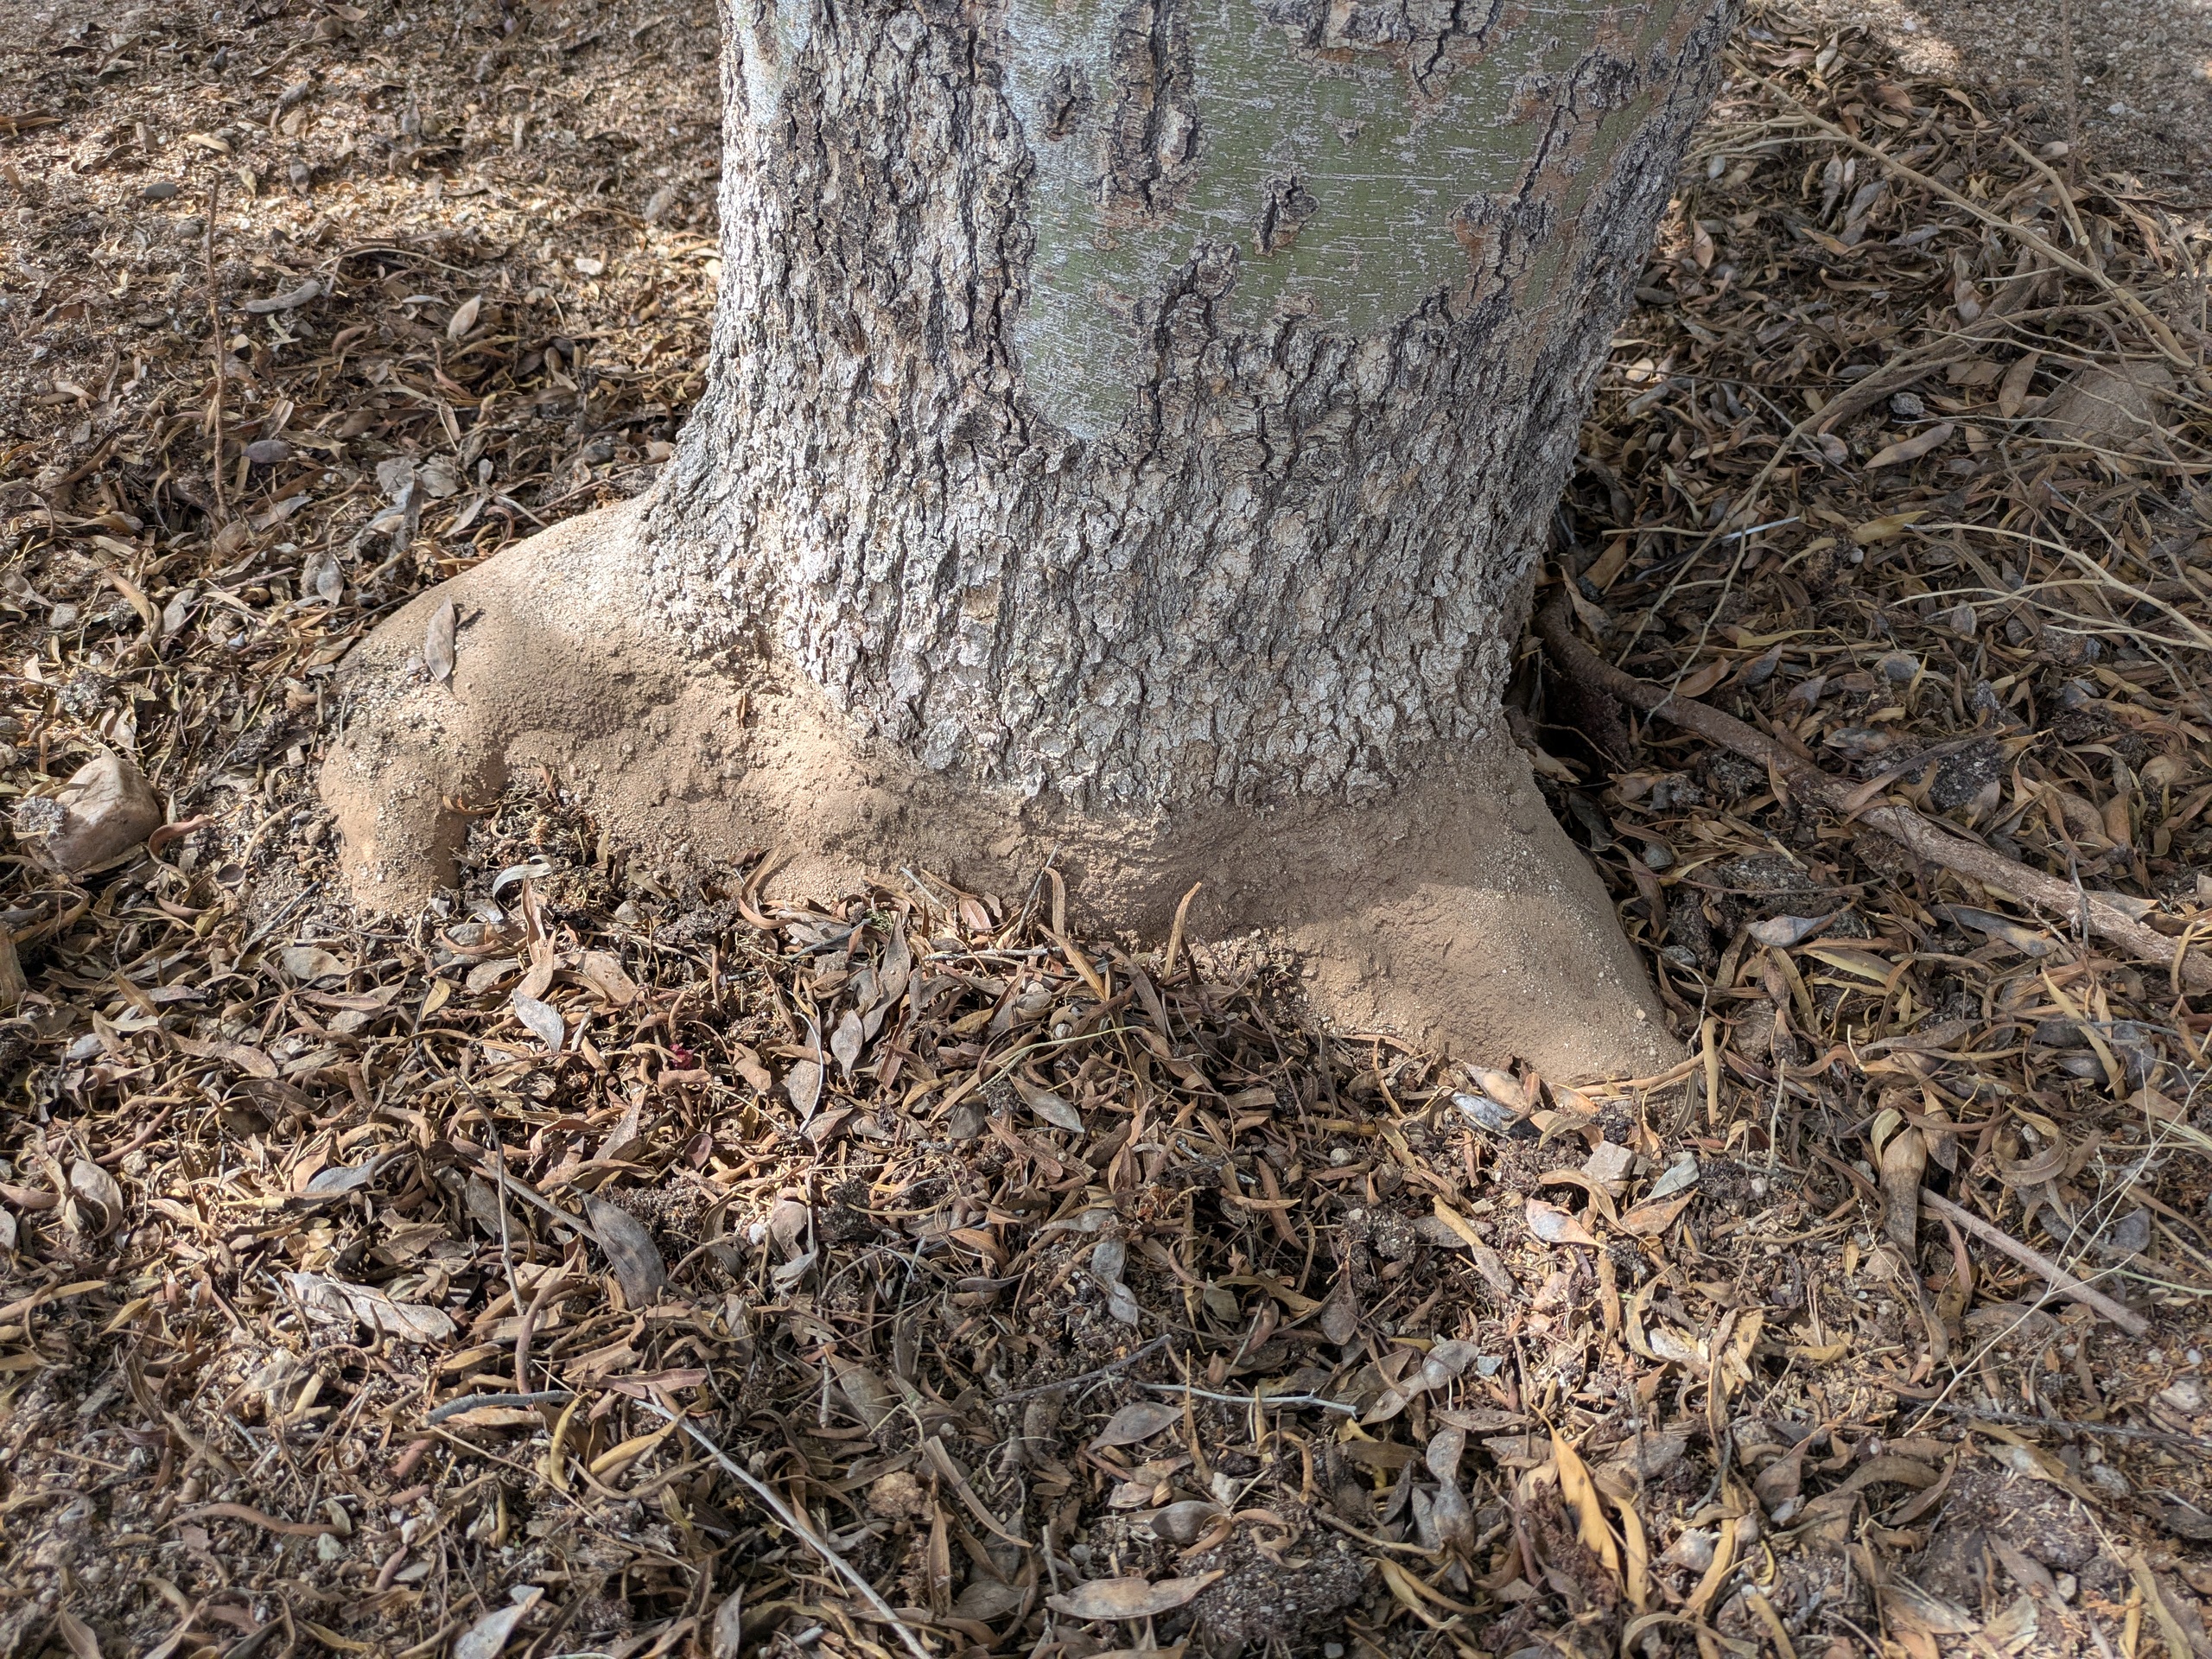
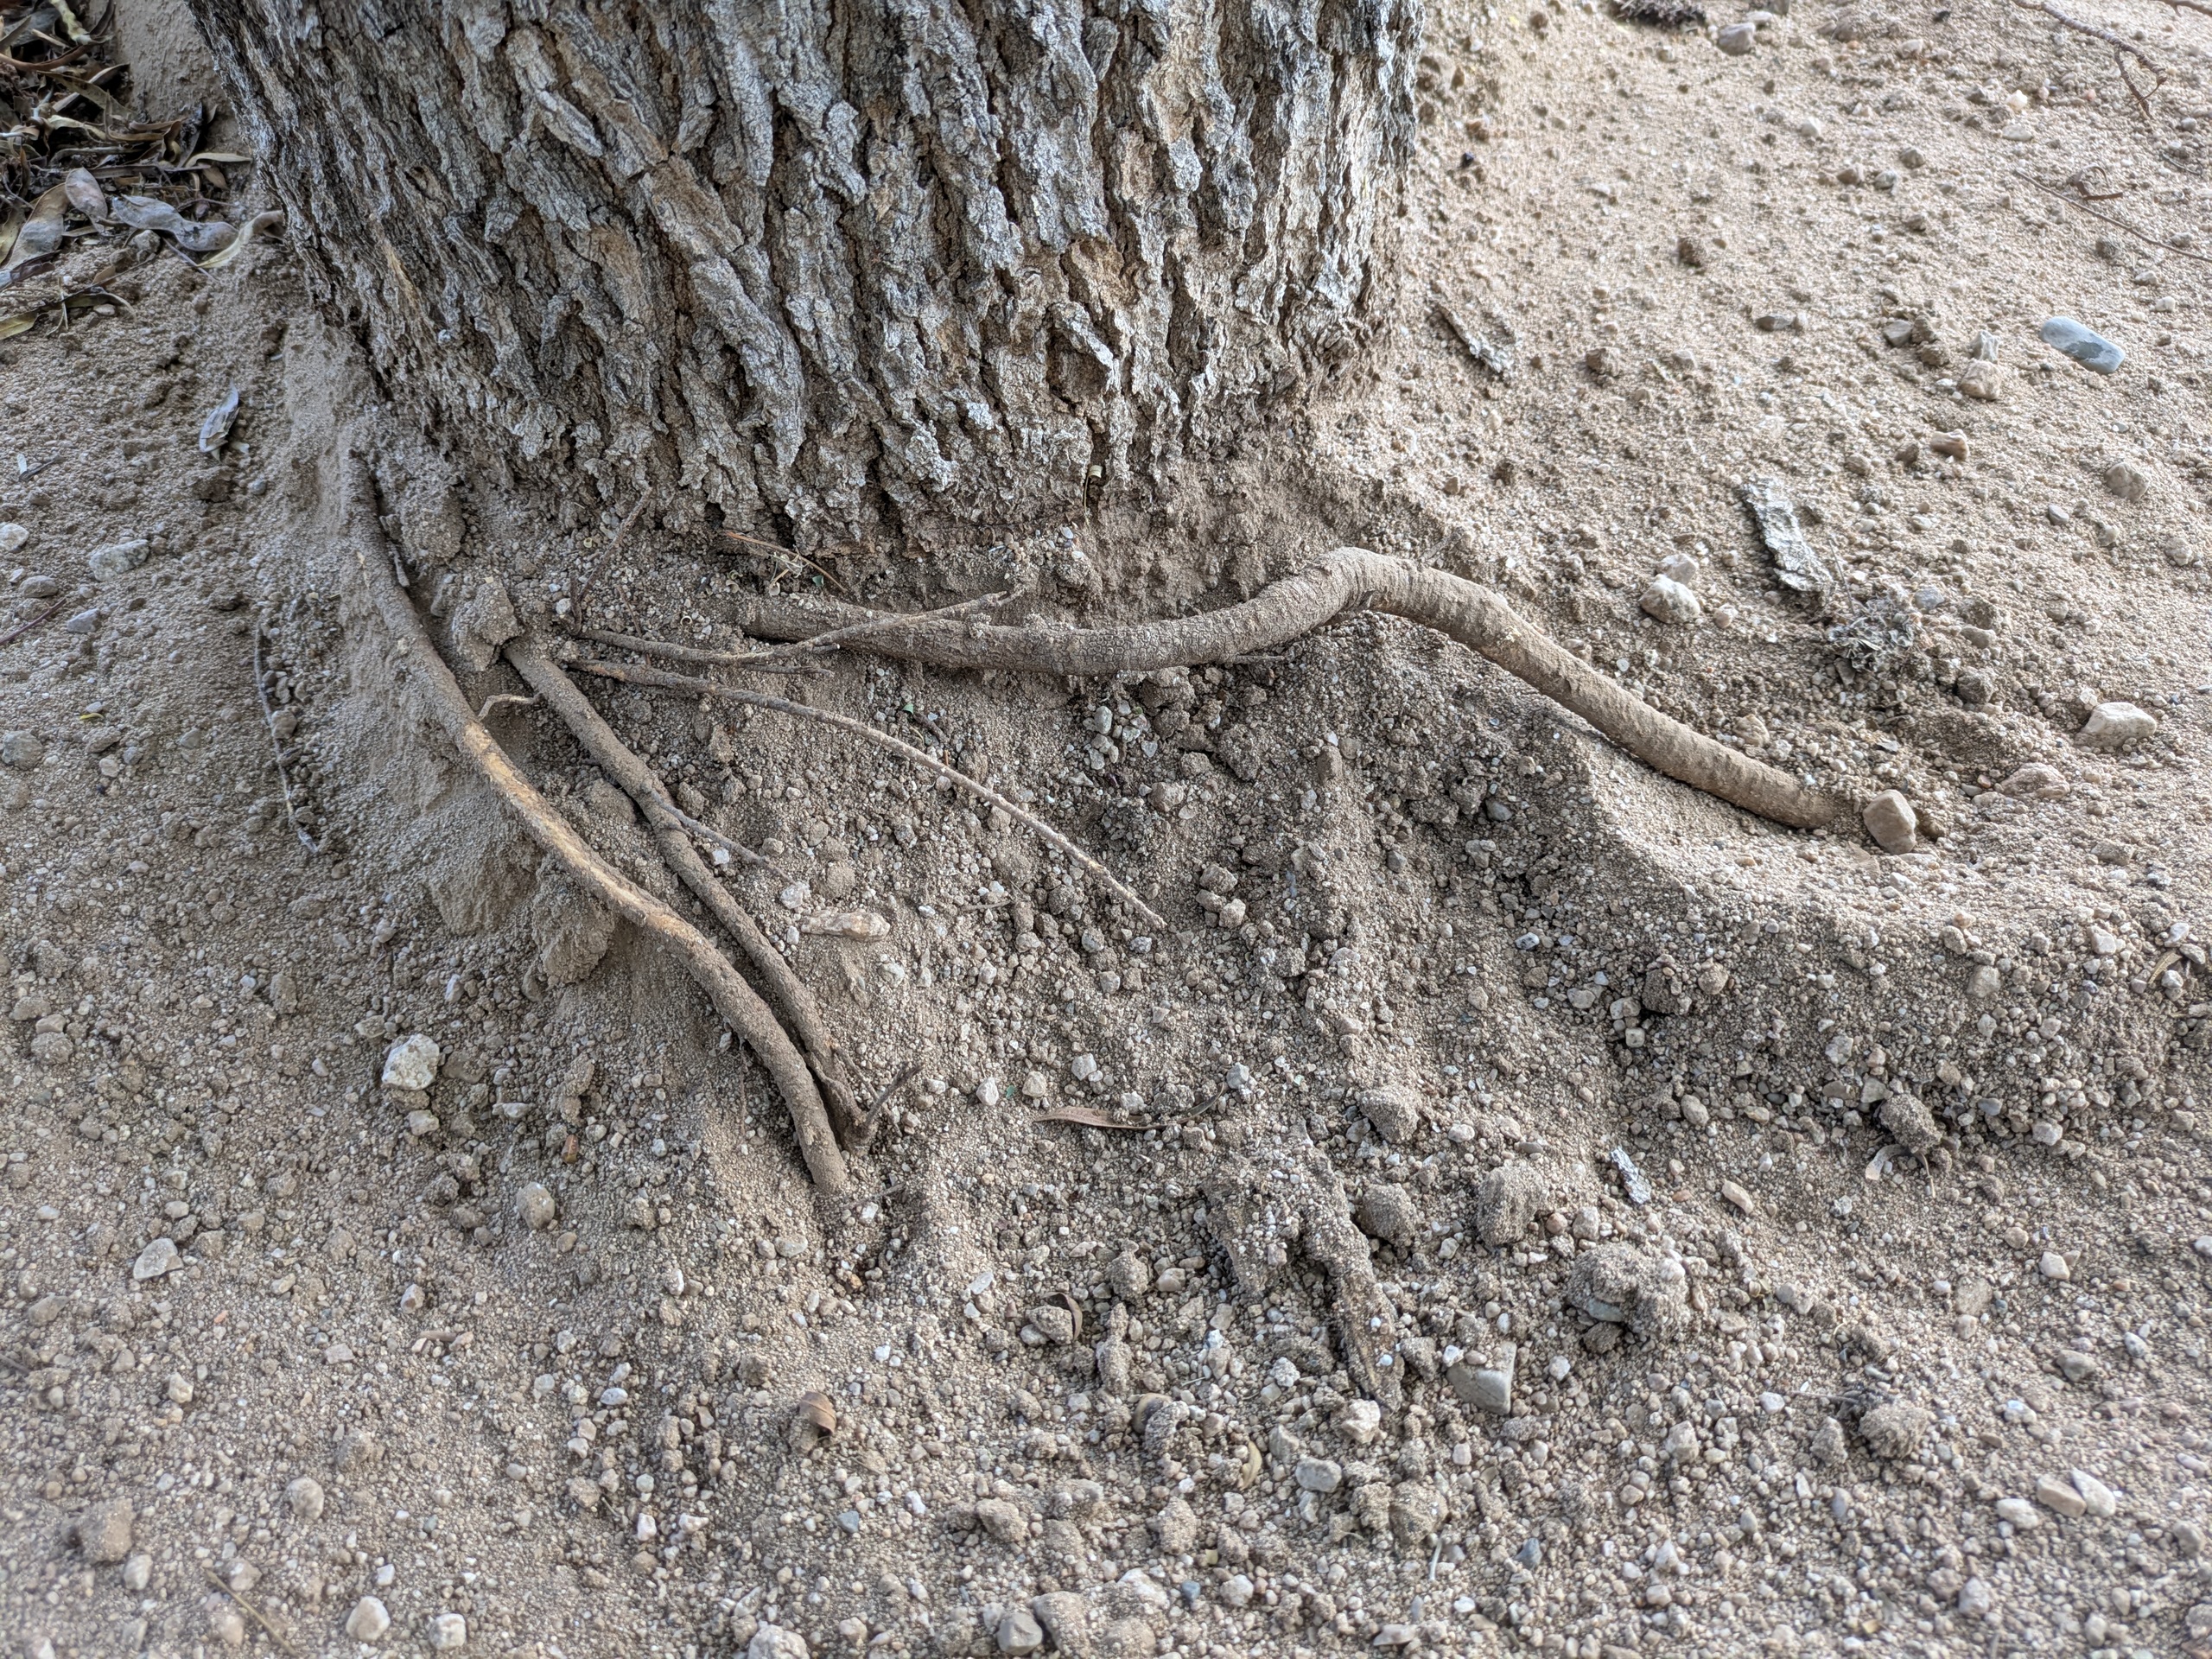
Step 3: Expose the Root Flare and Main Roots Look for the root flare—the area where the trunk widens and transitions into the main buttress roots. This part should always be visible above the soil surface, never buried. Carefully dig around the flare and main roots to fully expose them, giving them access to oxygen. This prevents rot or girdling roots caused by the buried flare.
Step 4: Remove Additional Soil if Needed Because mulch will be 2–3 inches deep, it’s a good idea to level the ring, especially if the topsoil covers roots too deeply. If the area is raised or compacted, gently remove excess soil to expose the root flare and avoid smothering roots.
Step 5: Spread the Mulch Apply mulch evenly to a depth of 2–3 inches. Keep mulch 1–3 inches away from the trunk to prevent moisture from contacting the bark, which can encourage pests and disease. You should always be able to see the first part of the root flare clearly; if not, the mulch is too close or too deep.
You can work out how much mulch you need by using this calculation.
Area of tree ring: 3.14 x the radius (r) squared. The radius is half of the diameter, so a 6ft ring would be 3 ft squared, or 9 ft.
Multiply the area by the depth of the mulch in feet. 3 inches would be 0.25 ft.
Example using a 6ft diameter circle.
3.14 x (3x3) = 28.26
28.26 x 0.25 = 7.065 cubic feet of mulch.
For this example, I would buy 8 cubic feet to be on the safe side.
Step 6: Maintain and Reapply Mulch breaks down over time, adding organic matter to the soil. In some climates, this may require refreshing the mulch once a year; in drier areas or with slower-decomposing mulch, every 2–3 years may be sufficient. When refreshing mulch, always check that it hasn’t crept up the trunk—mulch volcanoes can suffocate roots and invite decay.
For desert trees
The steps are almost all the same for desert trees. However, with the sandier soil, less prep work will be required. Gravel is recommended as a soil amendment in small amounts before applying mulch to condition the soil and provide good air and water circulation.
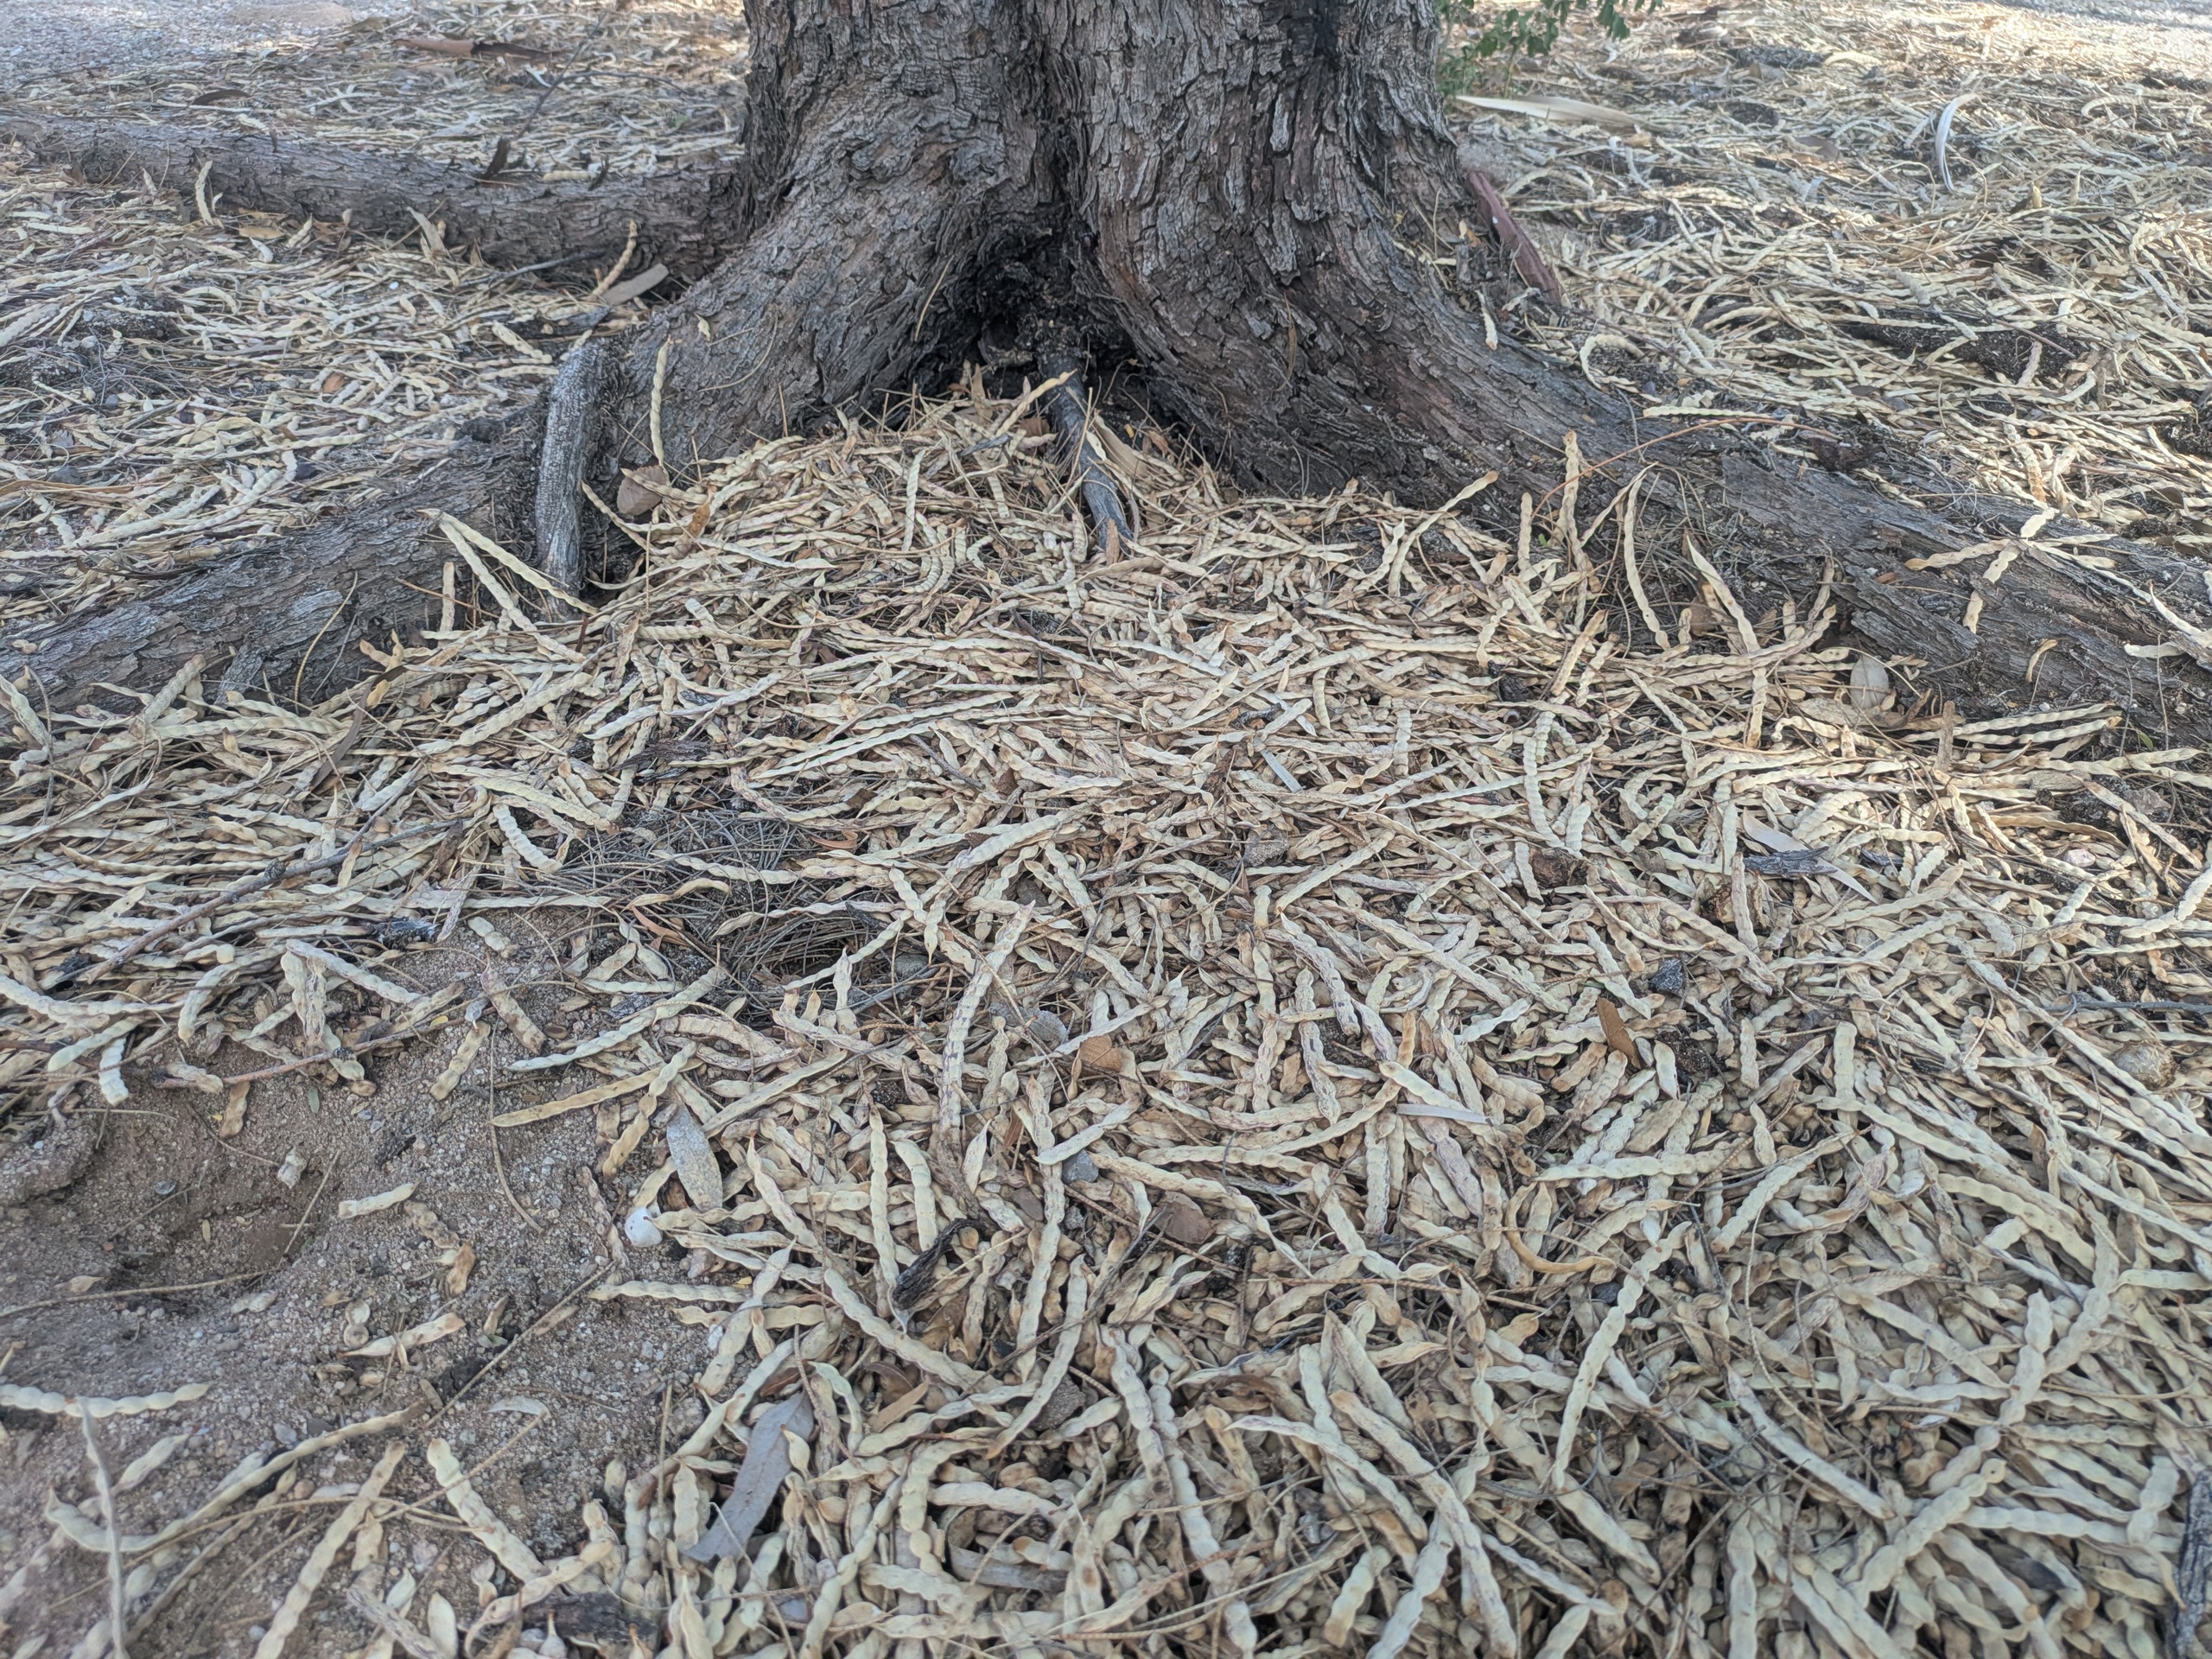
Still apply a 2-3 inch thick layer of mulch to the drip line. I typically mulch mine with the organic litter they create, allowing the leaves to decompose a little in a pile before spreading, so they aren’t carried so easily by the strong winds.
Common Mulching Mistakes
Even experienced gardeners sometimes make mistakes when mulching. Here are a few pitfalls to watch for so your mulch works with your tree, not against it.
1: Weed Barriers and Over-Mulching. Avoid using weed membranes or landscape fabric—they can suffocate the soil and disrupt natural microbial activity. Weeds are easy to pull from mulch since they take longer to root. Also, don’t overdo the mulch: more than 4 inches can smother roots and reduce oxygen flow.
2: Excessive Moisture Retention. Fine-textured mulch like peat moss, grass clippings, or sawdust holds excessive moisture and can lead to fungal issues. These materials should only be used in combination with coarser mulch. A balanced blend improves drainage and aeration.
3: Heat Injury. Dark-colored mulches absorb heat during the day and release it slowly at night, which can cause heat stress and tissue damage—especially in young trees. Undyed, natural mulch is a safer choice.
4: Root Collar Rot. Mounding mulch around the base of a tree (a “mulch volcano”) can trap moisture against the bark, leading to decay at the root collar or to root girdling. Once this tissue is compromised, disease organisms can easily invade, and girdled roots can eventually starve the tree.
Always keep mulch pulled back from the trunk and root flare.
Wrapping Up
Mulching your trees will help them thrive. It’s an easy way to give them nutrients, support a healthy living environment, and create a healthier environment not only for your trees, but also for the wildlife that depend on them.
Mulching also doesn’t have to be done all at once. There are a lot of trees in my yard, so I’ve spread it out. I’ve started with a small ring around all of the trees and will slowly expand them to the right size, doing a little every year.