If you live anywhere with deciduous trees, then you have the key ingredient for one of the best natural soil supplements—leaf mold. This organic material improves soil structure, boosts moisture retention, and supports beneficial soil organisms, making it an essential addition to any garden.
In this article, we’ll run through the simple process and break down (pun intended) some of the science behind it.
What is Leaf Mold?
Despite its name, leaf mold isn’t slimy, smelly, or unpleasant. It’s simply decomposed leaves broken down by fungal activity rather than bacteria, as happens in traditional composting. Unlike compost, leaf mold doesn’t require “green” materials like vegetable scraps—it’s just leaves. The result is a dark, earthy-smelling material packed with nutrients that enriches the soil and supports plant health.

Why Use Leaf Mold in Your Garden?
Fallen leaves naturally decompose over a period of one to two years, returning essential nutrients to the soil and conditioning it to be more suitable for plant growth. By actively making leaf mold, you speed up this process and gain several key benefits:
- Improved soil structure – Leaf mold makes soil more porous by creating air pockets and adding structure, helping roots grow deeper and stronger.
- Enhanced moisture retention – Leaf mold can hold several times its weight in water (and it releases it slowly), reducing the need for frequent watering—especially useful in dry seasons.
- Boosted soil biodiversity – By introducing beneficial fungi and microbes that work alongside worms and other decomposers, leaf mold creates healthy, aerated soil that has readily available nutrients.
How to Make Leaf Mold
All you need are leaves, water, and time. With a few simple steps, you can speed up the decomposition process and have nutrient-rich leaf mold ready in as little as six months.
Step 1: Collect the Right Leaves
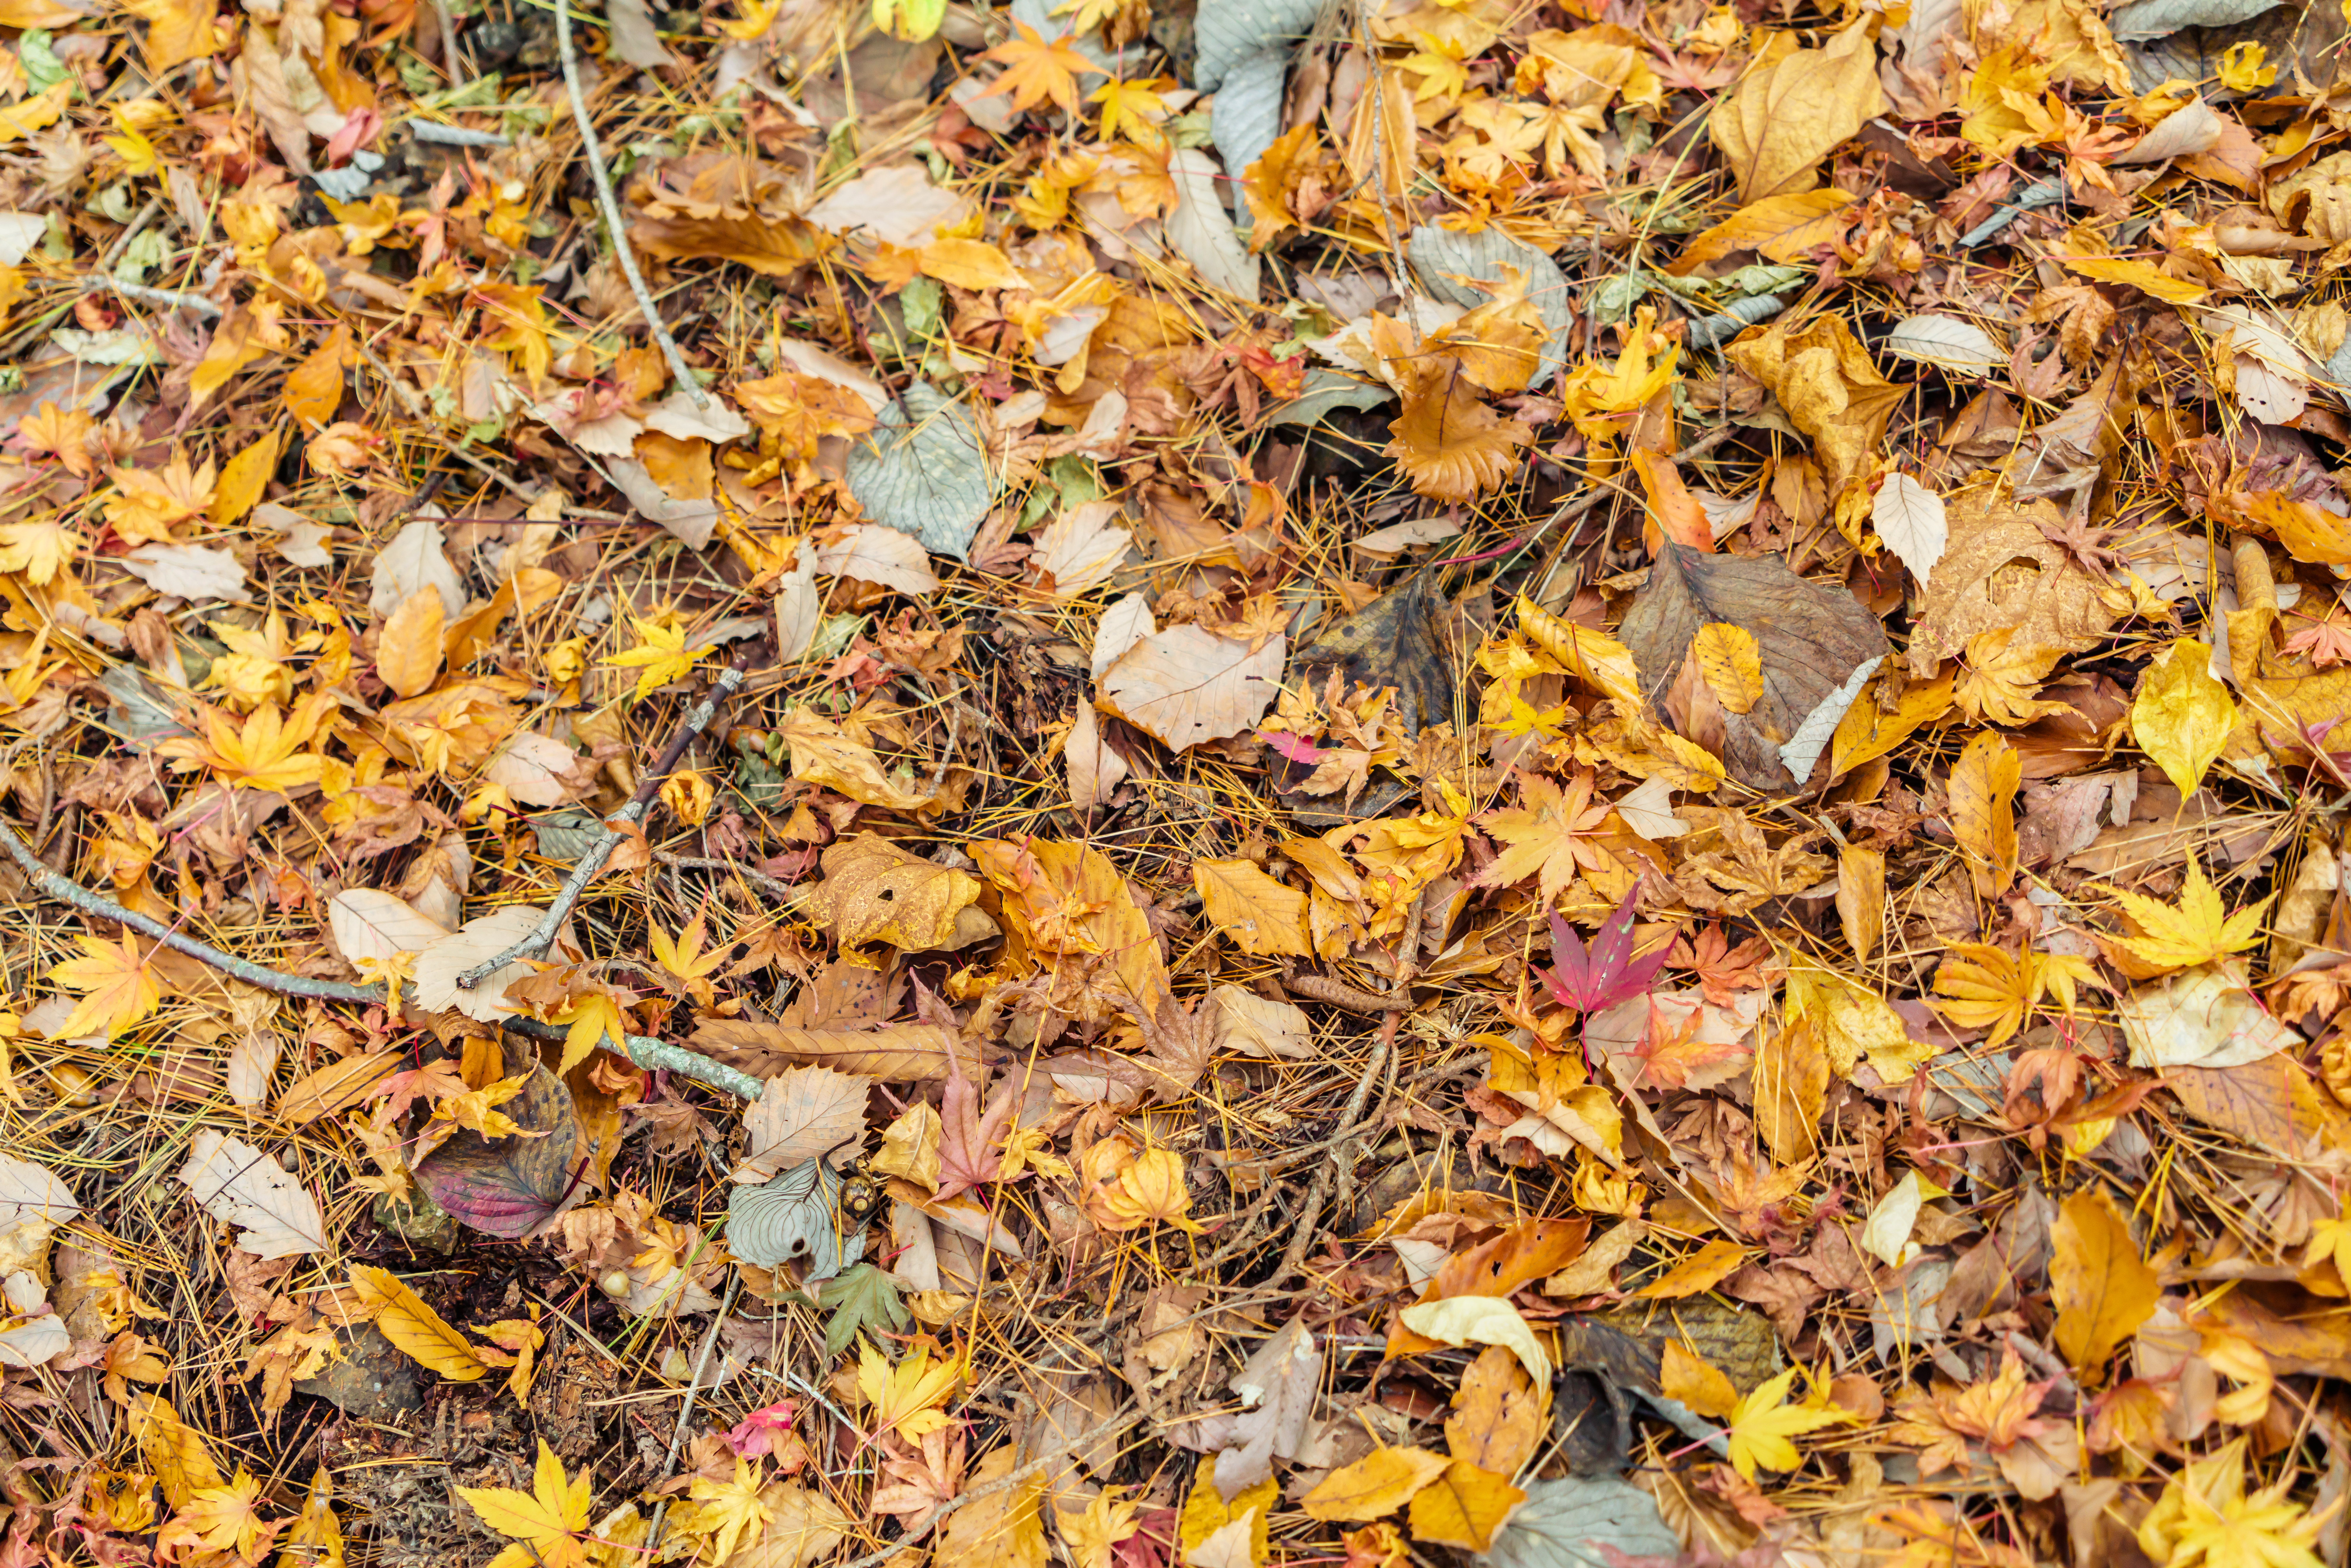
- Choose a variety of deciduous leaves. If it falls to the ground in autumn, it’s deciduous.
- Avoid waxy leaves (e.g., magnolia, holly) and limit the amount of pine needles you use, as they decompose much more slowly and are quite acidic.
- Thin, crisp leaves (like birch or maple) break down fastest, while tougher leaves (like oak) take longer but still produce excellent leaf mold. A diverse mix is ideal and will vary based on your local tree species.
Step 2: Shred and Contain
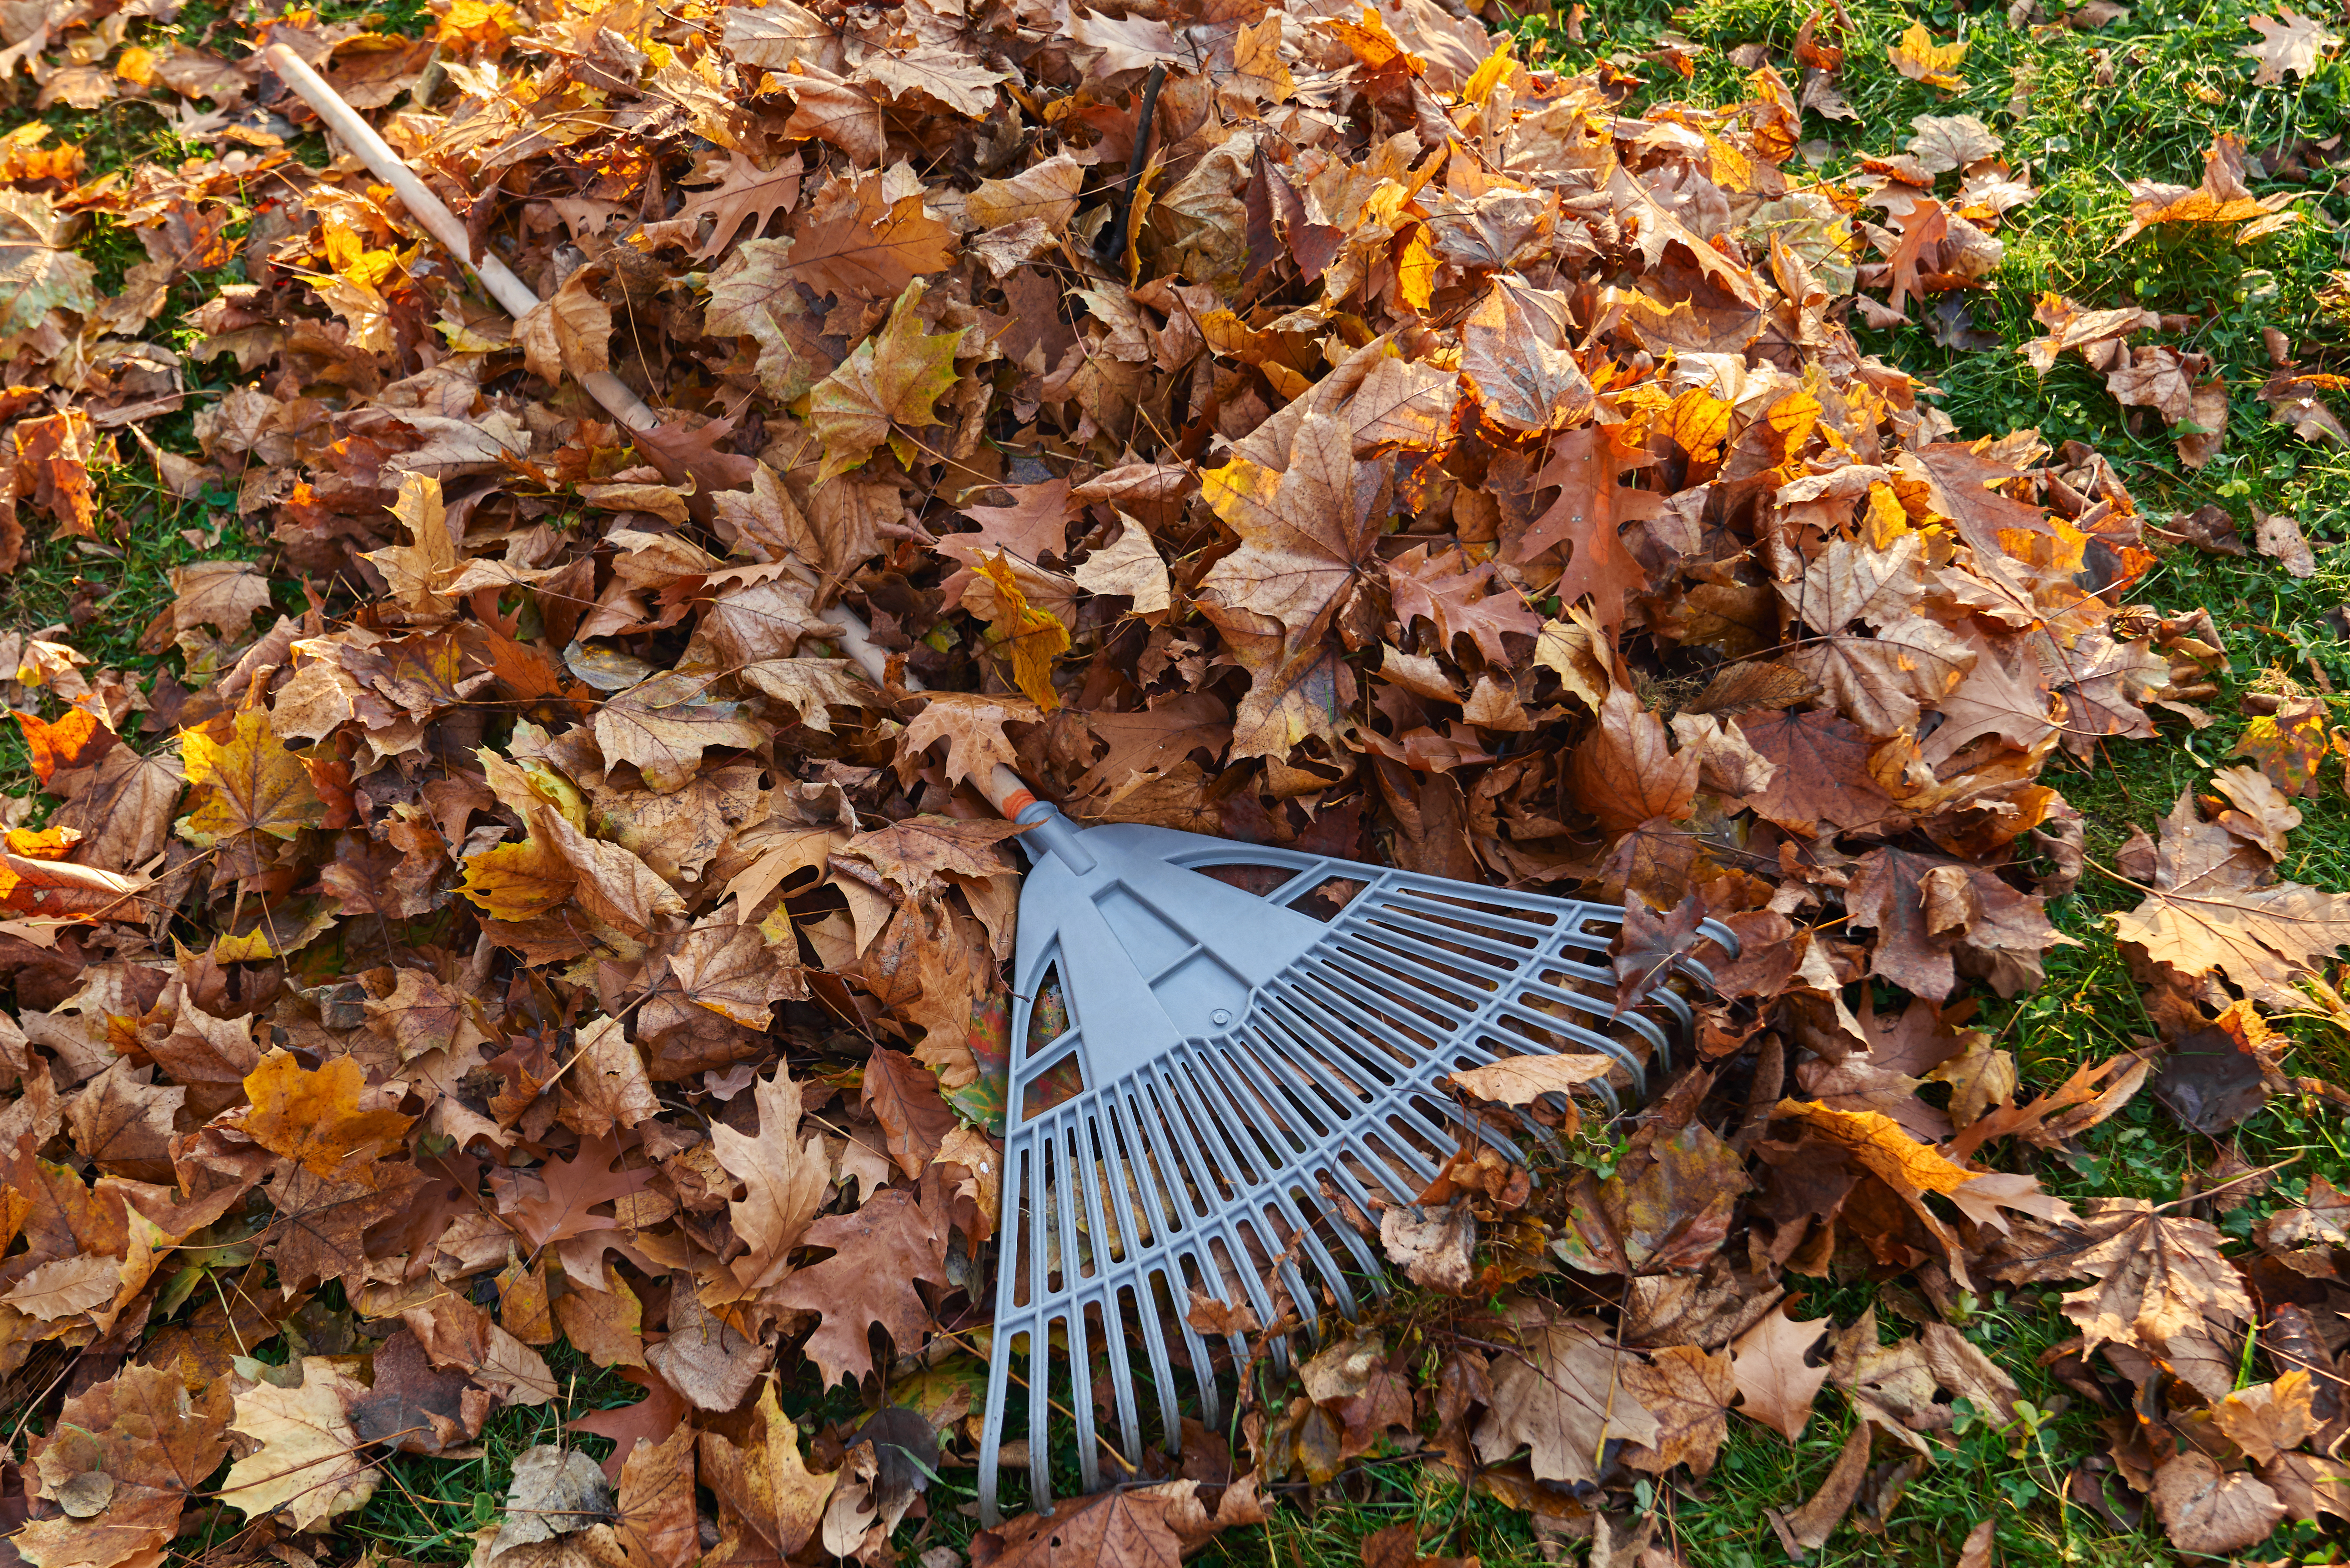
- Shred some of the leaves by running over them with a lawnmower a couple of times, or by rubbing them between your hands. This increases the decomposable surface area. Some leaves should be left whole.
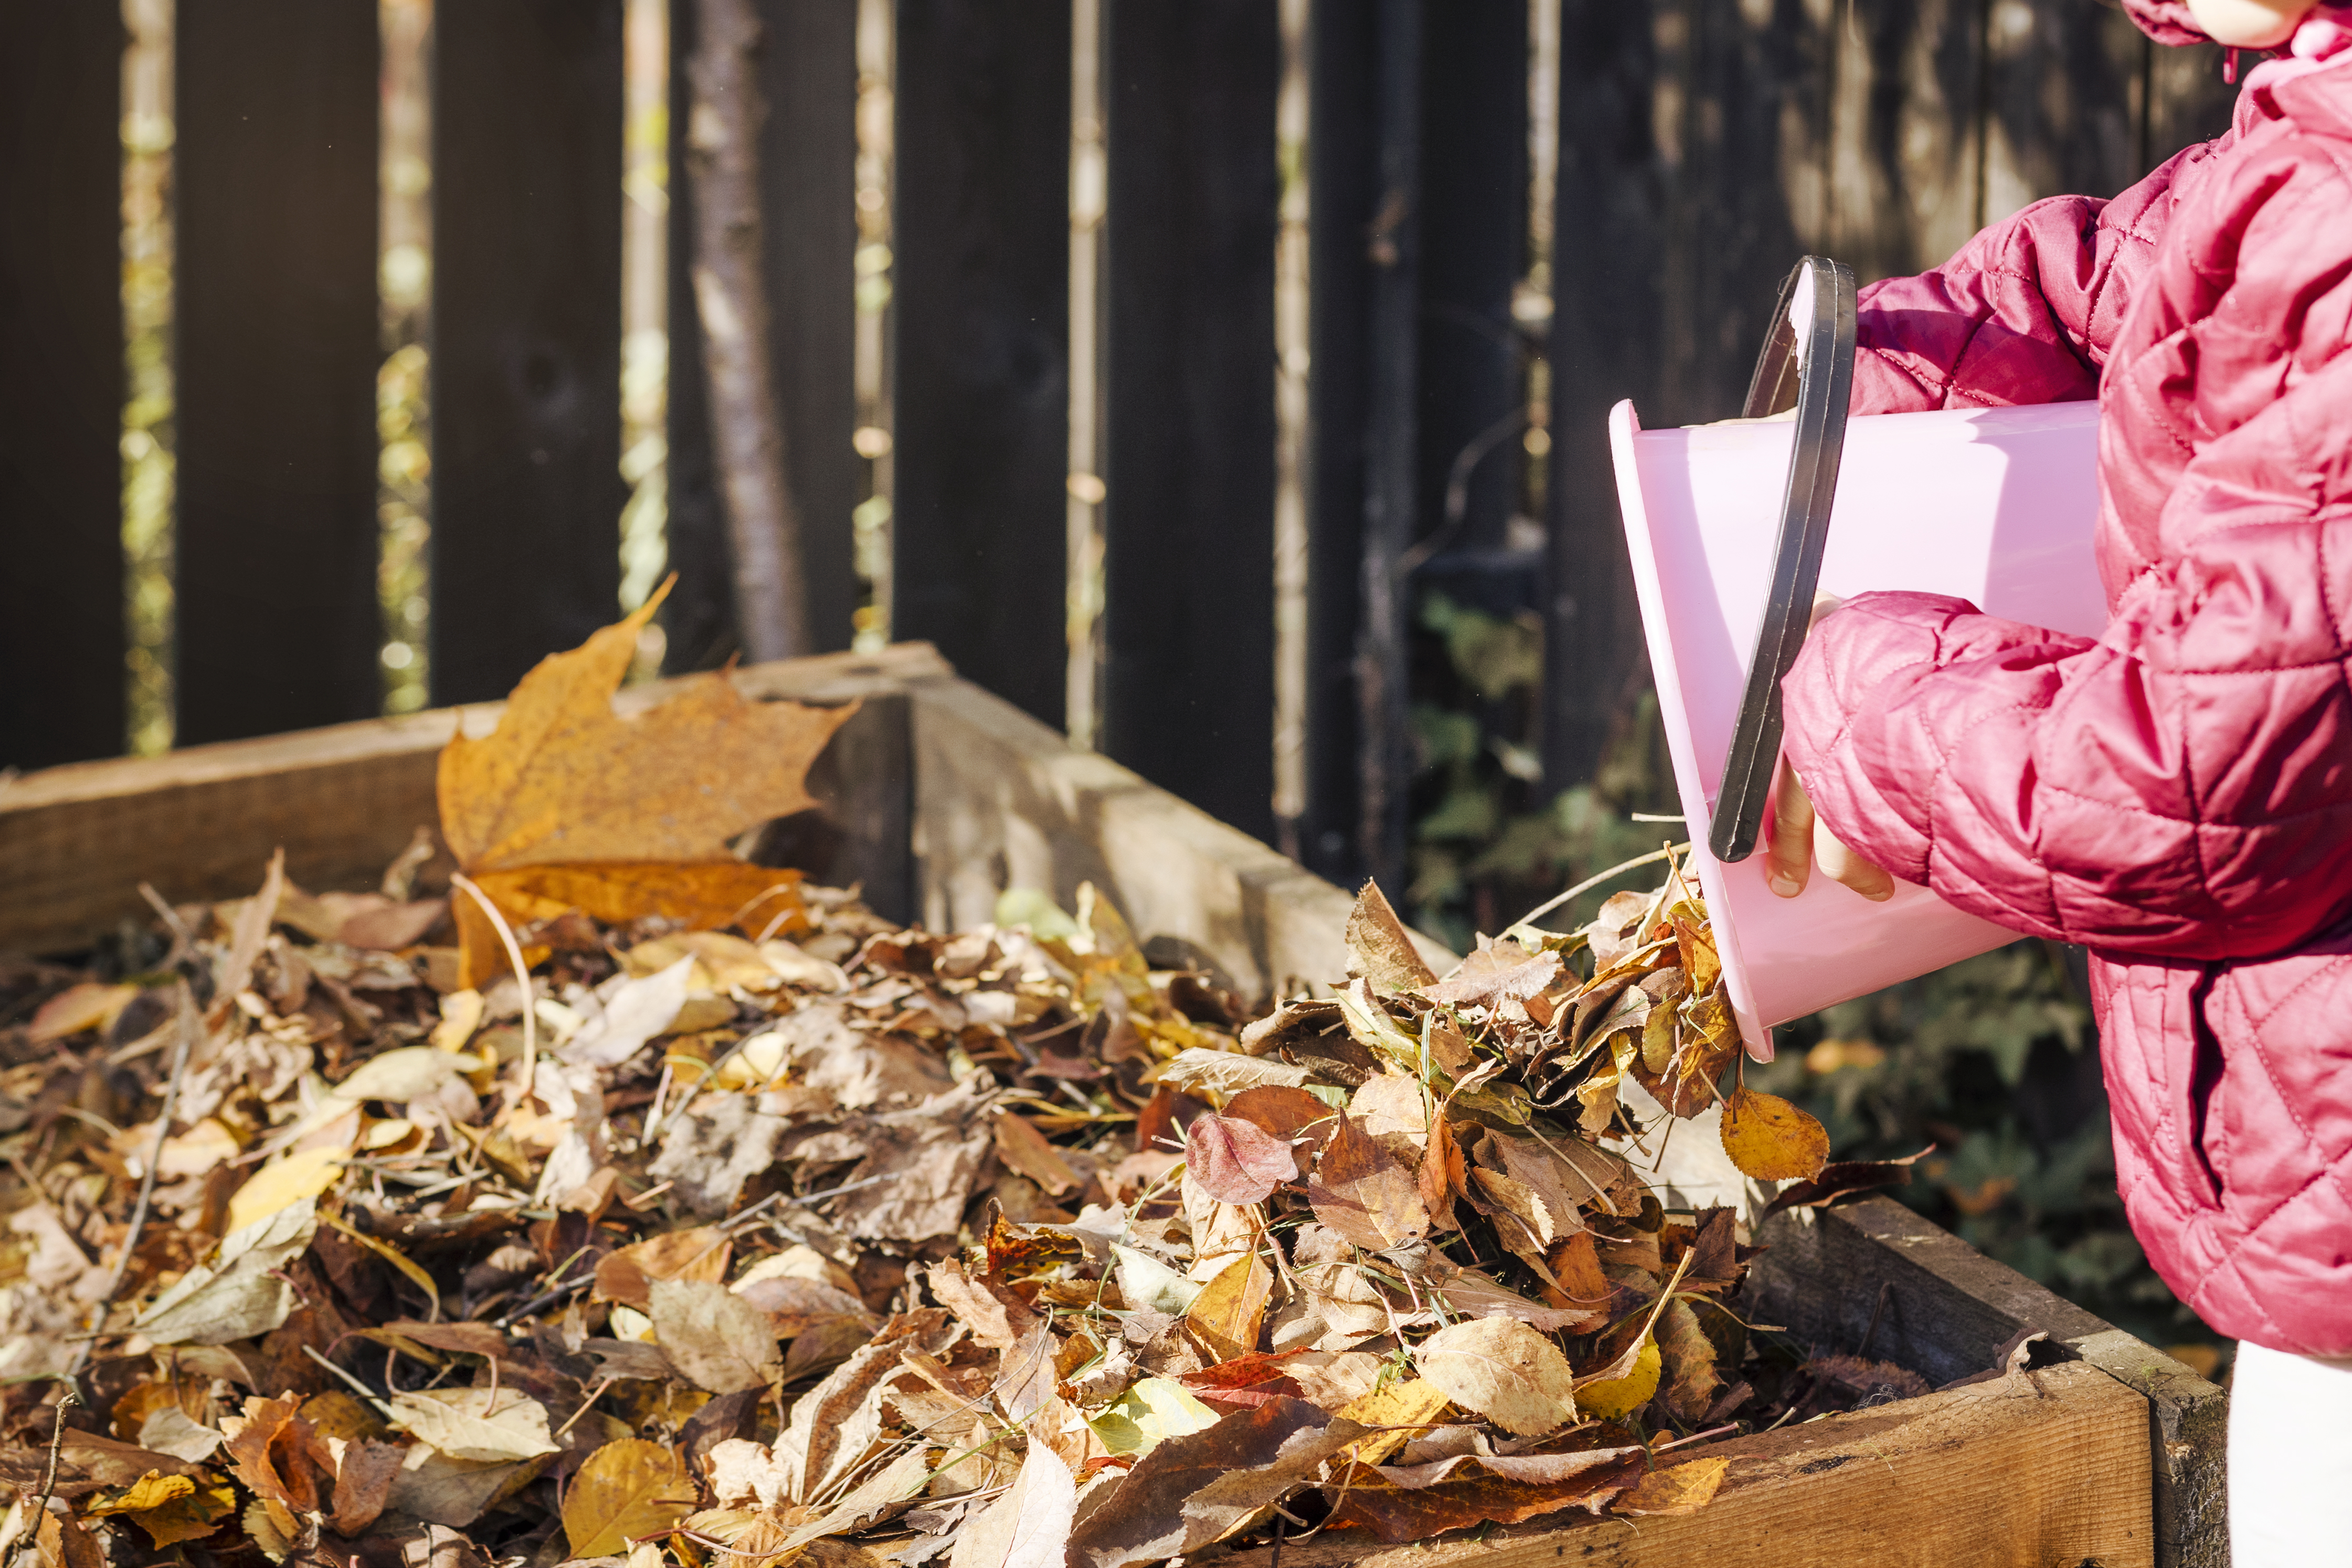
- Stuff the leaves into your bag of choice (plastic or paper [I prefer paper]) or a dedicated leaf pile in a cool, shady area. Both methods work well—it’s mostly about space and convenience. Note that paper bags may start to decompose, so you may need to double-bag.
- If you are creating your leaf mold in a pile (or compost bin), placing a waterproof or weed-suppressing membrane, such as burlap, underneath the leaf pile helps the pile to stay damp.
- If using bags, poke a few small holes near the top for airflow and the bottom for drainage. A pencil works well for this.
Step 3: Add Water and Wait
- Lightly moisten the leaves—they should be damp but not soaking wet.
- Store the filled bags of leaves or pile in your chosen shady spot and check every few weeks, adding water as needed to maintain moisture.
- Turn the leaves (by shaking or with a trowel) occasionally to encourage healthy fungi (both aerobic and anaerobic, for you fungi enthusiasts) to decompose the leaves more quickly and efficiently.
Step 4: Use in Your Garden
- Your leaf mold is ready when most of the leaves have broken down into dark, crumbly material (typically within 6–12 months).
- Spread it as mulch on top of soil or mix it into garden beds.
You can also simply pile leaves in a cool, shady corner and keep them damp. They will mold more slowly, but the results are just as good.
Top Uses for Leaf Mold in the Garden
- Mulch: Spread 2–3 inches thick around plants and trees to conserve water, suppress weeds, and regulate soil temperature.
- Soil Amendment: Mix into garden beds or containers to improve soil texture, aeration, and water-holding capacity.
- Seed Starting Mix: Blend sifted leaf mold with sand or compost for a light, moisture-retentive seedling medium.
- Potting Mix Ingredient: Combine with compost and perlite/vermiculite for a balanced, nutrient-rich potting soil.
The Science
Leaves are carbon-rich, which makes them delicious to carbon-consuming micro-organisms, like fungi. Because fallen leaves are either dead or mostly dead, they have lost most of their nitrogen, and are now considered ‘brown’ garden material as opposed to the traditional ‘green’ garden material traditionally used for compost.
Enzymes released by the fungi break down the leaf matter, releasing very little heat. That’s why leaf mold doesn’t ‘cook’ like compost—it stays cool and works slowly, leaving you with a stable, humus-rich conditioner
Final Thoughts
Leaf mold is an easy, low-cost way to improve soil health while recycling what nature provides. With minimal effort, you can transform fallen leaves into a powerhouse soil conditioner that keeps your garden thriving.
So next time autumn rolls around, save—don’t toss—the leaves from your garden, or your neighbour’s garden, and start making leaf mold for healthier soil and stronger plants!
For extra bonus points, leave some leaves to decompose naturally. This is good both for the plants they fell from and for the host of critters that call leaf piles home.