While home fermentation is a natural and rewarding process, it does involve live bacteria. To keep things safe and delicious, be sure to follow the safety guidelines included at the end of this article.
It’s peak harvest season, folks! If you’ve ever watched RedLeaf Ranch on YouTube, you can probably hear him yelling it already: “ABUNDANCE!”
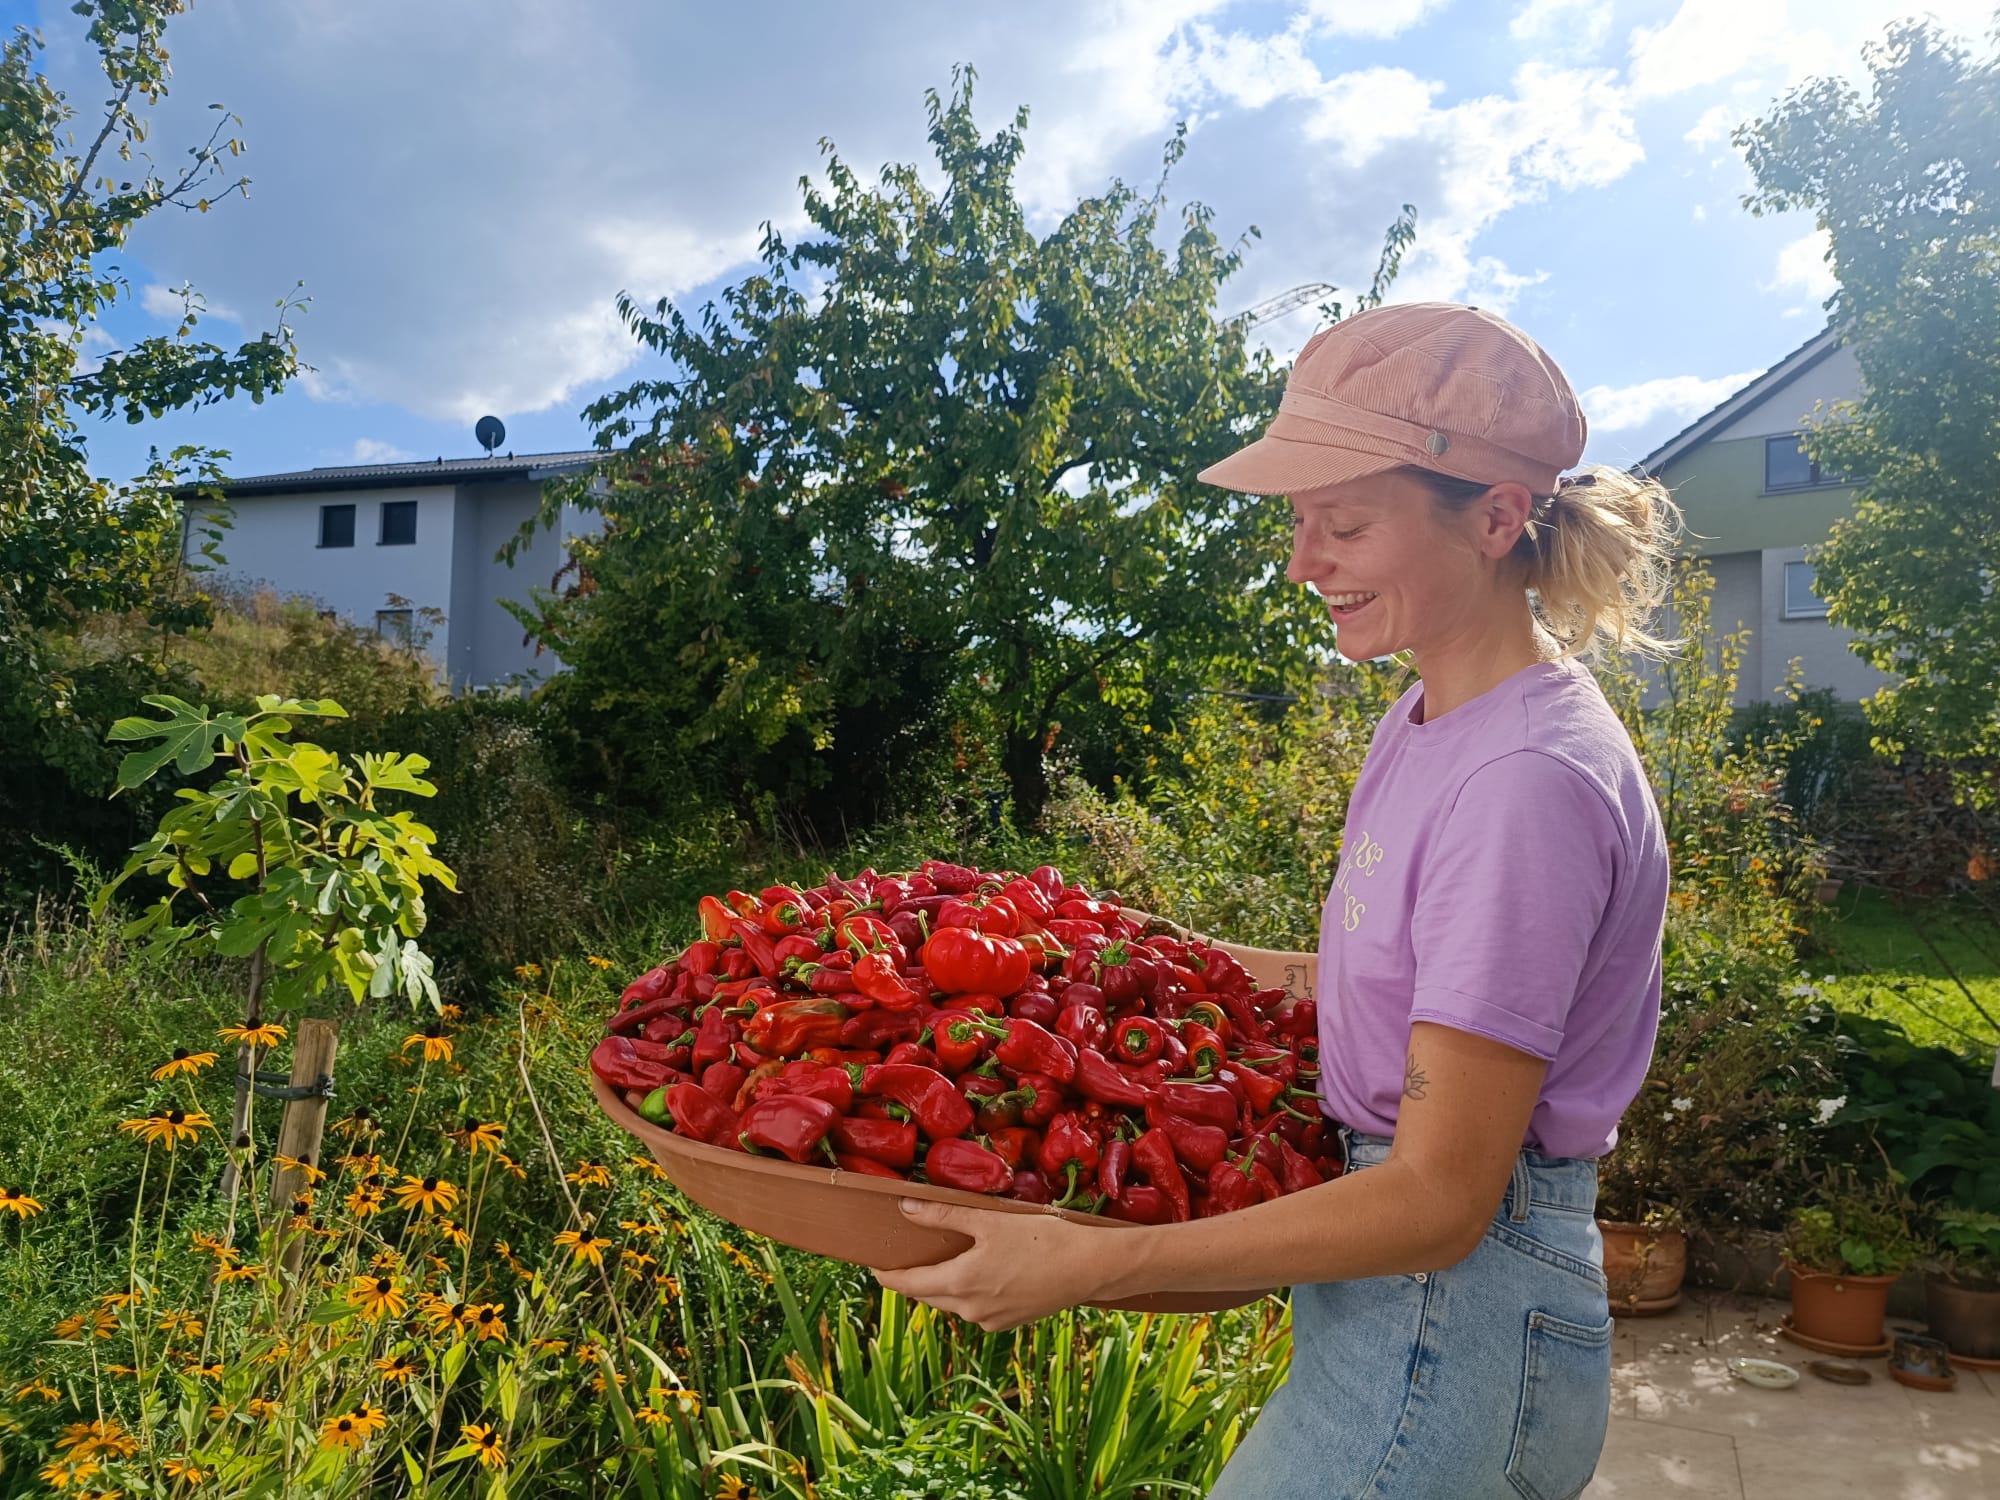
Because that’s exactly what many of us are experiencing in our gardens right now. The beds are bursting with produce and while it’s a blessing, it can also be a bit… overwhelming. There’s only so much we can eat fresh. Last year, this was my spicy pepper harvest and yes, even my biceps were feeling a little overwhelmed!
Now, picture yourself as a farmer hundreds of years ago. You’ve just harvested a mountain of pepper but there’s no fridge, no freezer, and winter is coming. What do you do?
You slice the peppers, mix them with some salt, and pack them tightly into a jar. Then, something begins to happen. Over the next few days or weeks, that simple mix transforms: preserving the food and turning it into something tangy, nourishing, and full of flavor that lasts well into the cold months.
That, my friends, is the ancient, funky, and fabulous method known as: lacto-fermentation. In this piece, I’ll walk you through everything you need to know. It’s going to be a long one, so get cozy and buckle up!
What Is Lacto-Fermentation, Anyway?
Long before refrigerators, pressure canners, or supermarket jars lined with preservatives, people needed ways to keep their food from spoiling, especially during and after harvest season. One of the most brilliant solutions they discovered, perhaps even by accident, was lacto-fermentation: a natural, biological process that not only preserves food, but also transforms its flavor, texture, and nutritional value.
Lacto-fermentation is a type of fermentation driven by beneficial bacteria, especially those from the Lactobacillus family. These microbes are found naturally on the surface of vegetables, in soil, and even in our own guts.
During lacto-fermentation, Lactobacillus bacteria convert the natural sugars and starches in food into lactic acid, a compound that:
- Lowers the pH of the environment (making it more acidic)
- Inhibits spoilage by preventing the growth of harmful microbes
- Creates complex, tangy flavors
- Preserves the food for weeks or even months
- Produces probiotics, which may support gut health and immune function
Despite the name, “lacto” refers to lactic acid, not lactose. So, it’s totally dairy-free unless dairy is used as the base (like in yoghurt or cheese).
What Happens Step by Step?
At its core, it’s super simple: veggies + salt + water + time = magic.
No vinegar. No heat. Just naturally occurring good bacteria that feast on your vegetables’ sugars and transform them into tangy, probiotic powerhouses.Here’s what actually happens:
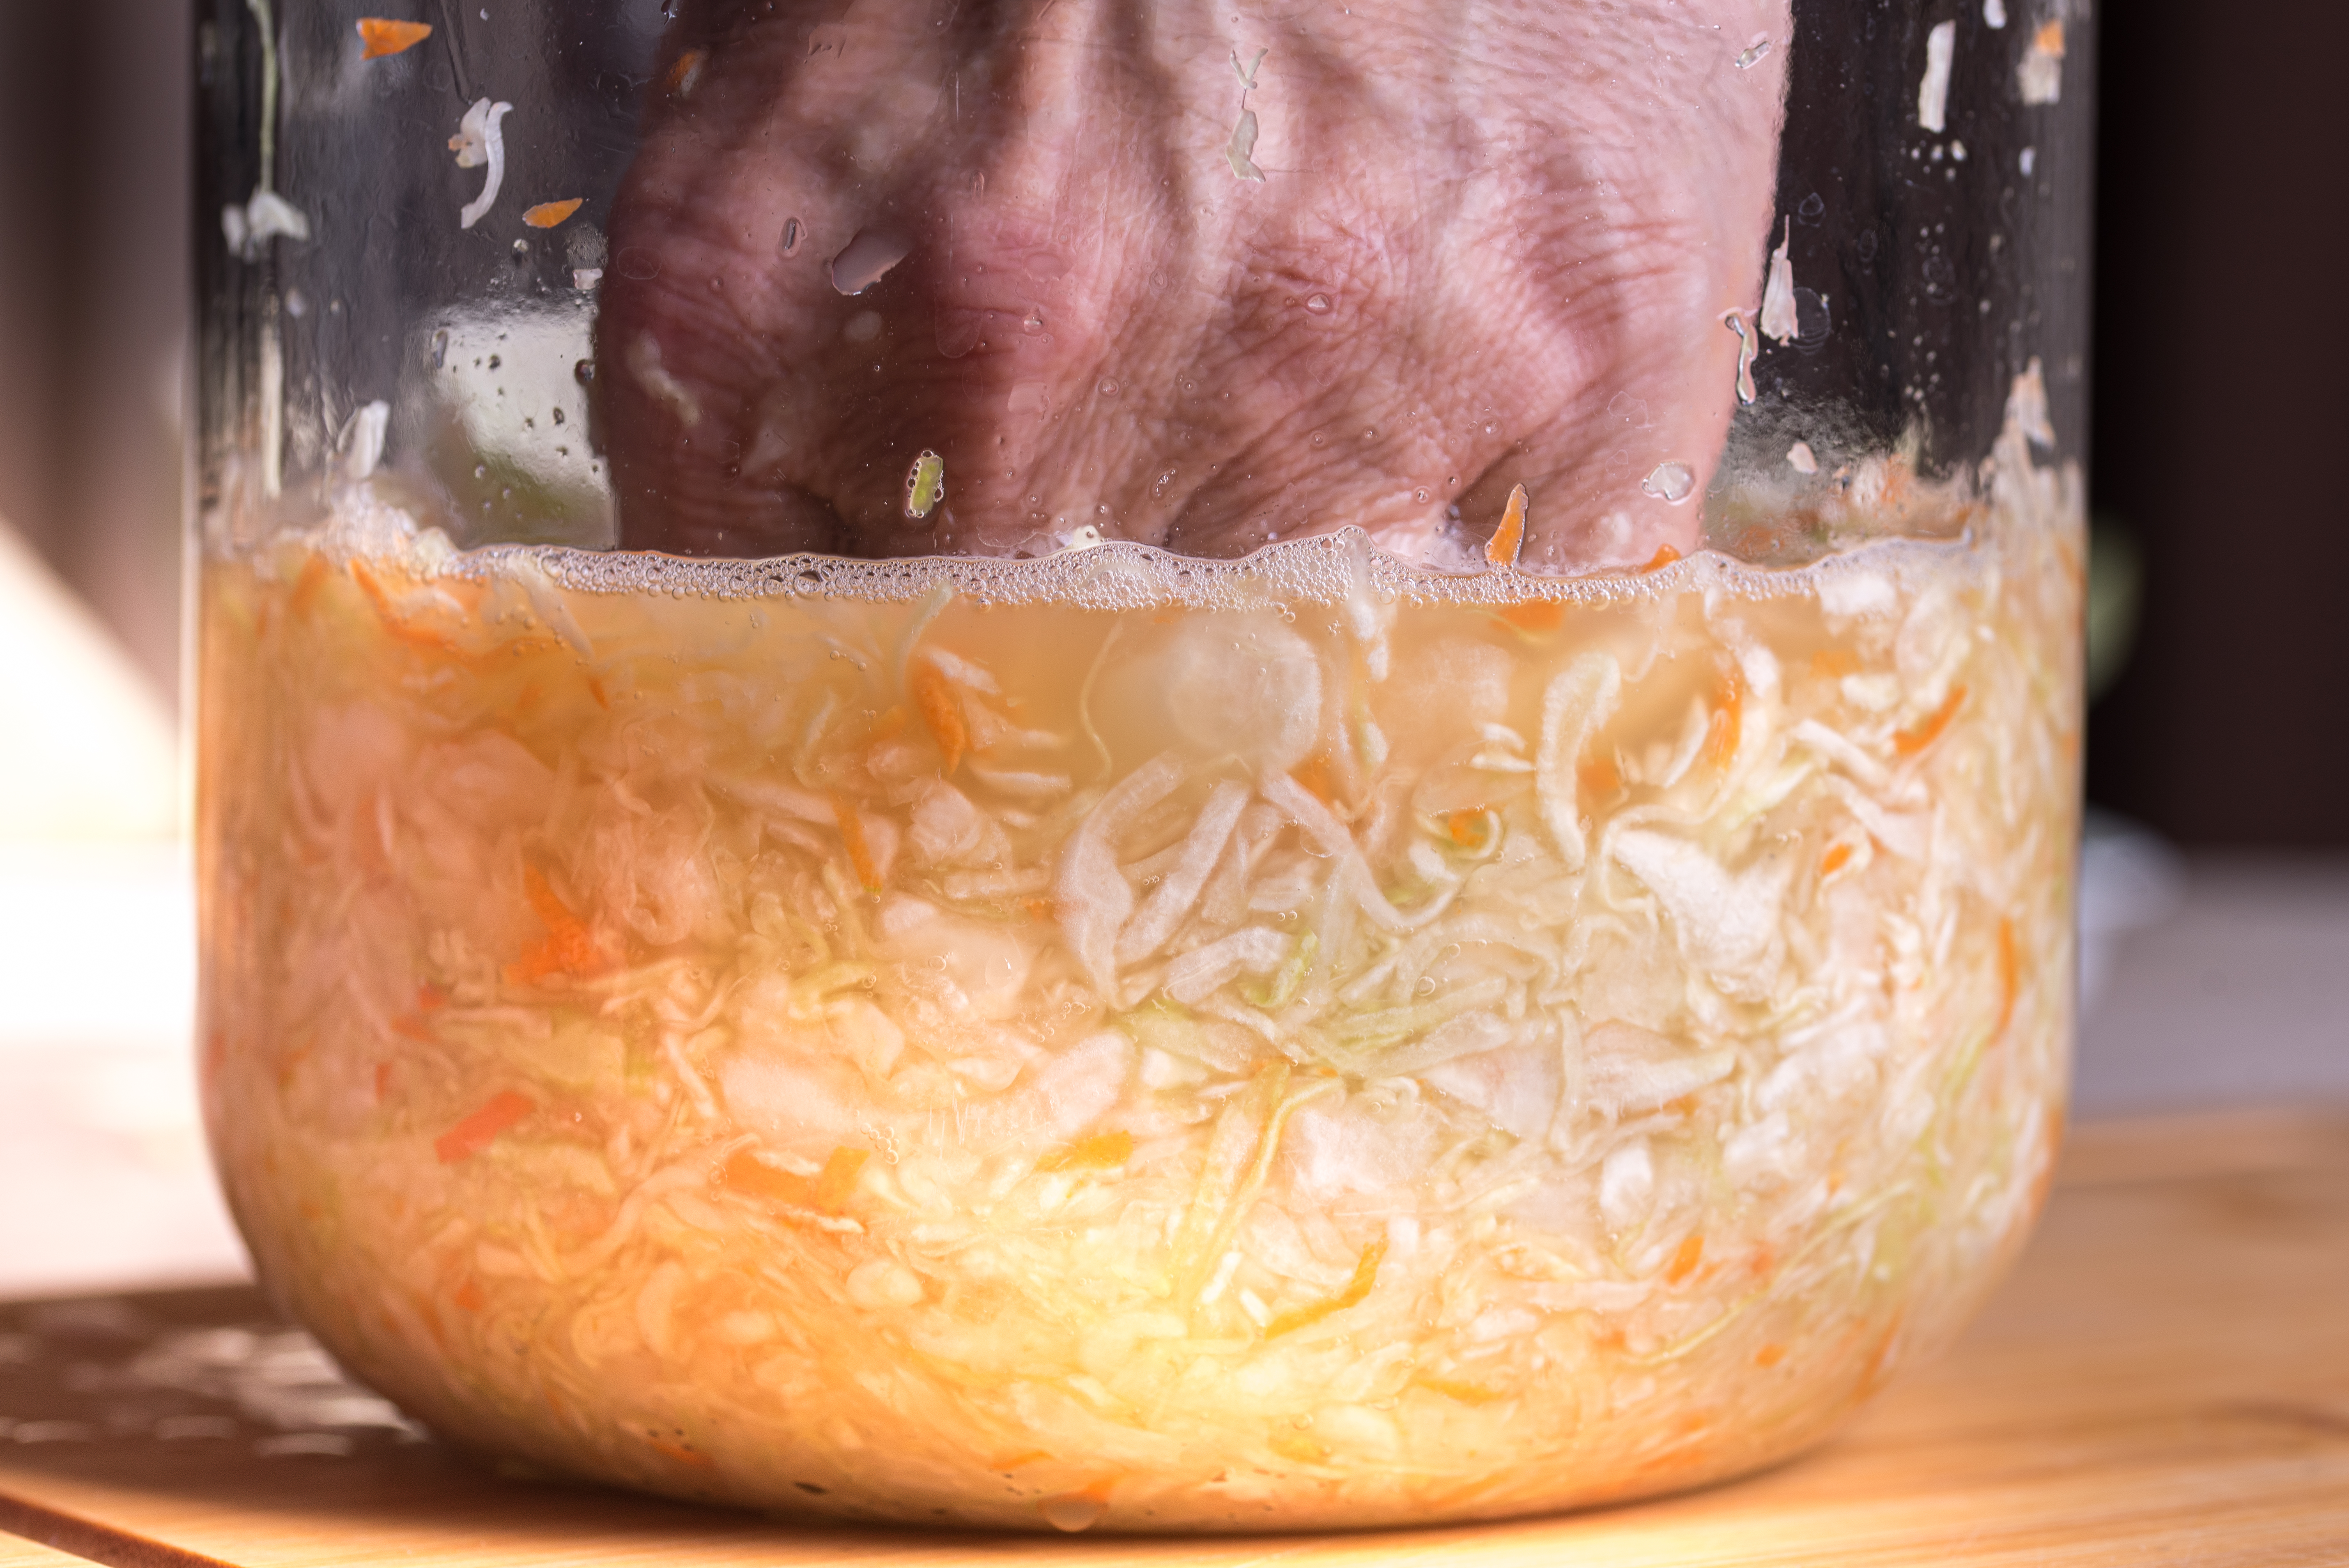
- Salt the veggies: You start by mixing vegetables (like cabbage, carrots, or cucumbers) with salt. This draws water out of the plant cells and helps create a brine.
- Pack into a jar: The vegetables are pressed under their own brine in a container with as little air as possible, a low-oxygen (anaerobic) environment.
- Bad microbes are suppressed: The salty, low-oxygen brine prevents harmful bacteria and molds from growing.
- Good microbes thrive: Lactobacillus and its friends (like Leuconostoc and Pediococcus) love salty, oxygen-poor conditions and begin to multiply.
- Fermentation begins: These bacteria eat the sugars in your vegetables and convert them into lactic acid and other metabolites.
- Over time: The flavor deepens. Most ferments are ready within a few days to a few weeks, depending on the temperature, salt concentration, and type of vegetable.
Why Lacto-Fermented Foods Are So Good for You
Not to get too detailed, but lacto-fermentation doesn’t just keep food from going bad, it makes it better for your gut and easier for your body to absorb.
Some Key Benefits:
- Rich in probiotics. Supports a healthy gut microbiome, which is linked to digestion, mood, and immunity.
- Boosts your immune system. About 70–80% of your immune cells are in your gut, so a healthy gut = stronger immunity.
- Improves nutrient absorption. Fermentation breaks down phytates and other “anti-nutrients” that can block mineral absorption. This helps your body absorb more iron, zinc, calcium, and magnesium.
- Increases vitamin levels. Fermented foods often contain more B-vitamins, vitamin C, and vitamin K2, which are essential for energy, immunity, and bone health.
- Easier to digest. Fermentation begins breaking down complex carbs, fiber, and proteins, making foods gentler on the digestive system (especially helpful for sensitive guts).
A Global Tradition
Lacto-fermentation has been practiced for thousands of years, and is deeply woven into the culinary and cultural fabric of societies across the globe. Here are a few iconic examples you might already know:
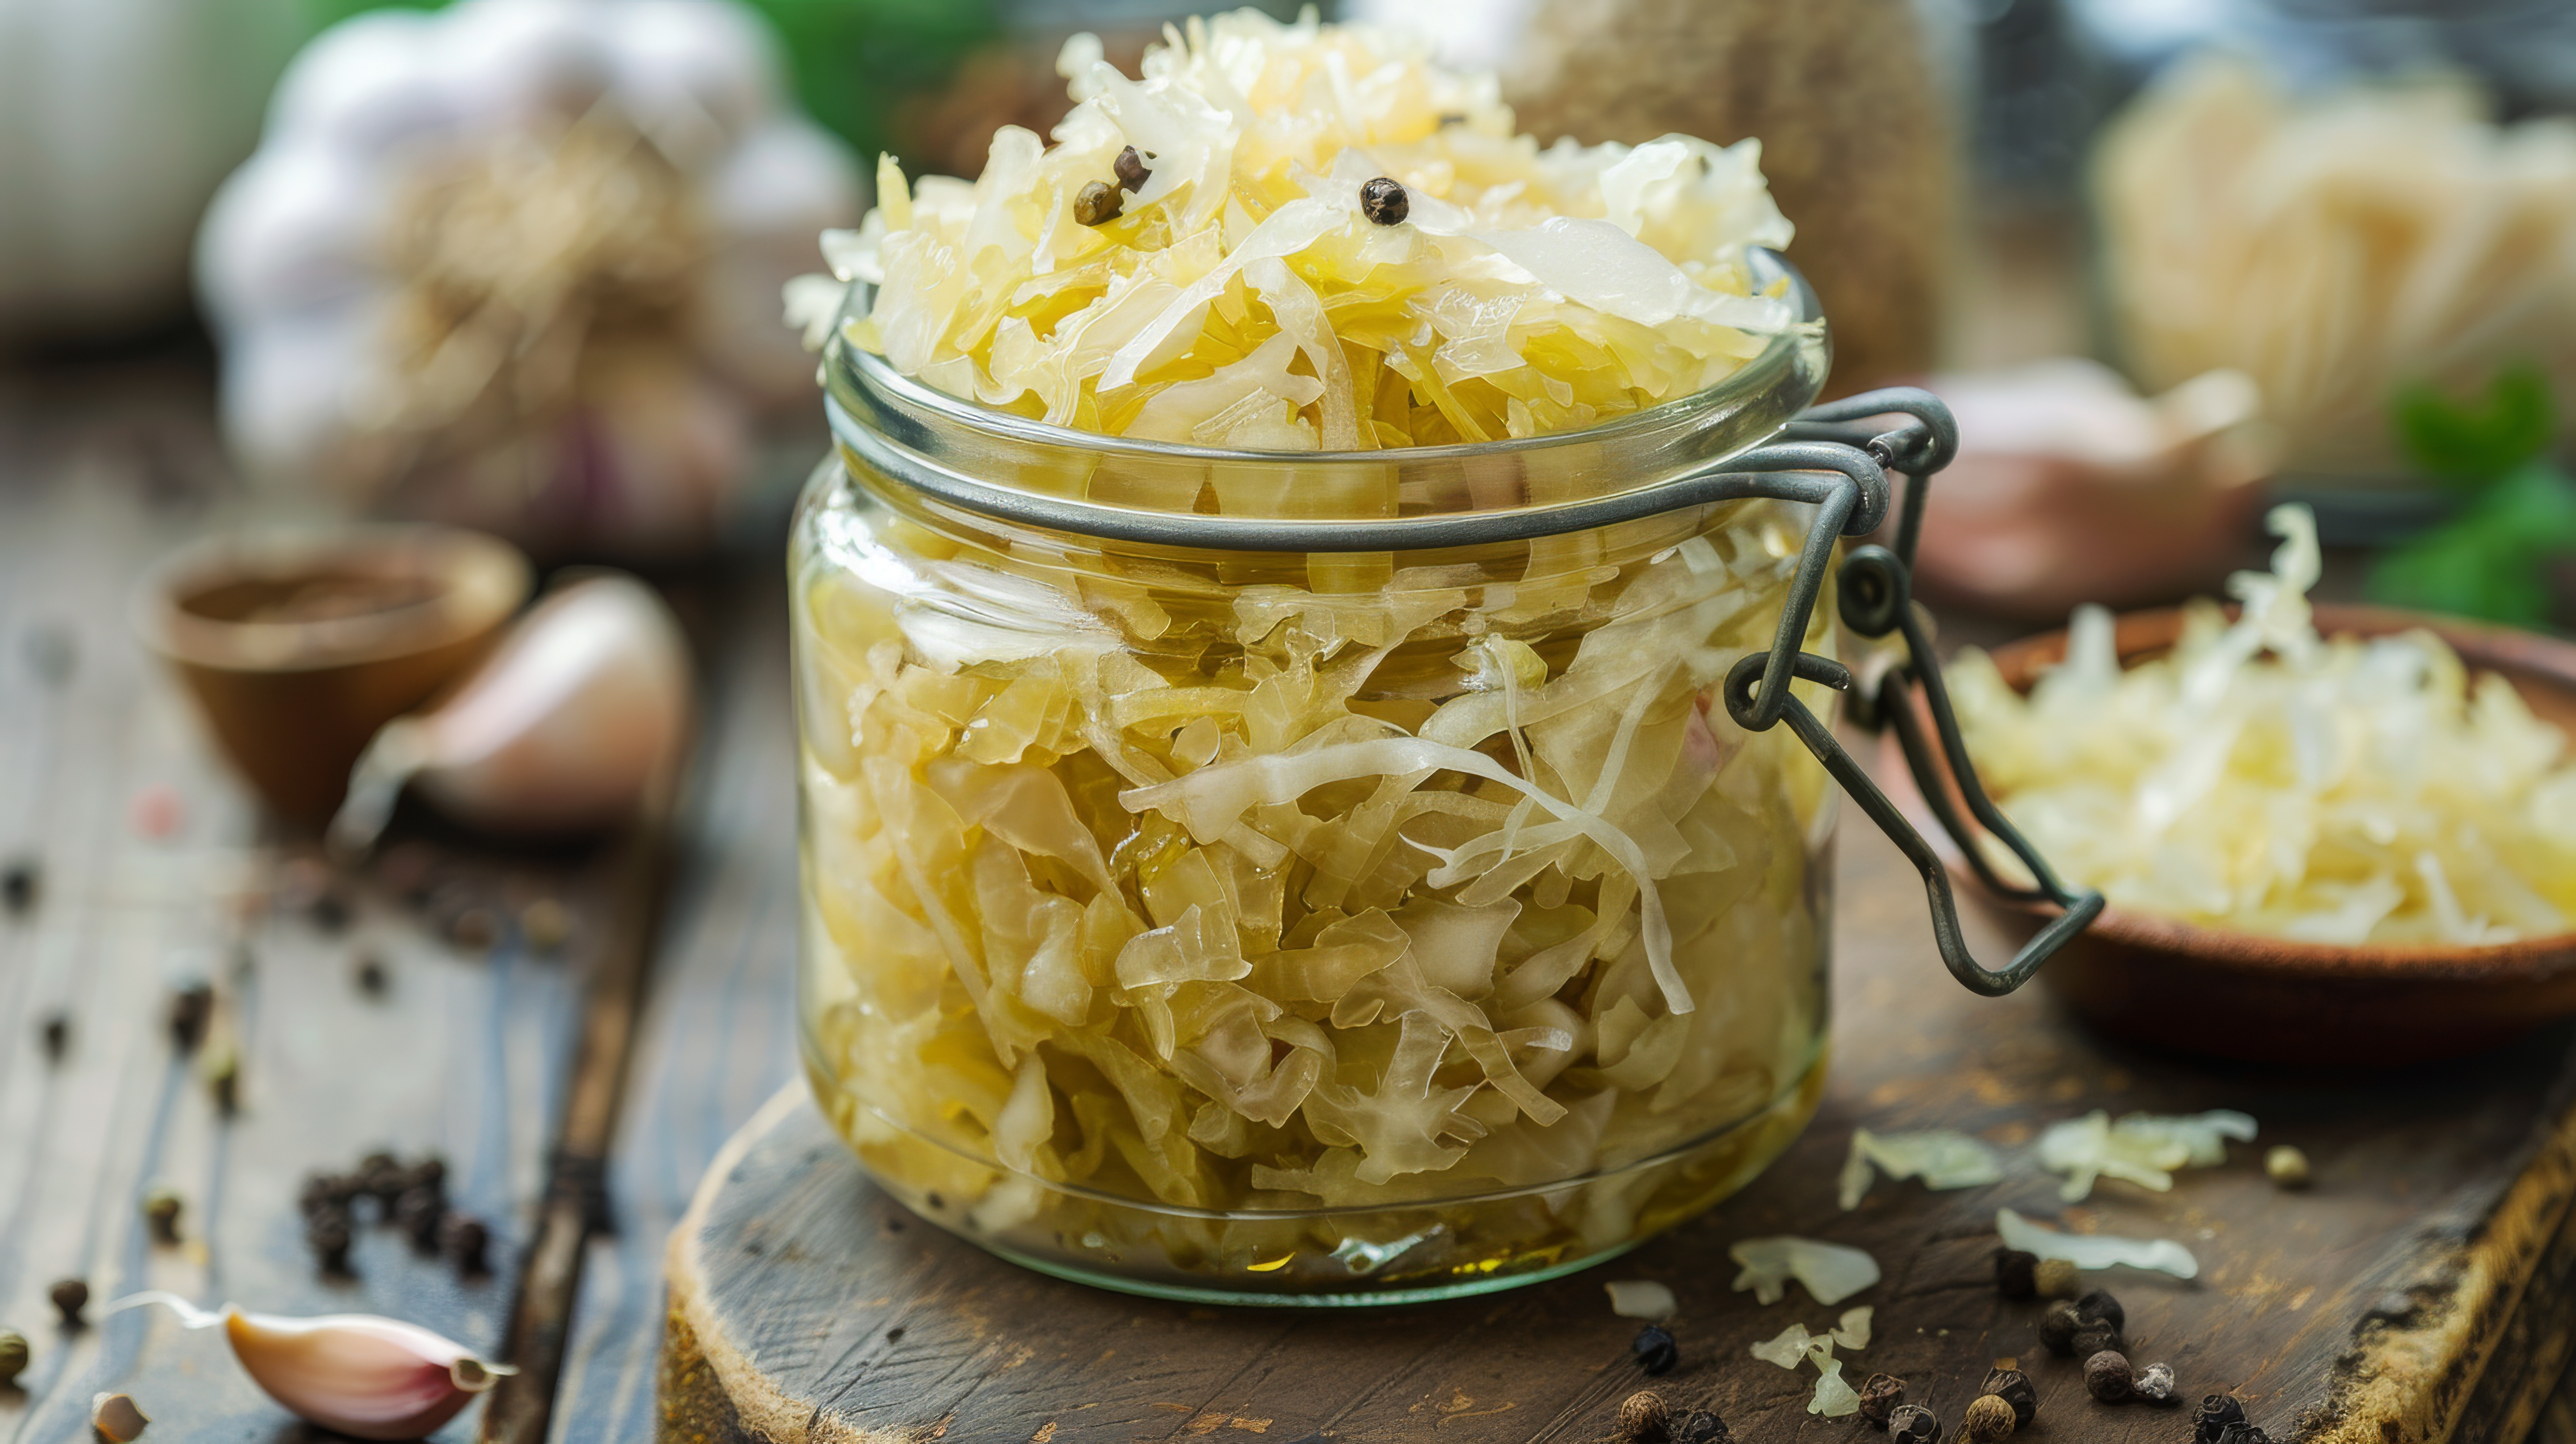
Sauerkraut - Central & Eastern Europe
That tangy cabbage the farmer and his family were snacking on? That’s sauerkraut: a word that comes from the German sauer (sour) and kraut (cabbage).
For generations, sauerkraut was a winter essential in German, Polish, and Hungarian households. It wasn’t just food, it was survival. My partner is German, and his father still tells stories about how sauerkraut was a staple during the cold months of his childhood. For him it’s not only packed with vitamin C but also with lots of nostalgia.
Kimchi - Korea
This national dish, made with fermented napa cabbage or radish, garlic, ginger, and gochugaru (Korean chili), is estimated to be over 4,000 years old. Kimchi is so central to Korean culture that it’s recognized by UNESCO as an Intangible Cultural Heritage. When Korea launched its first astronaut into space in 2008, they made sure to send kimchi with him.

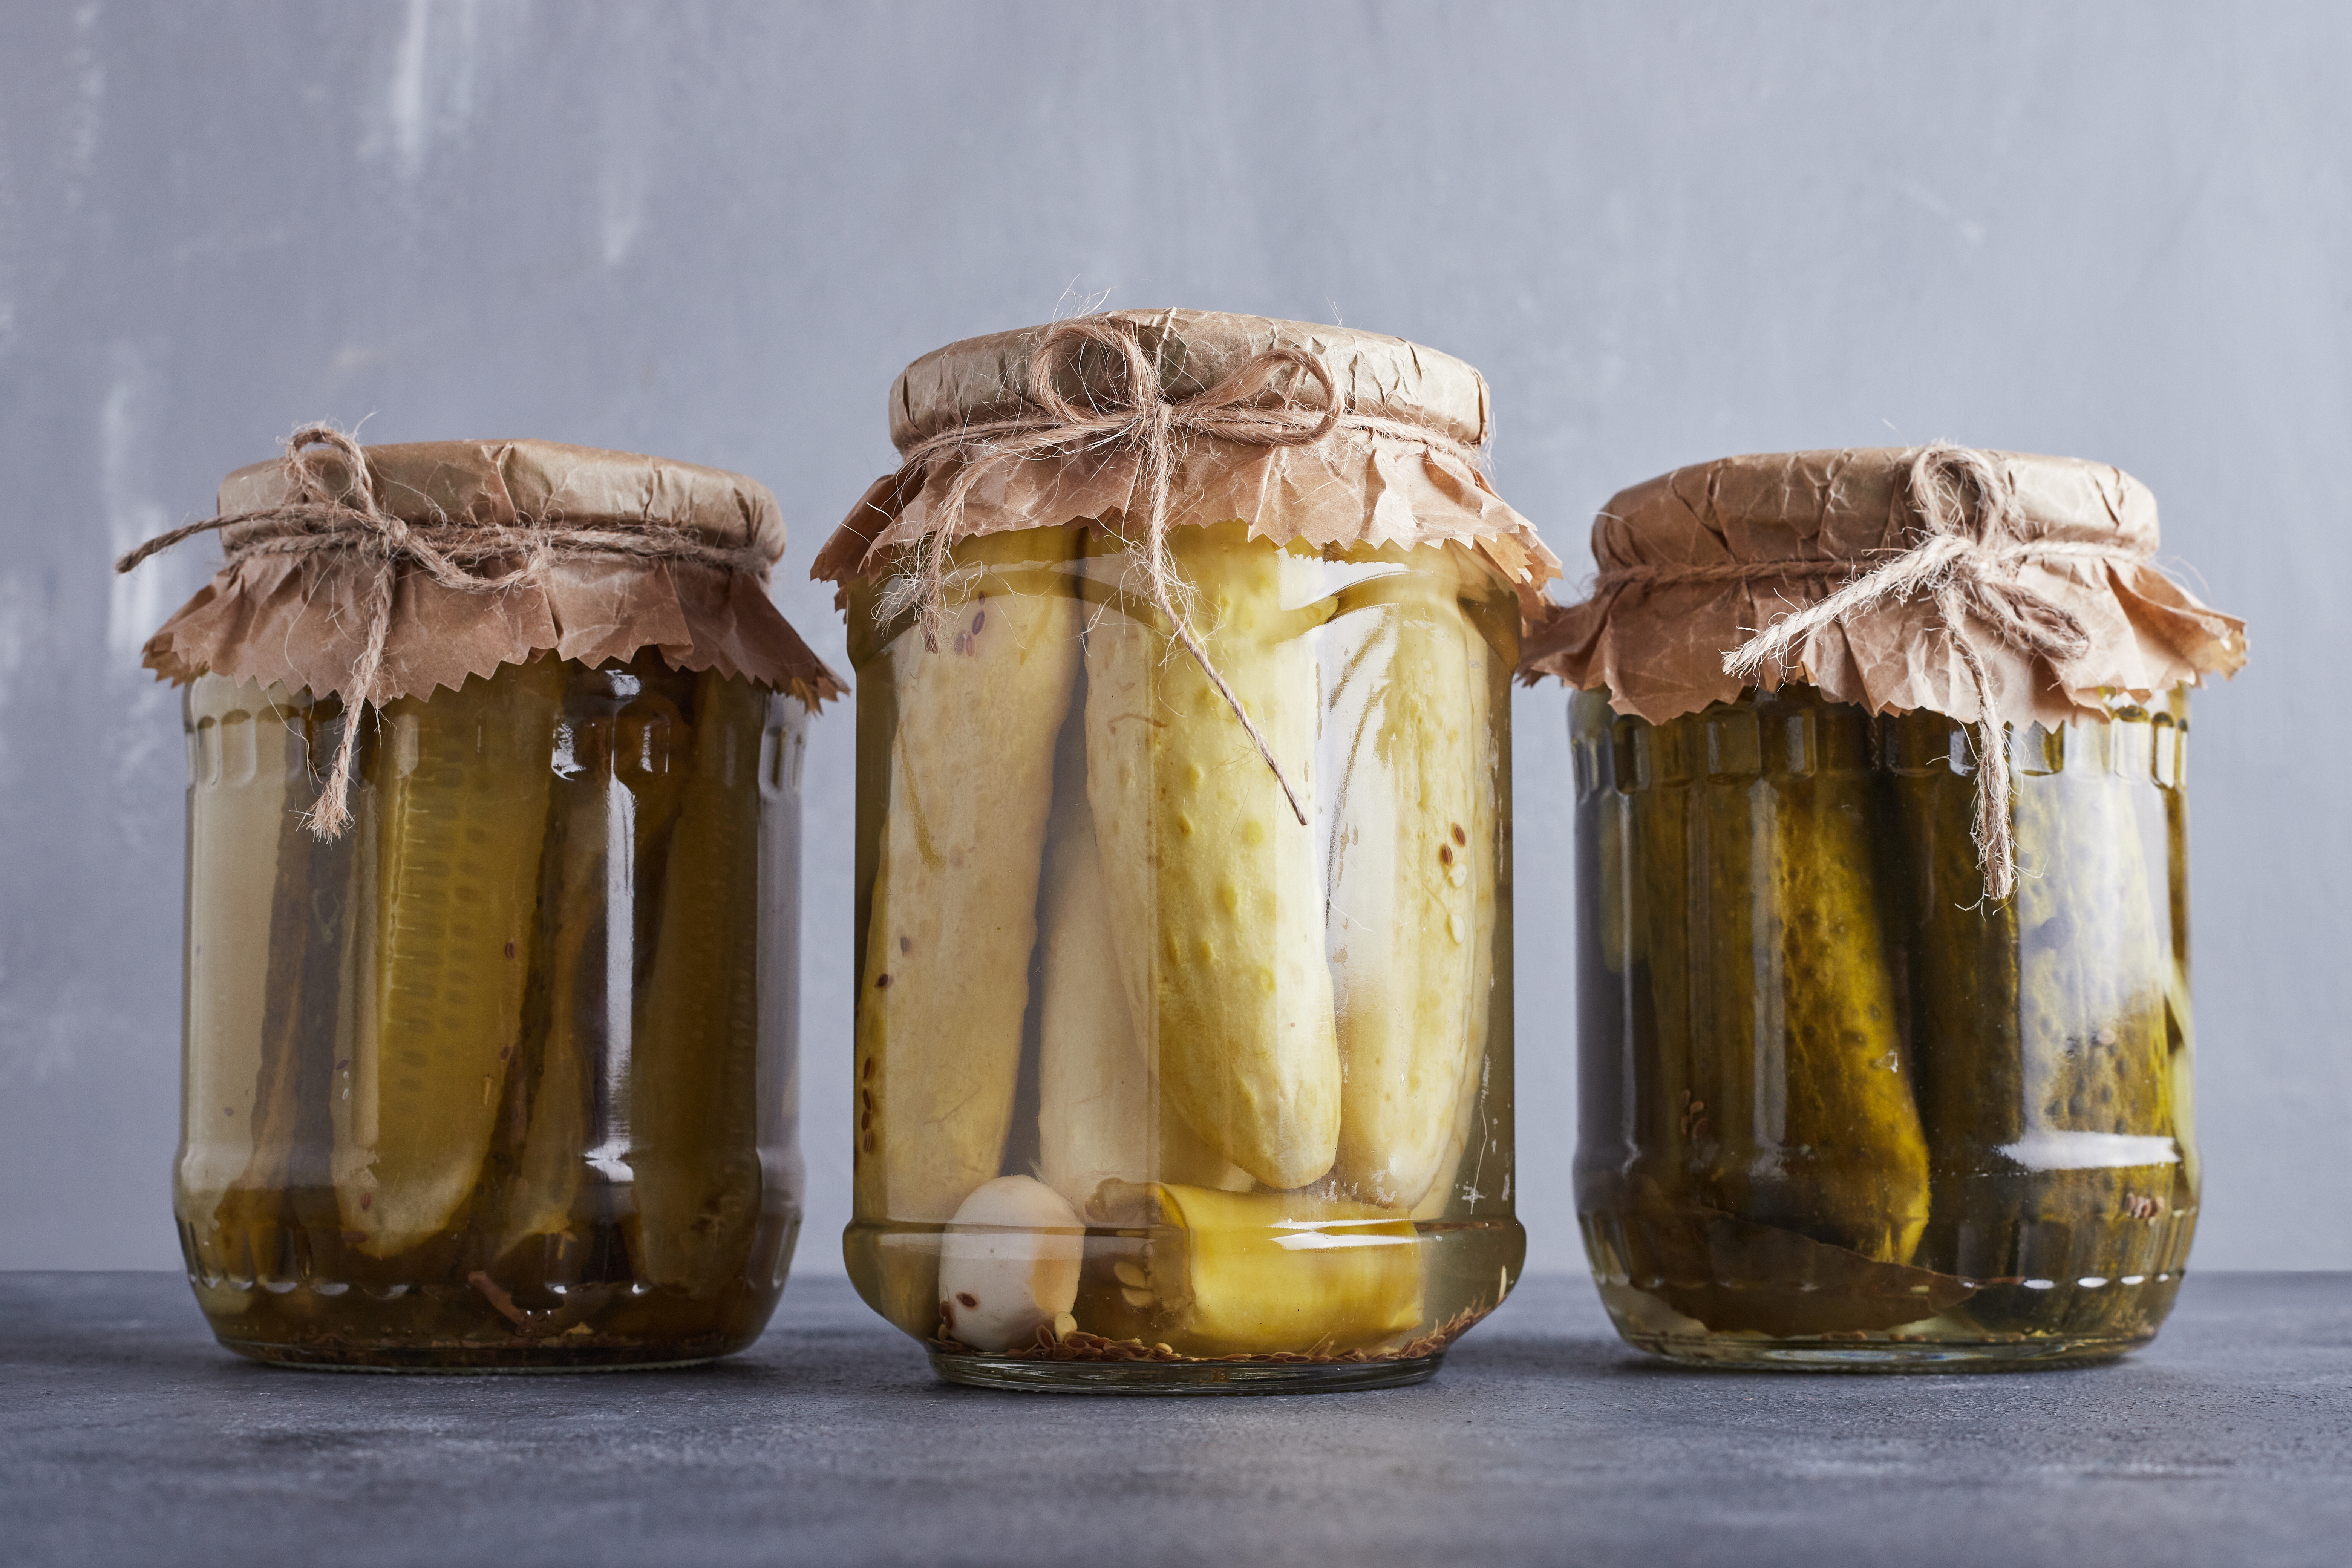
Pickles - Global, but especially Eastern Europe & North America
There’s a whole world of pickles out there. The word pickle comes from the Dutch pekel, meaning brine. While many modern pickles are made with vinegar (aka “quick pickles”), traditional ones are wild and alive: fermented slowly with just salt, water, and time. These are known as:
- Kosher dills (Eastern European Jewish tradition)
- Sour pickles (New York deli-style)
- Ogórki kiszone (Polish)
- Malosolnie (Russian lightly fermented cukes)
Each culture adds its own twist: garlic, dill, oak leaves, horseradish, grape leaves, to create flavor and crunch.
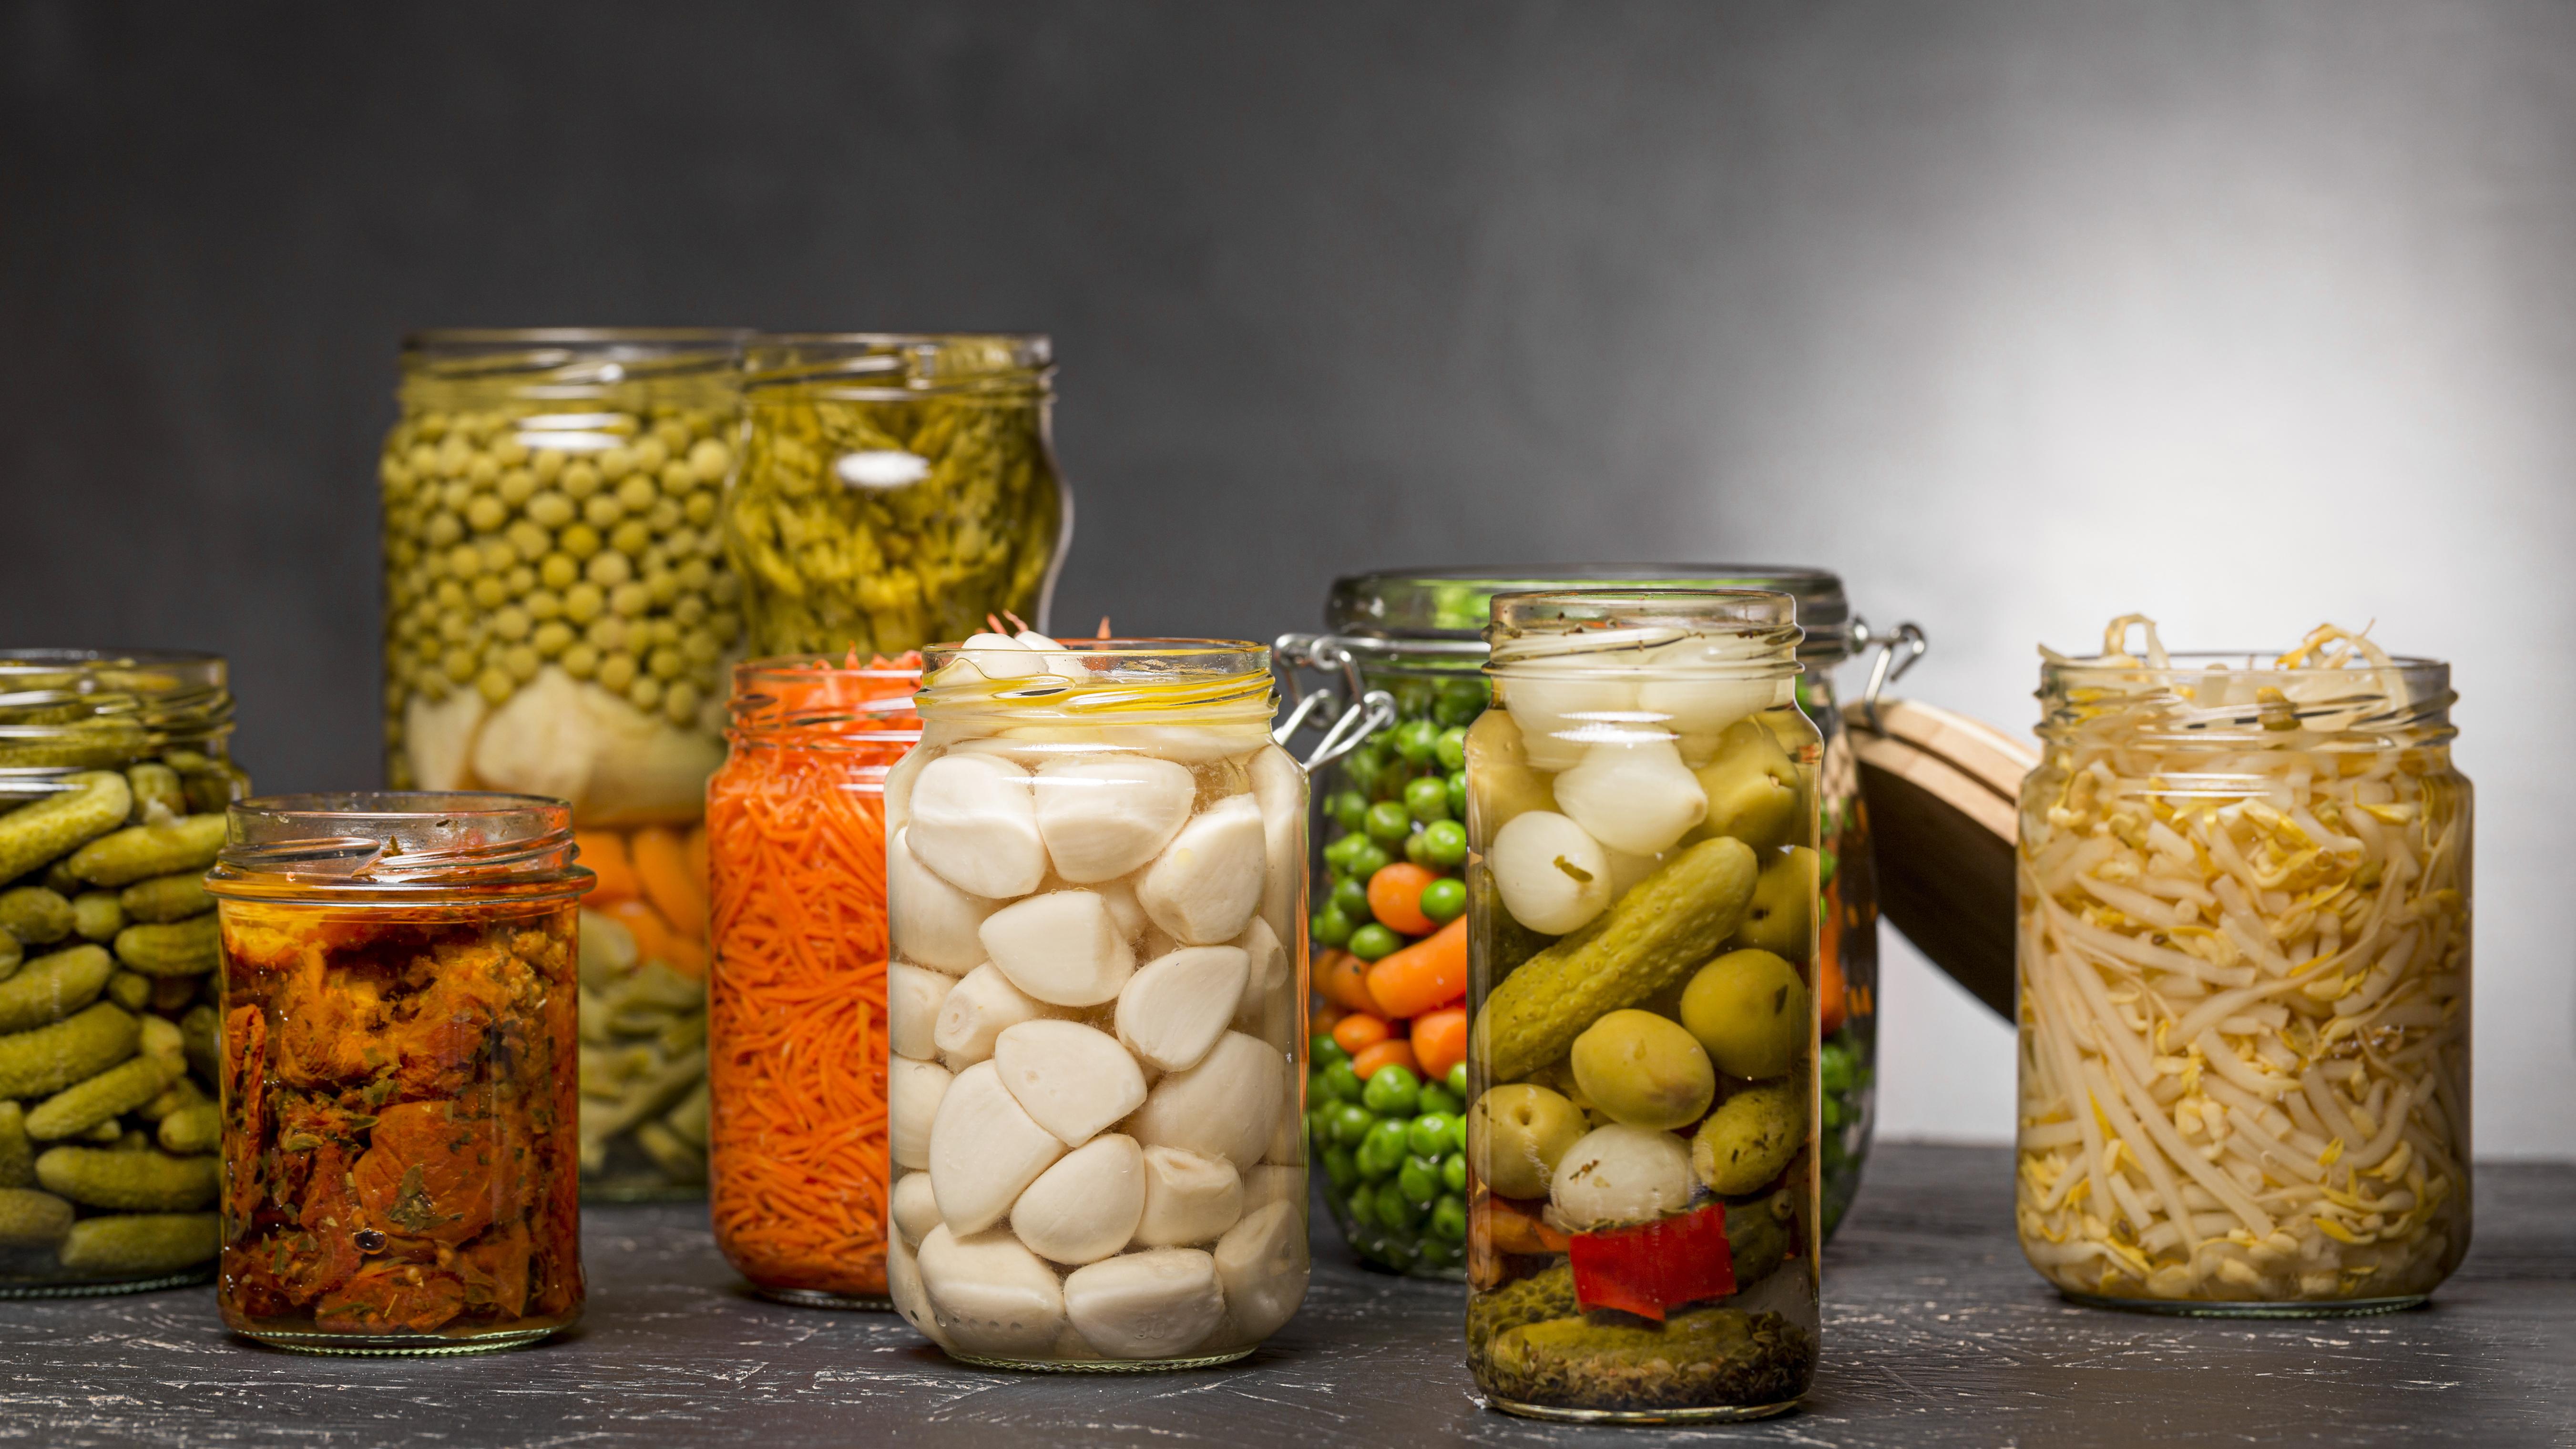
So, What Can YOU Make?
You can lacto-ferment almost any fresh vegetable, root, or garden crop. Think garlic, carrots, radishes, beans, beets, cauliflower, green tomatoes, or cucumbers. The method is simple:
- Chop or grate your veggies (or leave them whole if they’re small).
- Add salt. Around 2% of the total weight of the vegetables (e.g. 20g salt per 1kg veggies). This draws out moisture and creates the right environment for good bacteria to thrive. Make sure to use non-iodized salt (like sea salt or pickling salt). Iodine and anti-caking agents in regular table salt can inhibit fermentation by slowing down the beneficial bacteria.
- Pack tightly into a clean jar, pressing the vegetables down so they release their juices.
- If the veggies don’t release enough liquid to fully submerge, top up with filtered water until everything is covered.
- Weigh them down using a fermentation weight or a small clean jar, so the veggies stay submerged in the brine.
- Cover loosely (with a lid or cloth) to let gases escape, and let ferment at room temperature (65-72°F or 18–22°C) for 5–14 days, depending on taste and ambient temperature. I have accidentally forgotten some of my ferments for quite a bit longer than that, and they turned out even better than I hoped!
- Once it smells sour and tastes good to you, move it to the fridge to slow fermentation and enjoy!
Note: You could also use fruit, but if you let fruit ferment too long or if wild yeast takes over, it can start to turn into alcohol (aka fruit wine). Which is fun, but not quite what you’re aiming for with lacto-fermentation!
How to Store Ferments Long-Term
Once your lacto-ferment tastes just right (tangy, sour, delicious), it’s time to slow down the fermentation to preserve it.
The basics:
- Refrigerate it: Move the jar to the fridge (or a cool cellar if you have one under 50°F or 10°C). Cold temperatures slow fermentation to almost a stop.
- Keep veggies submerged: Make sure everything stays under the brine, even in the fridge. This keeps mold away and preserves flavor.
- Use a clean utensil every time: Never dip in with fingers, this prevents contamination.
How long does it last?
- Most ferments will stay good for several months in the fridge, often even 6 months to a year, depending on:
- Salt level (more salt = longer preservation)
- Veggie type (firm veggies last longer)
- Storage temperature (colder = better)
Want to store it really long?
- Ferment in large batches, keep sealed jars in a cold cellar or fridge.
- You can also can fermented foods using water-bath canning, but note: this kills probiotics, so it’s good for flavor and shelf-life, but not for gut health.
! Safety Guidelines !
It’s incredibly important to follow safety guidelines when working on projects like these, especially if you’re just getting started.
Fermenting at home can be simple, safe, and deeply rewarding, as long as you stick to a few key rules. These help make sure your food stays healthy, delicious, and safe to enjoy.
- Always use clean utensils and jars to avoid contamination.
- Make sure all vegetables stay fully submerged in the brine. Exposure to air can lead to mold.
- A thin white film (called kahm yeast) is harmless, but fuzzy mold (green, black, or pink) is a sign to throw it out. The Fermentation Podcast has an entire piece dedicated to mold, definitely worth a read! Checking it out here!
- If it smells rotten or off (not just sour), don’t eat it.
- Keep ferments out of direct sunlight during the process.
- Once opened or ready, store in the refrigerator.
Remember: If it looks, smells, or tastes truly off: trust your gut and don’t eat it. A good ferment should smell pleasantly sour and make you want to dig in!
It would make us super-duper happy to see what you’ve been fermenting!
If you feel like sharing your creations, asking questions, or just chatting about funky jars and bubbly brine, come say hi on or tag us on Facebook or Instagram @planterapp. We’d love to see what’s bubbling in your kitchen! :)