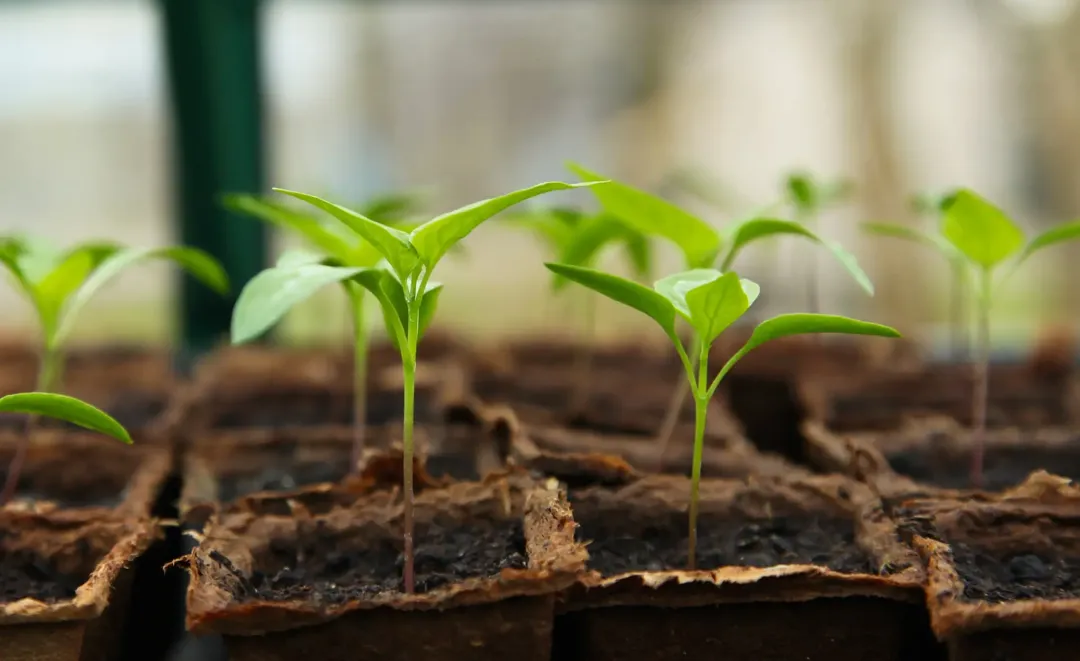
Many plants must be started indoors, especially in regions with short growing seasons. Vegetables like peppers are almost always started by seed indoors because they need warm soil to germinate. Other plants which are often started indoors include broccoli, cabbage, celery, eggplant, and tomatoes. Vegetables such as beans do not take well to transplanting and should be sown directly outdoors at planting time.
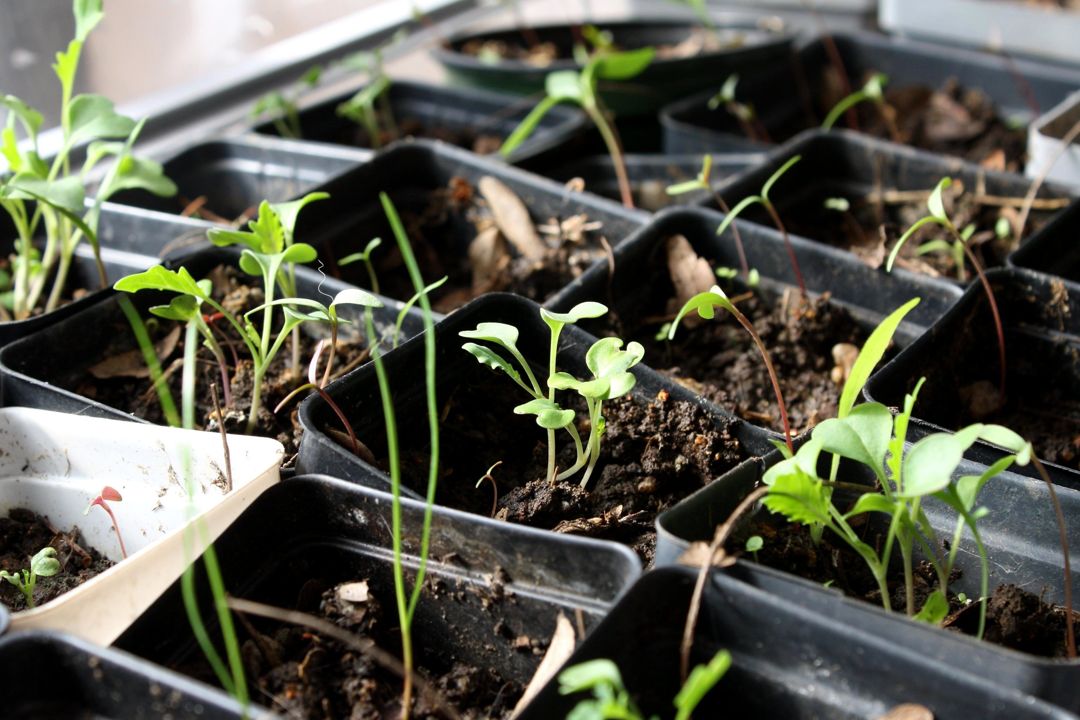
There are a handful of supplies you need in order to start seeds indoors. These include: a seed-starting tray, seed-starting mix, and sometimes a heat mat. If you do not have a sunny windowsill to place your seed-starting trays in, you will also need to buy a grow light. All of these supplies can be found at your local garden center. Plastic seed-starting trays are most commonly used, however, there are also biodegradable trays which can be inserted directly into the ground. Be sure to label your seed-starting trays if you are growing more than one type/variety of vegetable; most seedlings look nearly identical! One way to do this is by writing the plant name on popsicle sticks, as shown below. You can also apply masking tape to the sides of the trays and write the plant name there. Or use plant labels.
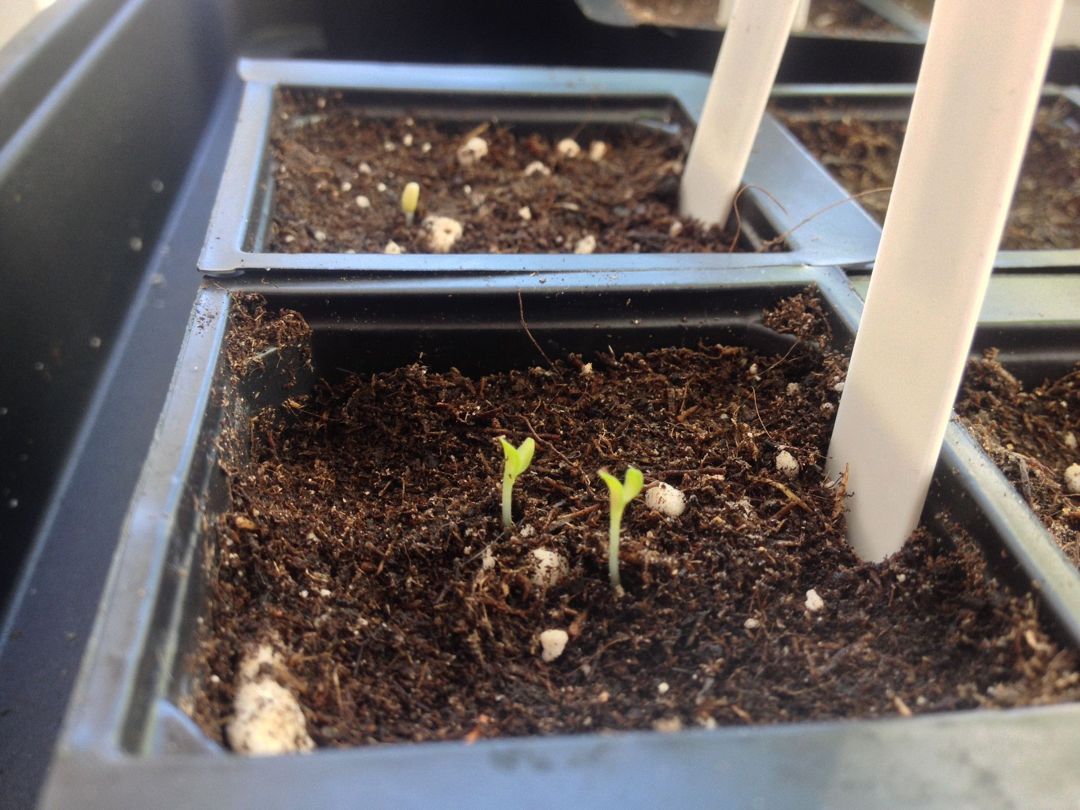
The first step to starting seeds indoors is to determine which plants you’d like to grow. Individual seed packets often have specific planting instructions printed on them. Fill your seed-starting tray’s ‘cells’ with seed-starting mix, or any potting soil mix. Plant your seeds at the depth listed on the seed packets. Different seeds have different light requirements. Many can germinate in the dark, as long as there is adequate heat. If the room you are starting your seeds in gets chilly, a heated seed-starting mat may be a worthy investment. Once seeds have successfully germinated and sprouted, place the trays underneath your grow light. At first, you will want the light to be about 2-12” inches away from the seedling. Stronger lights should be placed further away. As the seedlings grow, raise the grow light accordingly. If your light source, whether it be sunlight or artificial light, is too far away from your seedlings, they may become ‘leggy’ and collapse.
Generally, most seedlings should be transplanted into the garden around the time of the last frost date for your region. However, be sure to check seed packets or an online database for plant-specific transplant dates. Apps like Planter provide a quick and easy reference. Do not wait too long to transplant, as seedlings can become rootbound in the tray’s small cells. It is often useful to ‘harden off’ your seedlings by gradually exposing them to the outdoors prior to transplanting. This acclimates the plants to the elements and betters their chances of survival. If using plastic seed-starting trays, you must remove the seedling before planting. You can either cut away the plastic or gently squeeze the sides of each ‘cell’ to release it. Be sure not to damage the seedling’s fragile roots in this process. Once the seedling is released from the tray, simply dig a small hole in the desired planting area and insert your transplant. Be sure to water after transplanting, and fertilize the young plant after a few days go by.