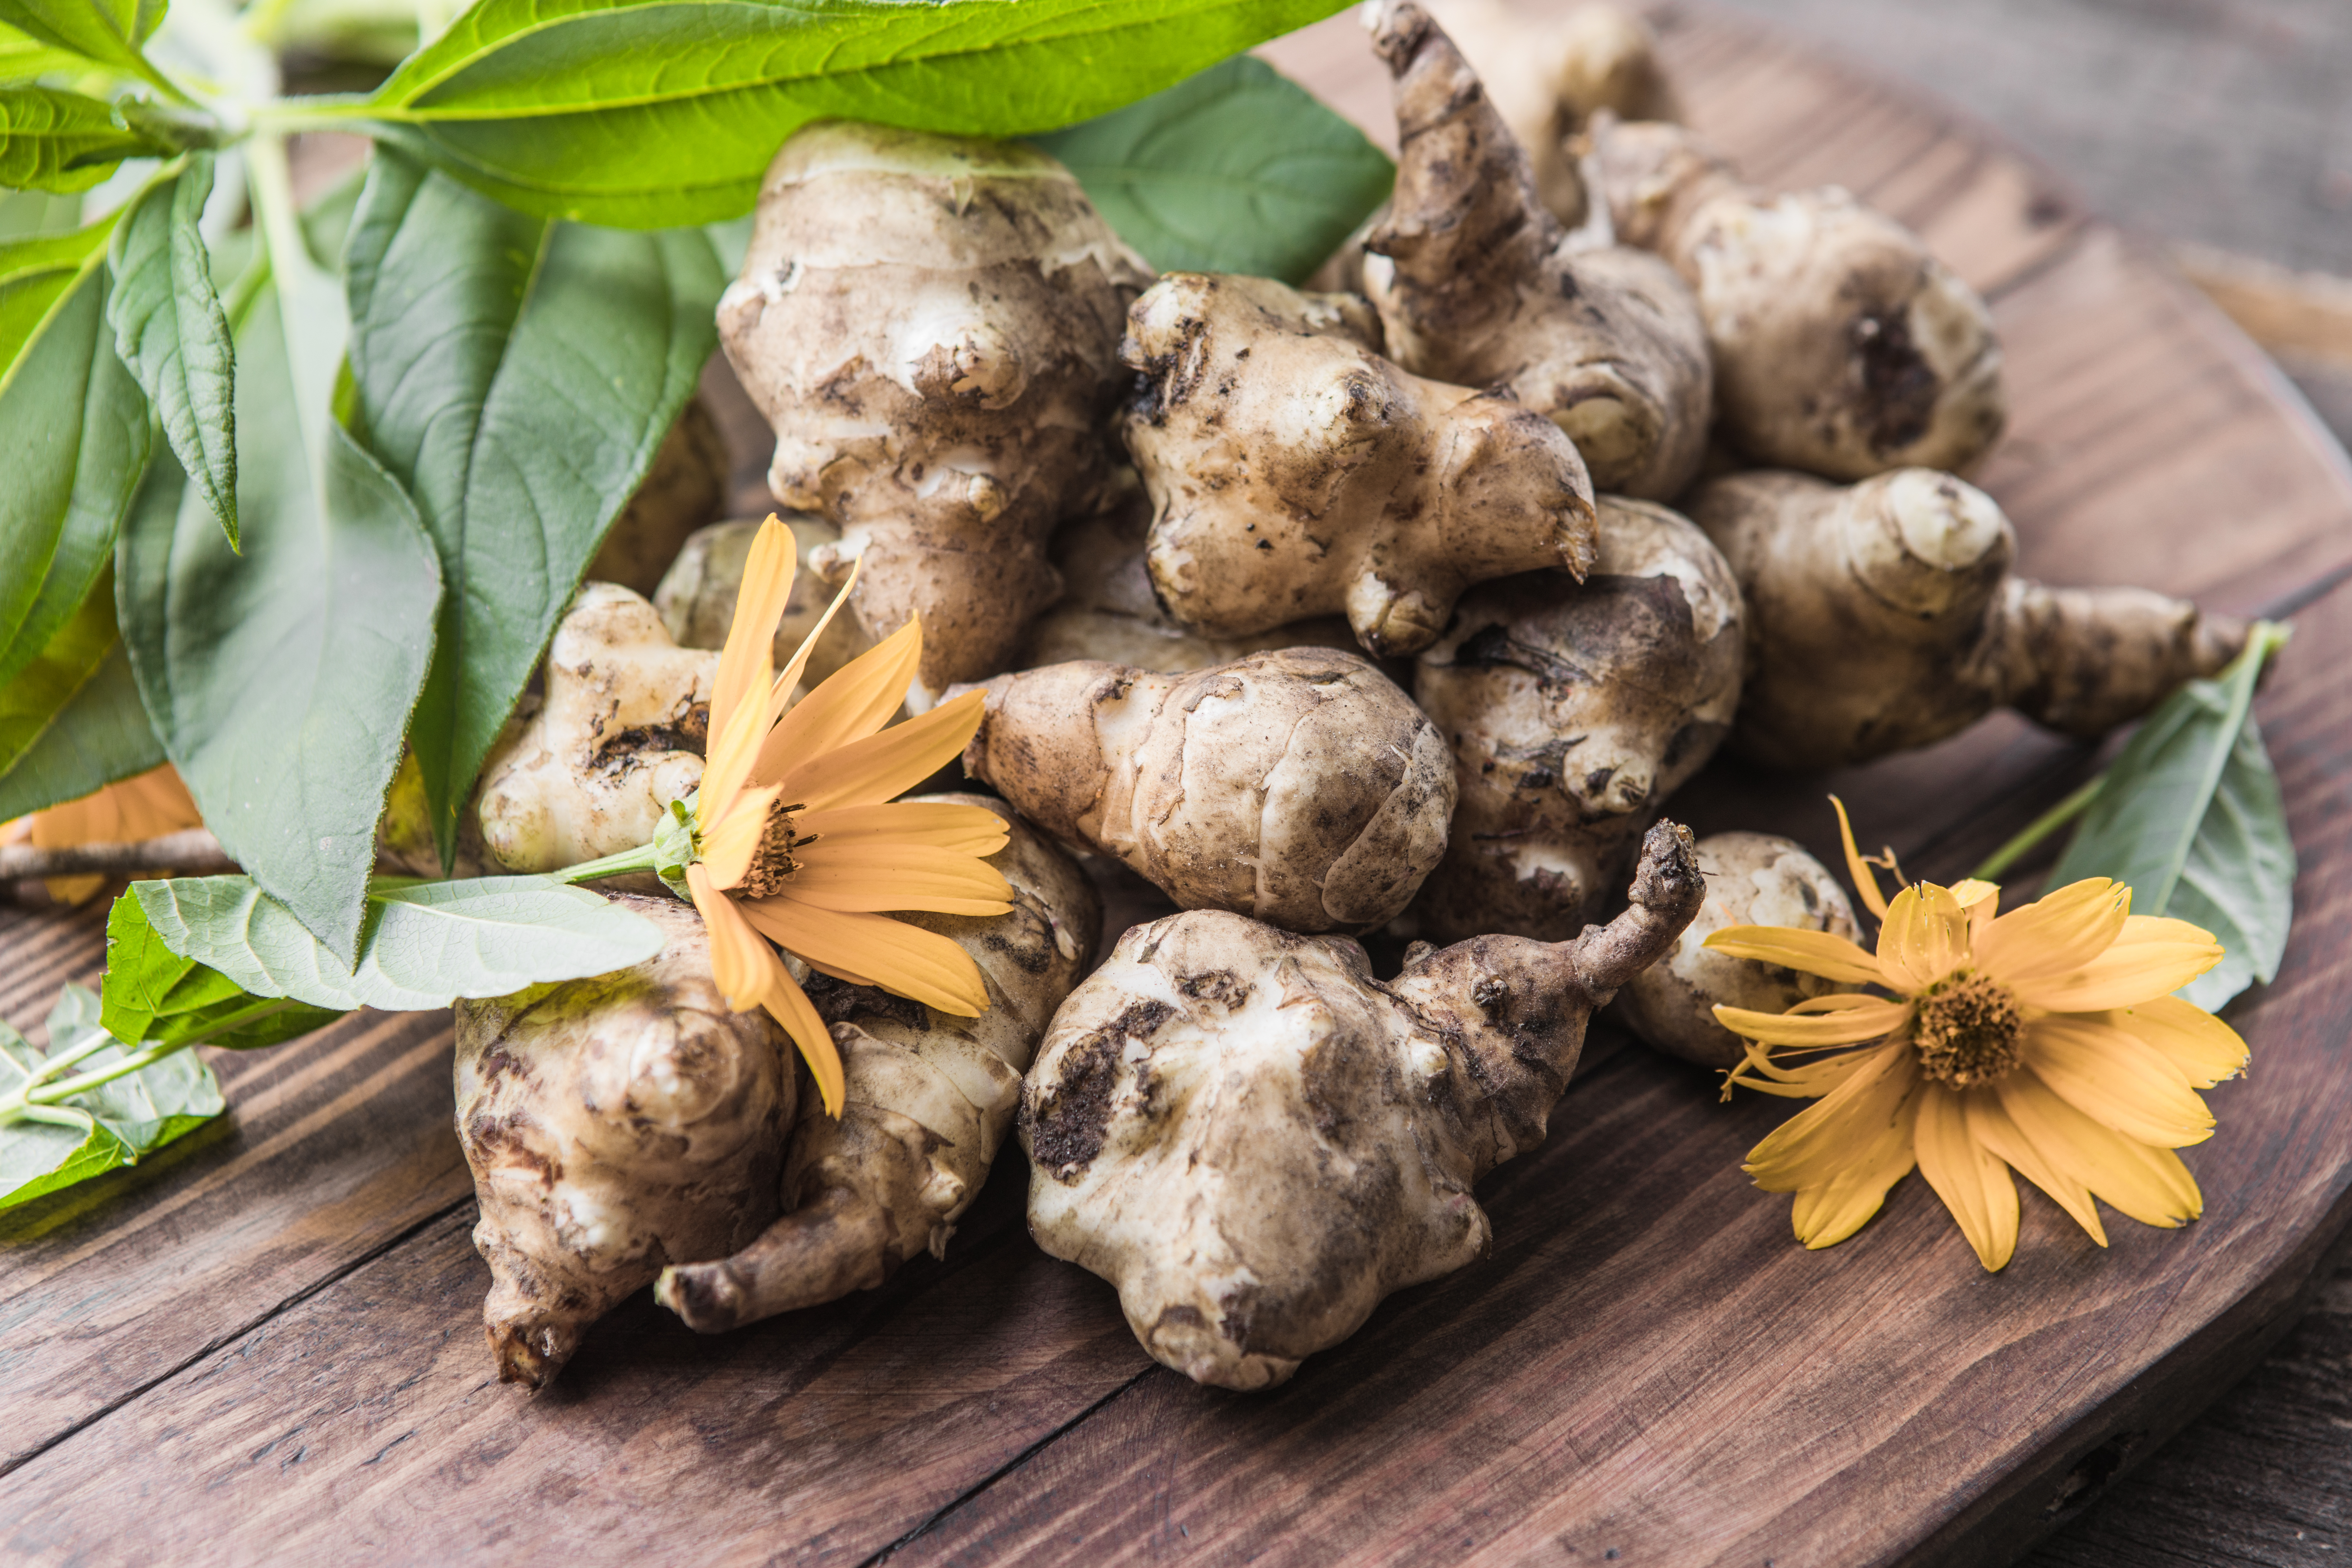
What is Jerusalem artichoke?
To put it very simply, Jerusalem artichoke is something like a combination between a potato and sunflower. Most varieties produce 10-foot-tall sturdy stalks much like a sunflower but under the soil produce knobby (some might say ugly) delicious little tubers. While Jerusalem artichoke is very popular in western Europe among vegetable gardeners it is actually indigenous to the central United States. It is also part of a very small handful of crops still around today that were originally domesticated by North American natives’ well before European settlers arrived in the Americas.
Tips on Finding Seed Tubers
The first step to growing Jerusalem artichoke begins by finding some of those sweet, sweet tubers. You can start your search by looking online at places like Etsy or even Amazon but you will soon find that these little tubers are not the cheapest especially when compared to seed. With that said, usually their cost is in line with most other live seed tubers and realistically they’re no more expensive than potato seed tubers. However, unlike potatoes once you’ve grown Jerusalem artichoke, you will likely never need to buy tubers again.
If buying tubers isn’t your bag there is another way to get them, its free, but you’ll need a bit of luck. Some folks view Jerusalem artichoke as something of a weed, so if you happen to come across other like-minded gardening folks and mention your interest in growing some, they may just point you in the direction of some tubers you can have for free. I procured some tubers this way last spring and the deal was what I dug up, I got to keep. So make sure to ask around because who doesn’t love free?
Where and When Jerusalem Artichoke Should Be Planted
While getting tubers is important, WHERE you plant them in the garden is equally as important. This is because most varieties of Jerusalem artichoke are usually between 10 and 12 feet tall. This is likely to be the tallest “annual” crop you will ever grow. It’s easy to make the mistake of planting this crop in the middle of your garden where it WILL shade out every other sun loving crop around it. For that reason, it’s best to plant it in a block at the north section of your garden where it’s out of the way. If full sun is not an issue but very hot summers are, you can get strategic and plant your tubers in the far west section of your garden where it can provide some much-needed shade to heat sensitive crops in the middle of summer.
Jerusalem artichoke is versatile in the sense that your tubers won’t come out of dormancy until the soil temperature increases in spring. This means that at any point in the fall, or even early winter, so long as the soil is workable you can plant them and they will lay dormant until the time is right. If this process sounds similar to garlic, it is! However, unlike garlic, Jerusalem artichoke does not begin growing its roots in the fall like garlic does, so the timing of its planting in the fall/winter has no consequence on its productivity for the following year. It can even be transplanted in the spring in case you forget to move those sleepy little tubers in time.
Pro Tip: If you live in a windy area, it’s best to put up large stakes that are at least 5 feet tall with rope or twine around the perimeter of the bed you’ve planted your tubers in. This of course can be done later in the spring after top growth has started but its best to put up stakes at the time of planting so your plants don’t get blind sided by abrupt and windy summer storms.
Seasonal Maintenance
Jerusalem artichoke isn’t bothered by much, but If you live anywhere where beetle larva or grubs are an issue, growing plants that produce tubers can be a real challenge because those little grubs love delicious tubers just as much as you do! These grubs would shake you down and take the food right out of your mouth if they could. The good news is that there’s an easy, organic, and natural fix for this: beneficial nematodes.
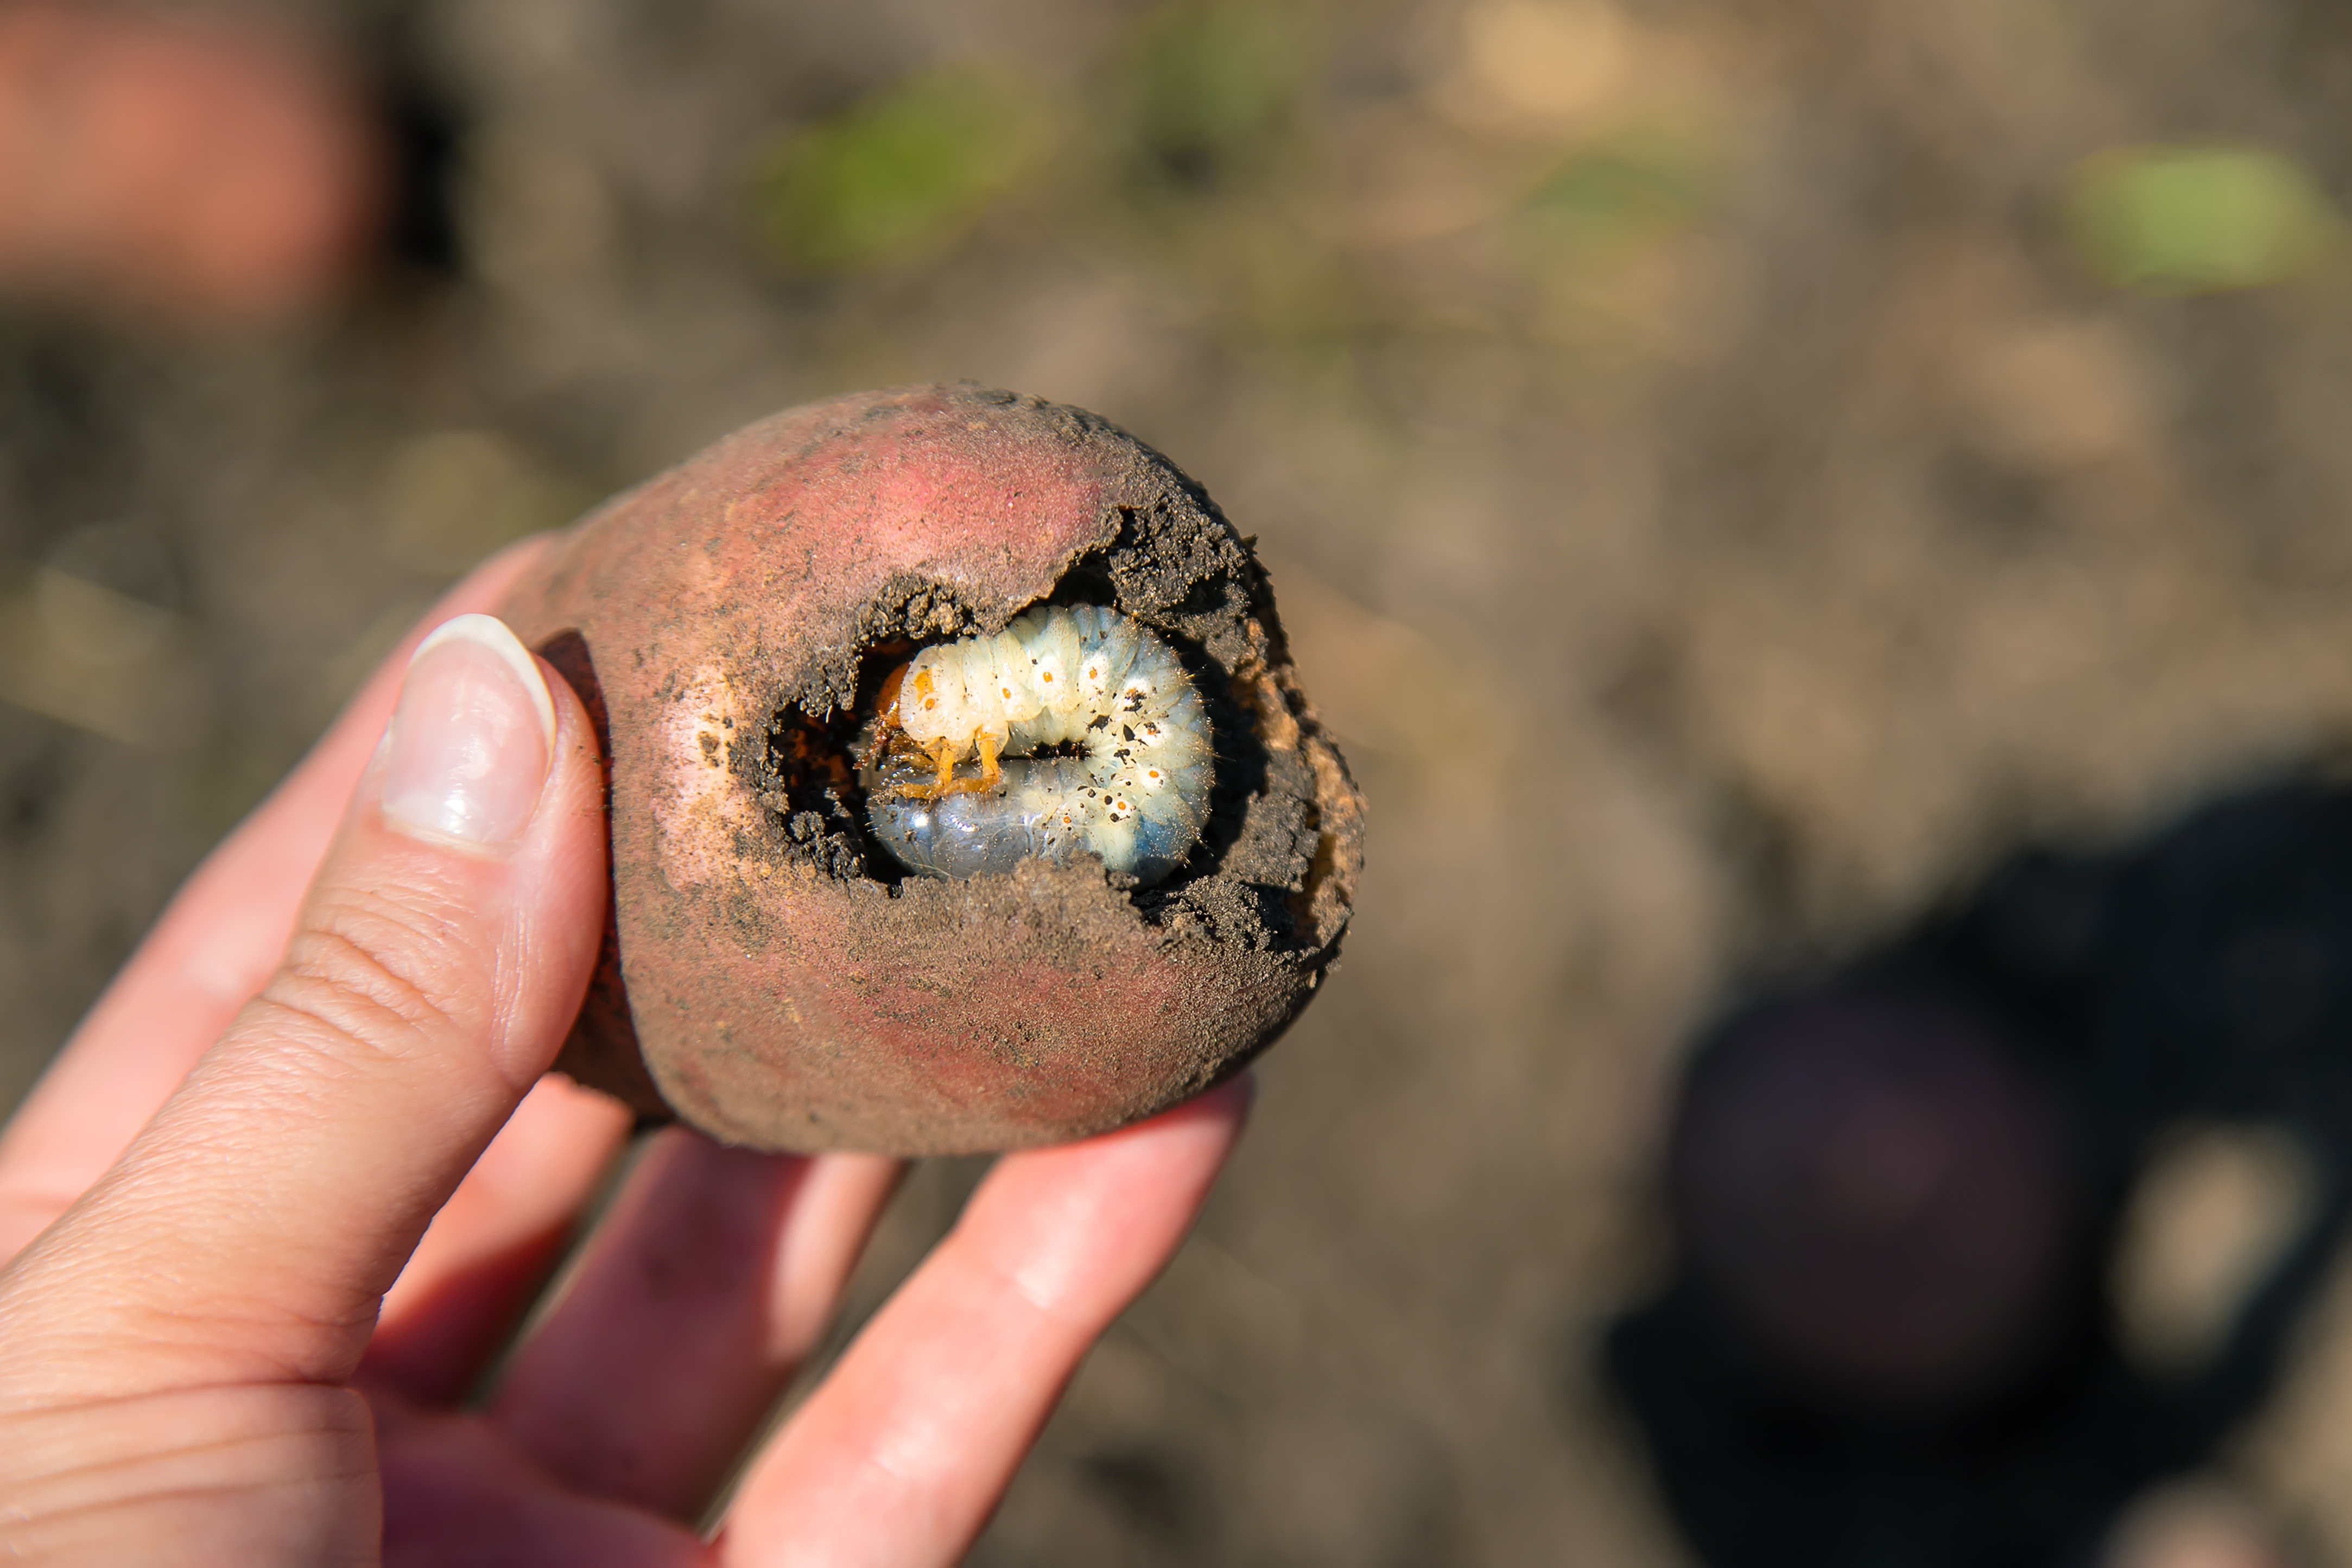
Beneficial nematodes are little soil bound predators that feed on specific insect eggs and grubs. This makes them a tuber’s best friend in the garden. Most companies that offer beneficial nematodes sell them as a powder and their application is almost always the same. The instructions on the package will provide you with the water to powder mixing ratio you will need to follow and simply spray or otherwise evenly apply that mixture to your garden beds where your tubers are growing. The mixture only needs to be applied when the plants begin to flower because shortly after this is when the plants begin to form tubers.
Harvesting Tips
You will know when it’s harvest time as you start to see the lower leaves on the plants begin to turn yellow and brown usually around late September or early October (depending on your location).
Getting those little tubers out of the ground is similar to digging up potatoes, with the exception of the large stalk that will need to be cut back to about 6 inches above the soil. This left over “stump” when pulled up is very useful in helping to collect the tubers that are connected to it. Once the stump is removed, continue to search the soil for more tubers about a foot or two in radius around where the stalk was. Harvest is best done carefully by hand or with a broad fork if you have it.
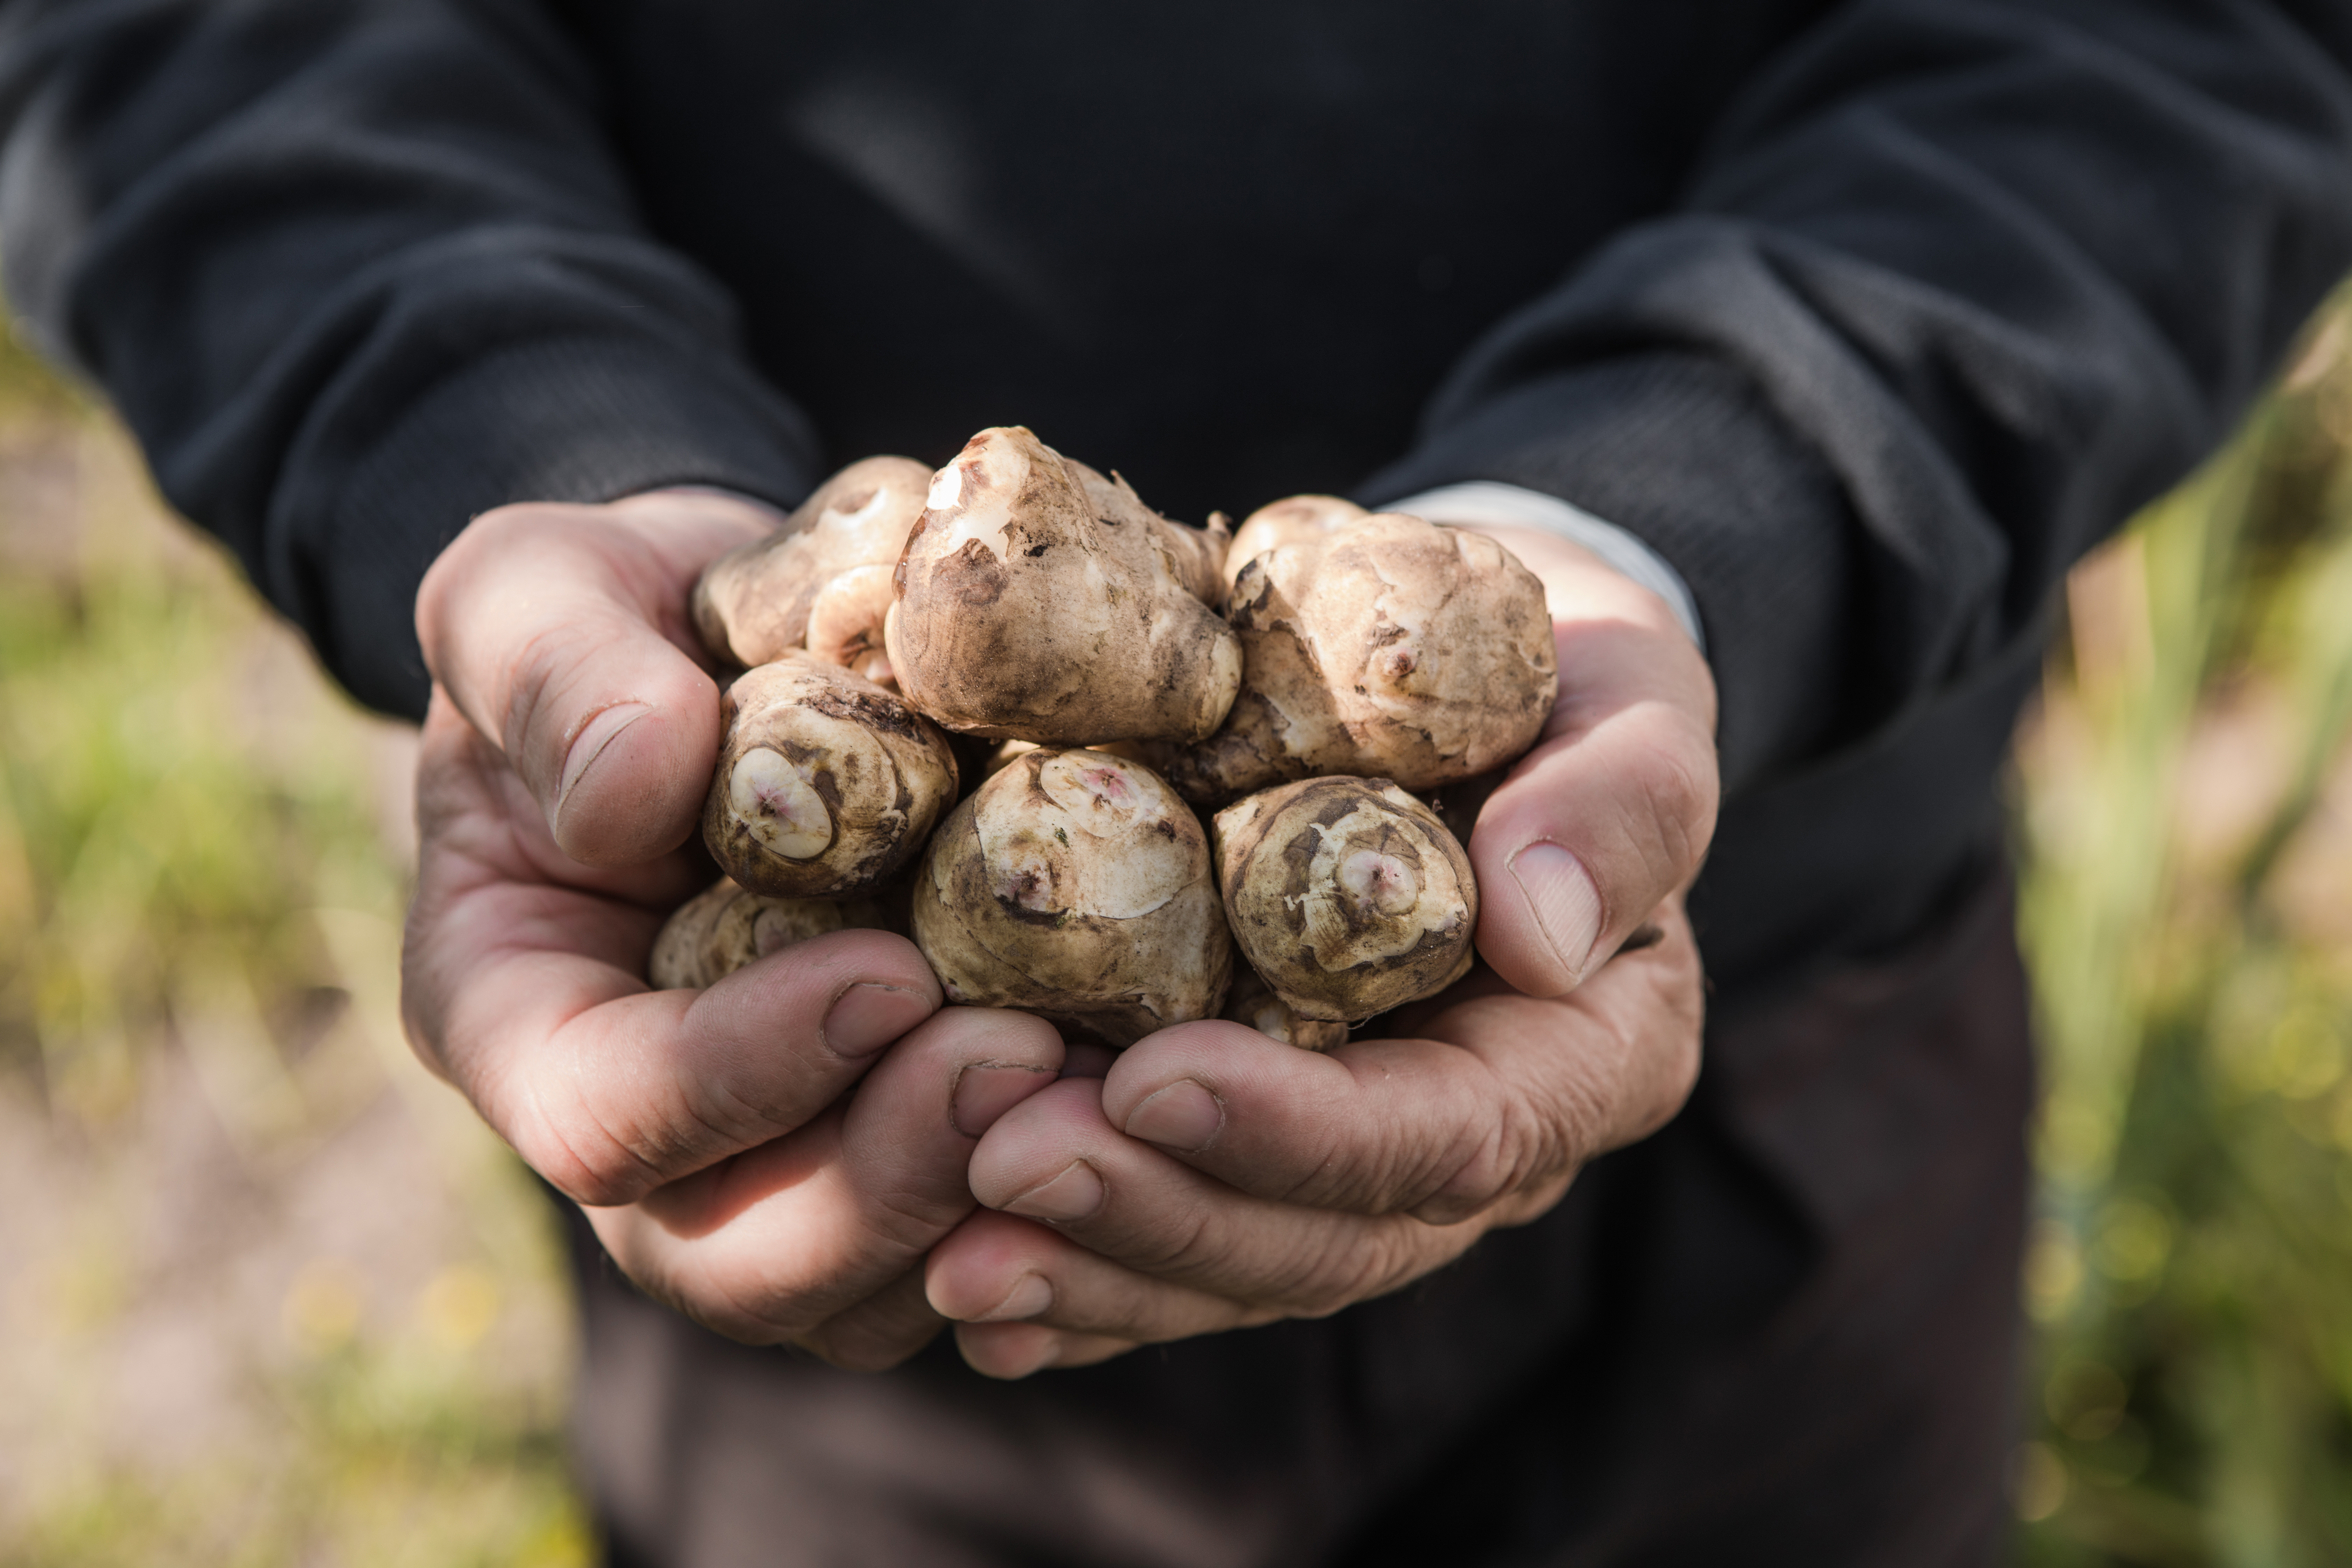
As you start to look over your gold and purple bounty, you may begin to notice that there are often small “baby tubers” that aren’t really worth saving for the dinner plate. These little nickel-sized-nuggets are the perfect seed tubers for next year. While larger tubers will produce larger plants earlier, it has been my observation that larger seed tubers have little to do with how productive that plant will be at the end of the next season.
As you start to look over your gold and purple bounty, you may begin to notice that there are often small “baby tubers” that aren’t really worth saving for the dinner plate. These little nickel-sized-nuggets are the perfect seed tubers for next year. While larger tubers will produce larger plants earlier, it has been my observation that larger seed tubers have little to do with how productive that plant will be at the end of the next season.
Once your seed tubers are identified, simply put them back into the ground where they will become next year’s bounty. It’s best to have already picked out their new home before digging your tubers up, because unlike potatoes, they do not store well out of soil for more than a week or so.
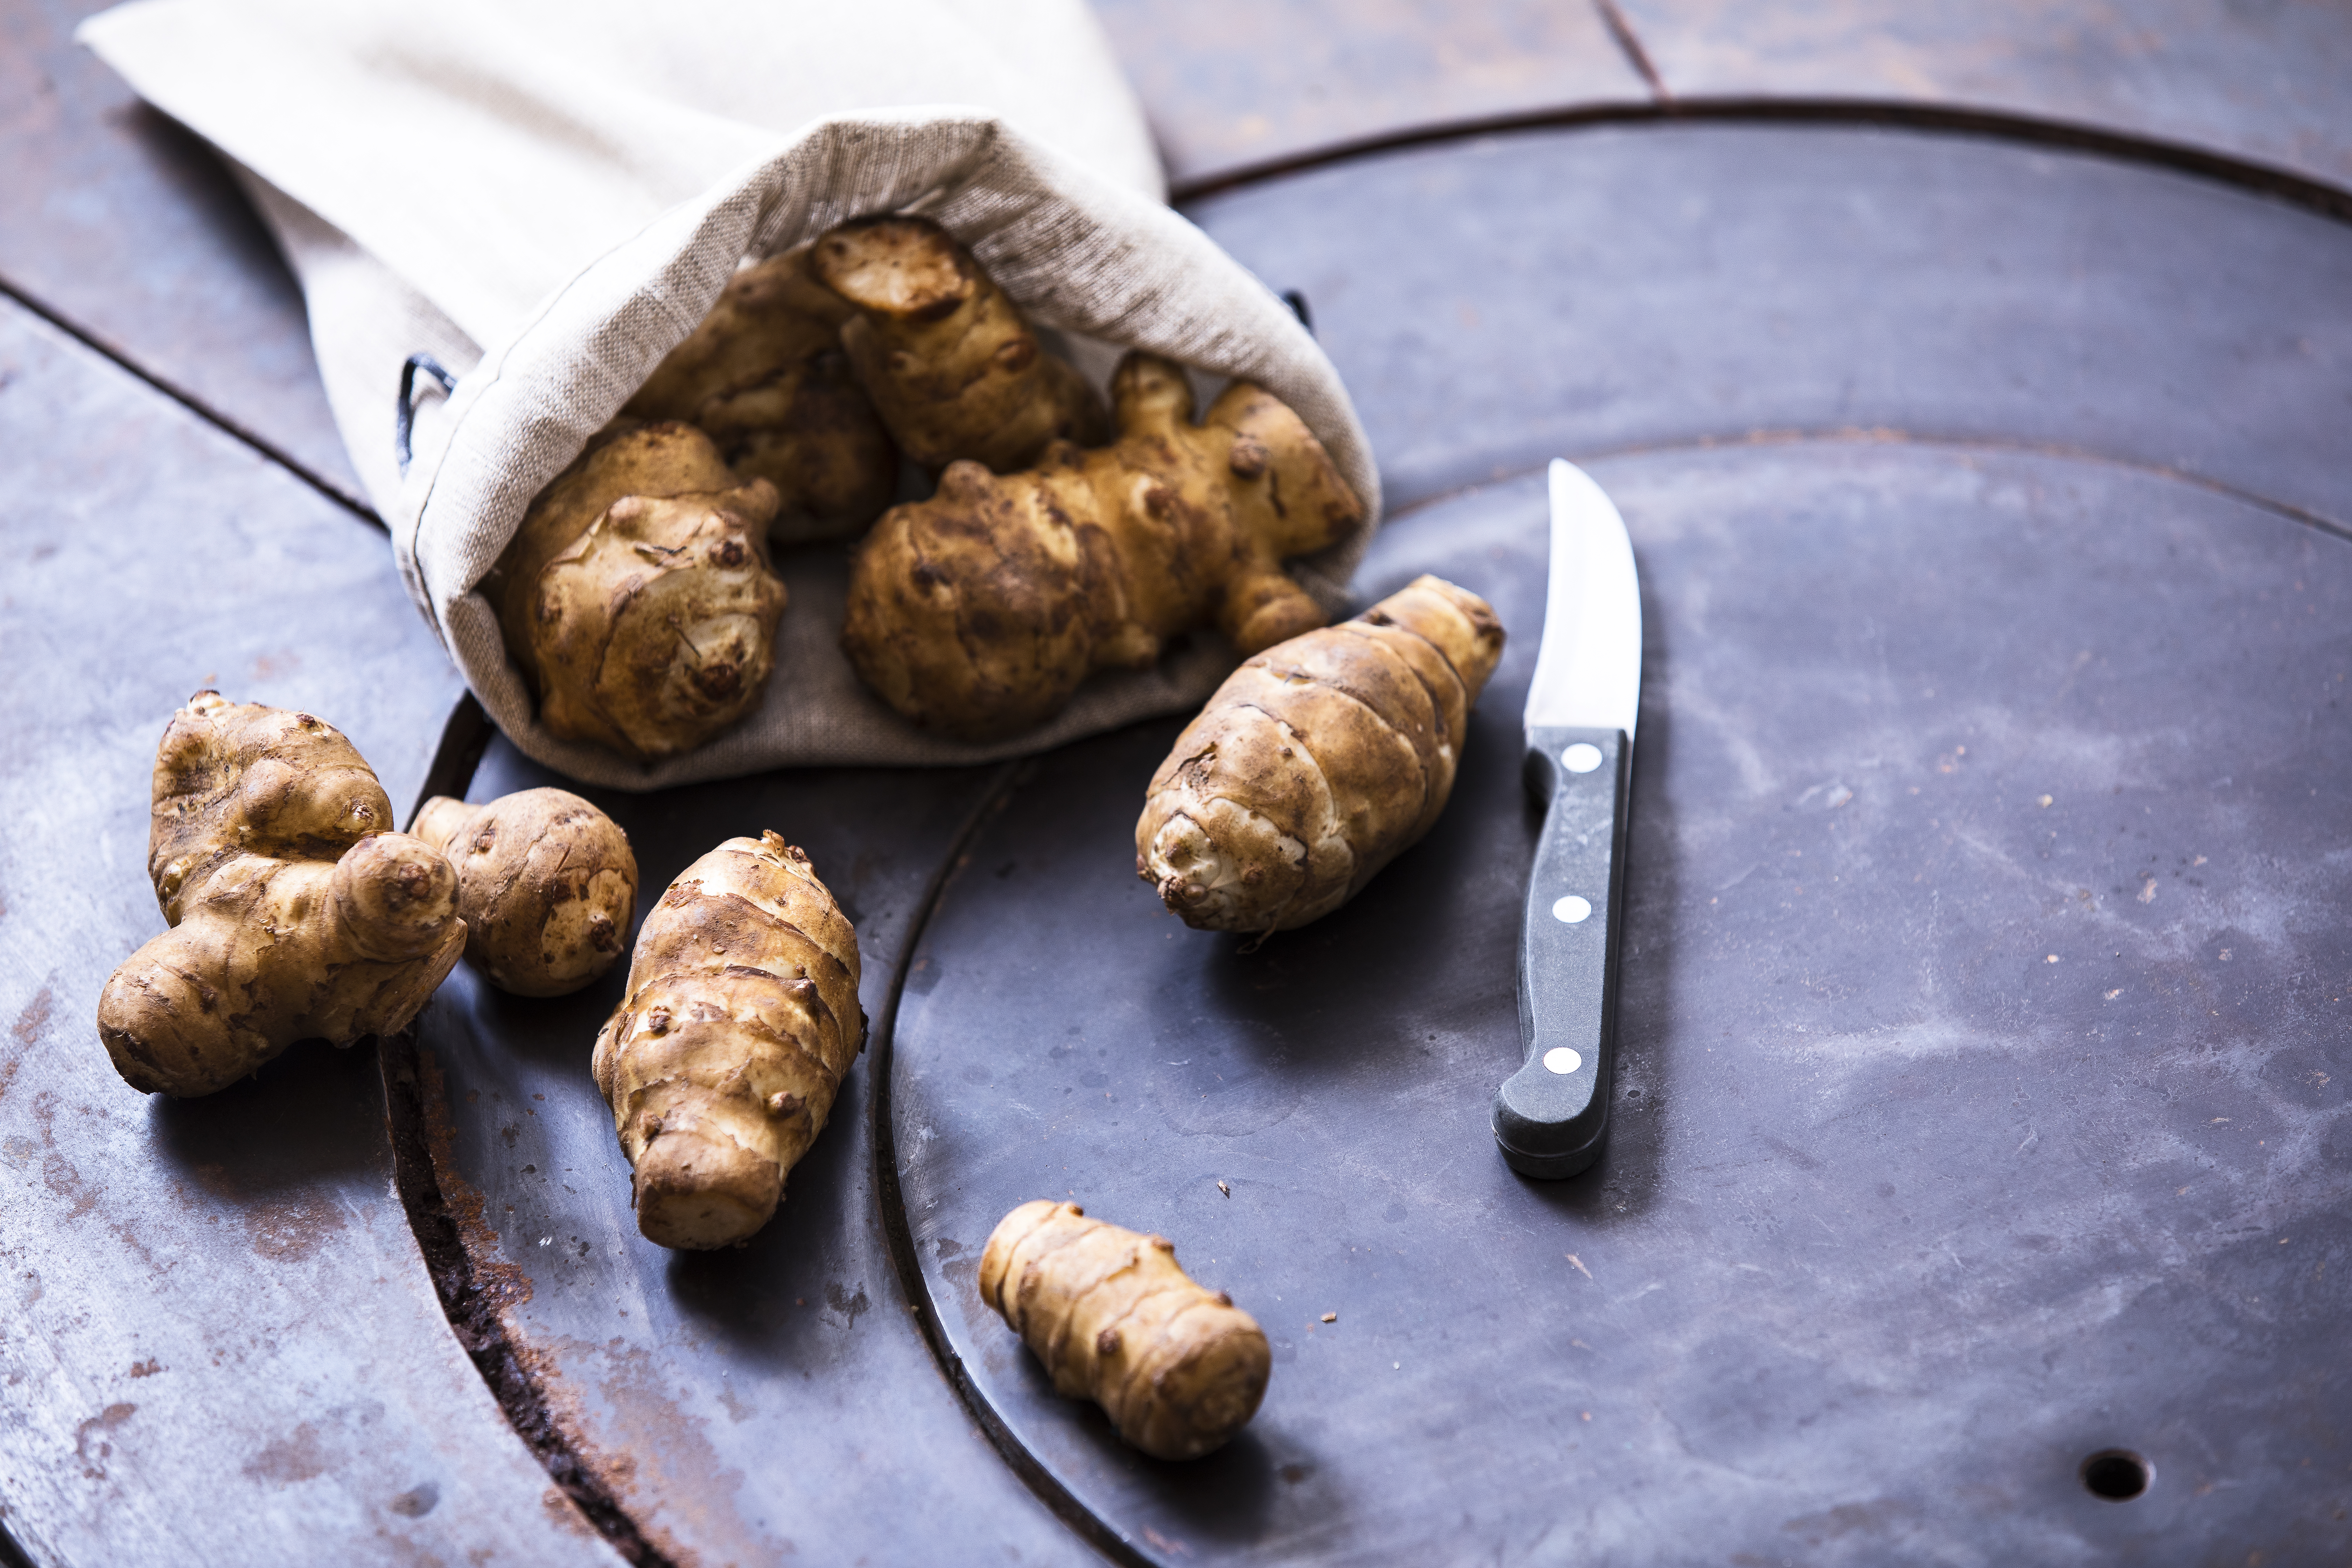
Preparing and Eating
While this guide could have ended at harvest, I think it’s really important to understand how Jerusalem artichoke is best cooked and what it tastes like because after all isn’t that what vegetable gardening is all about? For taste, most tubers I have tried don’t differ much from one variety to next and are usually nutty, sweet, and have a touch of earthy. Like most niche foods, it’s something you really have to try for yourself to gauge whether you will like them.
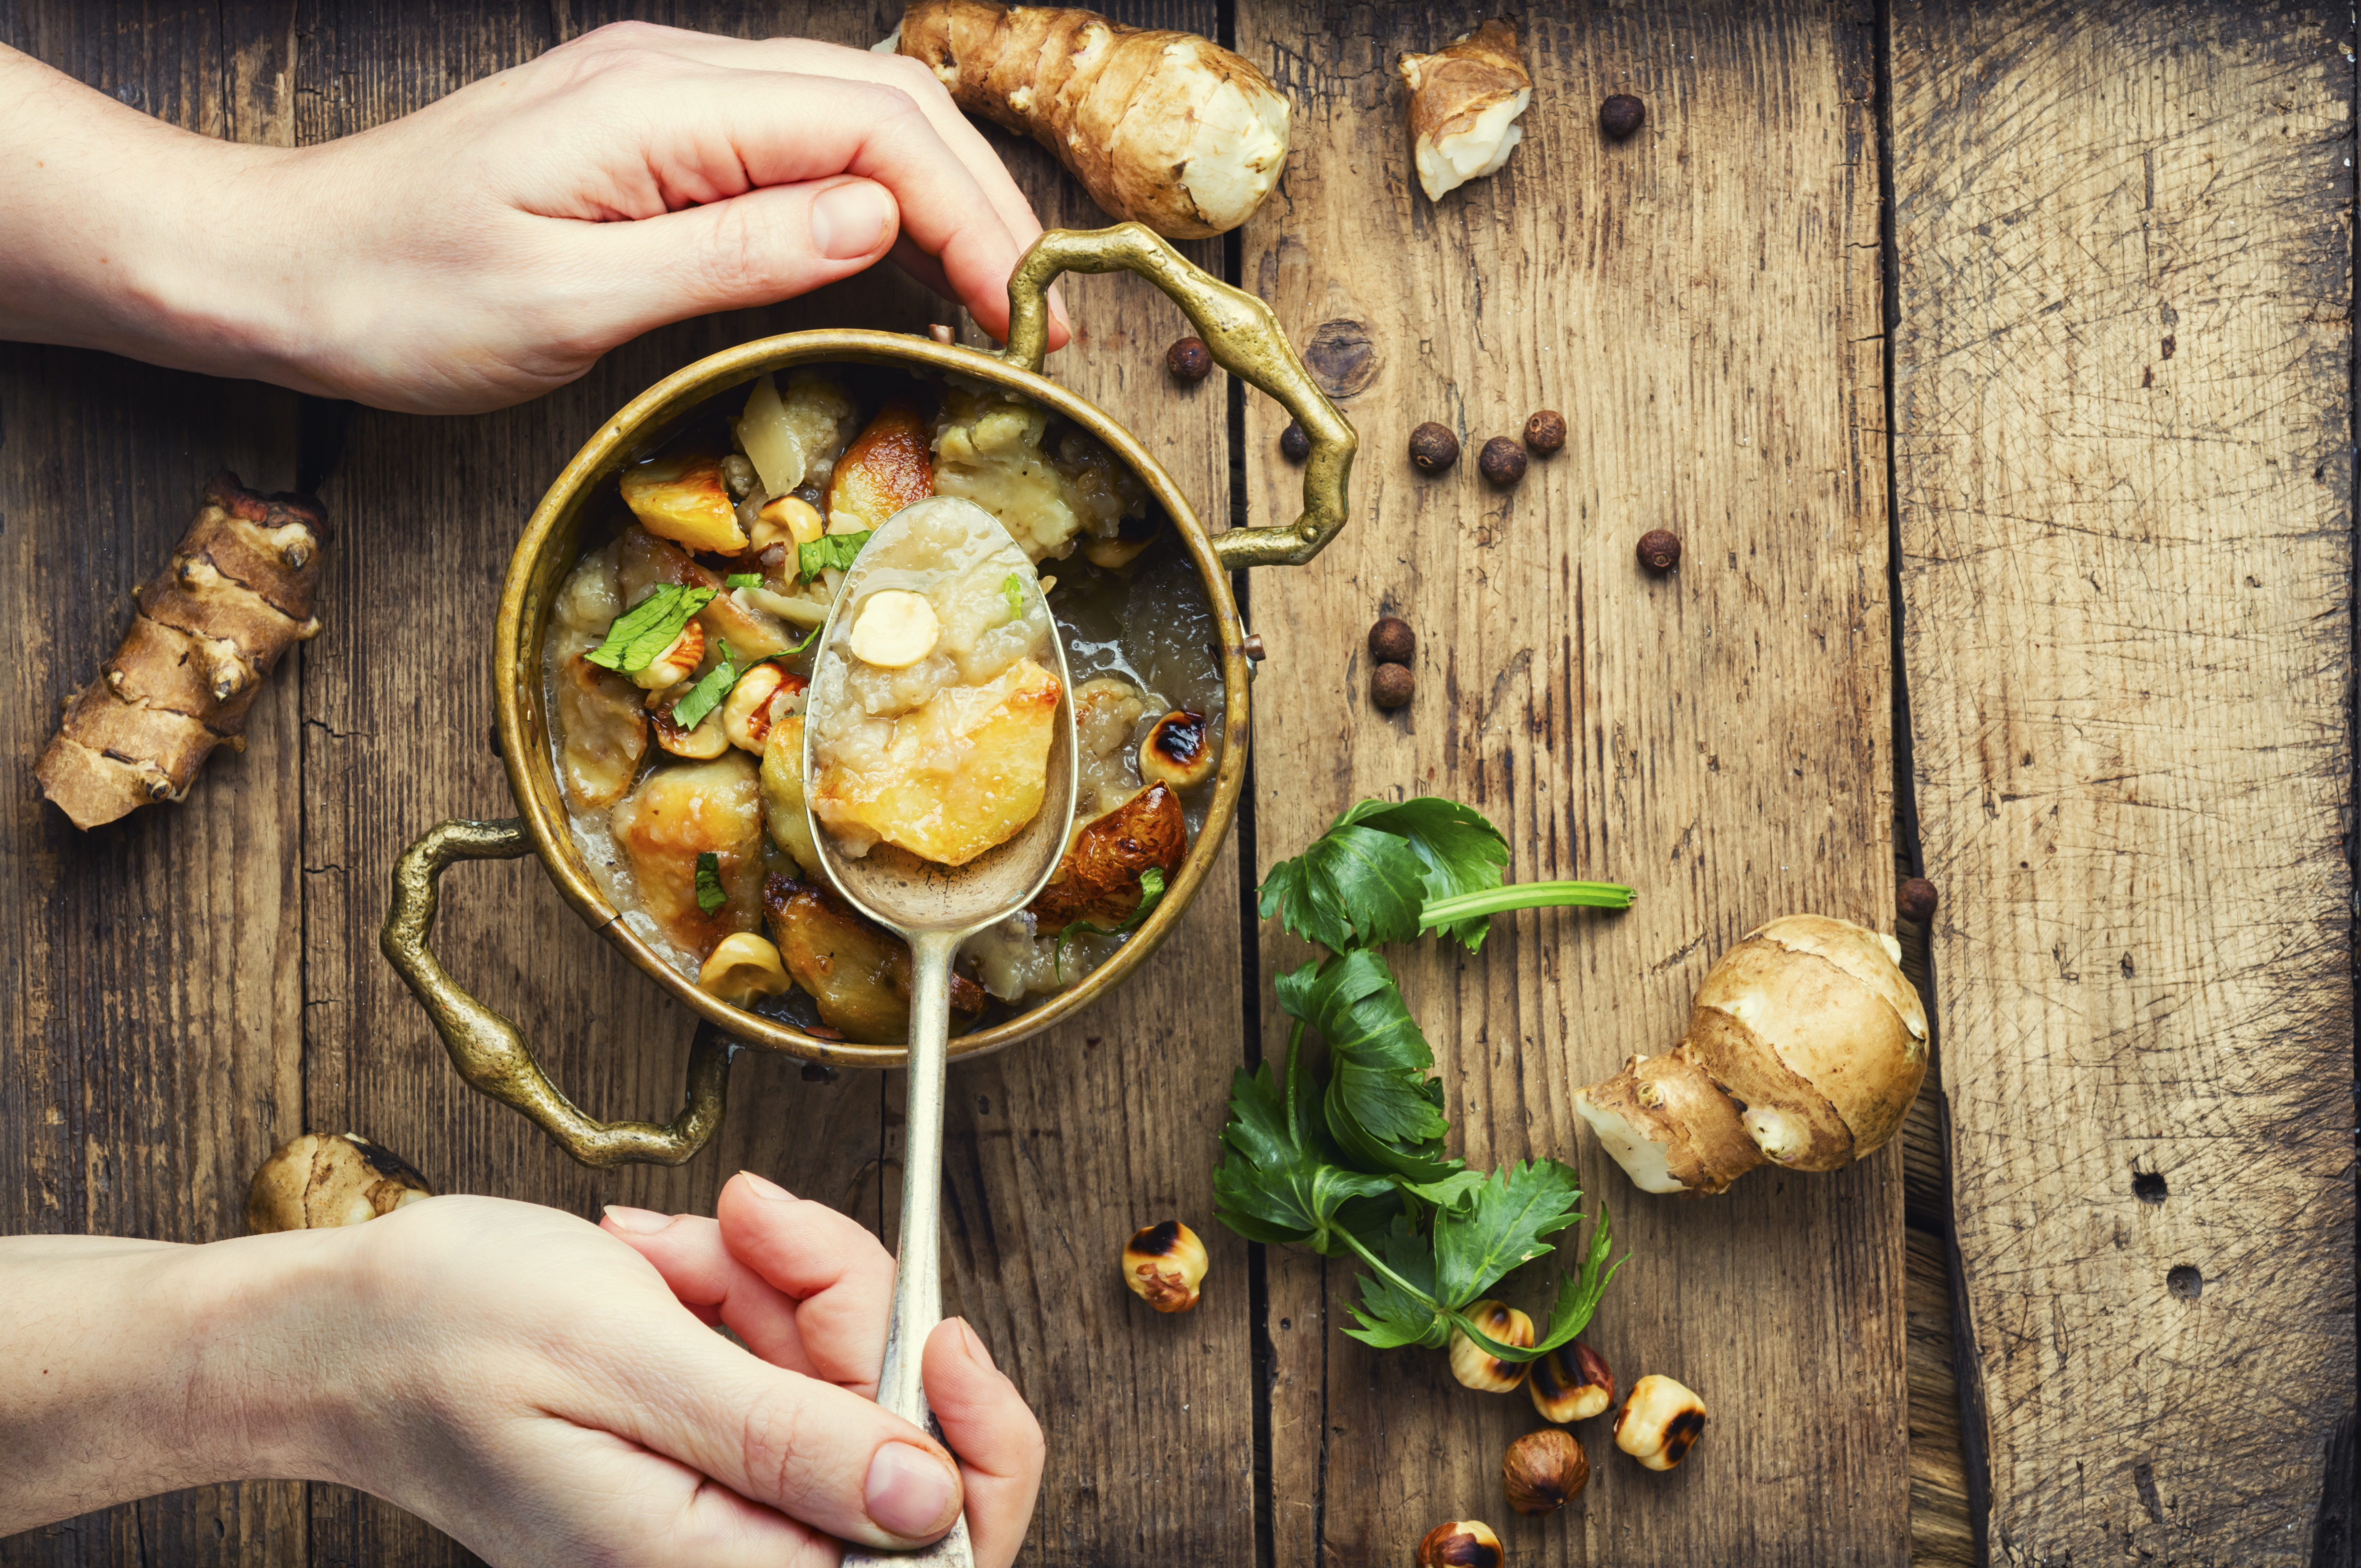
The best recipes I have tried involve sautéing or roasting the tubers and serving them as a side, but they also go well in soups. While fresh, the texture is similar to a water chestnut and when cooked/sautéed the tubers become softer like a potato. However, if your plan is to use them as a replacement for potatoes, sadly they don’t have that buttery smooth “meat” that readily takes on the flavor of any seasoning paired with it like potatoes do. Jerusalem artichoke has its own unique flavor and texture and stands out in recipes where it is the main event.
Jerusalem artichoke tubers also contain almost no starch and are packed with a type of fiber called inulin. While Jerusalem artichoke has various health advantages over potatoes, they do have one minor downside. Because the average person doesn’t consume much inulin through their regular diet, the first few times you have Jerusalem artichoke tubers in any sizable quantities, they may cause slight GI distress. It’s nothing to worry about and your gut will become accustomed to them over time, but they’ve earned the nickname “Fartichokes” for a reason. 😊 Jerusalem artichoke tubers also contain roughly half the calories per pound that potatoes do and are generally considered to be the healthier option of the two.
Final Thoughts
Jerusalem artichoke is an excellent crop if you want to grow something that is like a potato, but requires much less effort in terms of outside inputs and maintenance. In more ways than one, Jerusalem artichoke really is an incredible plant. So for those who would like to grow a very hardy and reliable crop for your kitchen garden, or you just want to try something new and interesting, Jerusalem artichoke is a great place to start. It’s amazing to watch it emerge from its slumber in the spring, beautiful to watch it flower in the Summer, and exciting to dig up its bounty in the fall. I hope that you will give it a grow this spring!