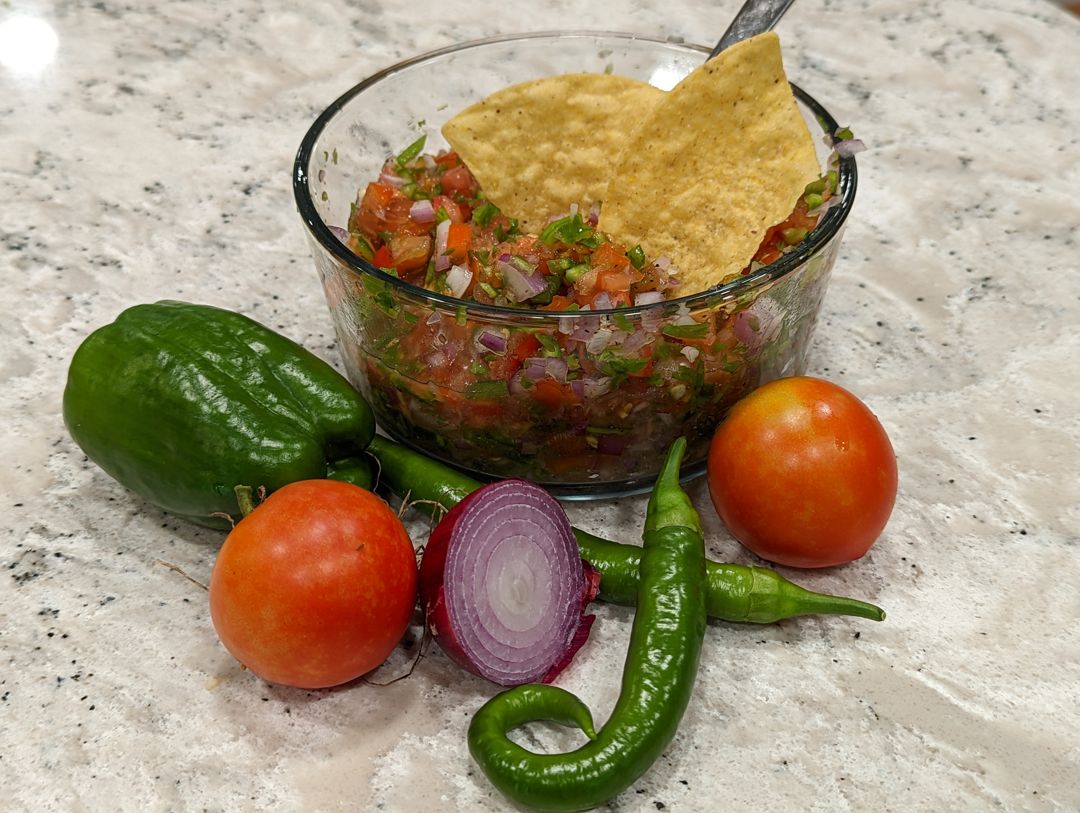
One of my favorite things about summer is enjoying fresh salsa from the garden. It’s sweet, spicy, and best of all…fresh, so it tastes better than store-bought salsa and lasts longer in the fridge (if I don’t eat it first!). This year, I wanted to maximize my chances of successfully harvesting every major component to make fresh salsa, so I dedicated a good portion of my veggie plot as a “salsa garden”. I’ll go over my process, what went well, mistakes I made along the way, and the end result (spoiler: it’s fresh salsa! 😋).
Motivation
In past years, I’ve had troubles getting all the components of salsa to grow well. In 2020, I had a bumper crop of tomatoes and peppers, but no onions. That worked out fine, since onions are rather inexpensive to buy at the grocery store. In contrast, in 2021, the only thing that grew well were the onions! The tomatoes suffered due to excessive rain. And the peppers never took off due to poor-quality soil; I built 2 new raised beds and filled each with bags of raised-bed garden soil from Home Depot. Due to the amount of soil, I had to take two trips from the store and it turns out that the second batch of soil was no good, while the first batch (same brand) was excellent.
Valuable lesson learned: even with bagged soil, it’s still worthwhile to get the soil tested. I didn’t realize that the soil was bad until the following year.
Starting the Seeds
In the past I’ve done pretty well starting my tomato plants from seed, so I decided to go that route again. I chose the classic Amish Paste tomato variety. This year, I also decided to grow peppers from seed! I chose two great varieties, King Arthur Hybrid Bell Peppers and Garden Salsa Hybrid Hot Peppers.
](https://ucarecdn.com/808f669d-4923-45be-b205-c96442a39b37/2_058aa936-8d96-43ef-9f1b-623eb1ae78bc_1390x1112.webp)
](https://ucarecdn.com/7e20e0ad-a933-4b1b-9ff5-4fb938cea947/2_2639b7b8-1fb5-4714-a8c1-33c208d2473c_2400x1920.webp)
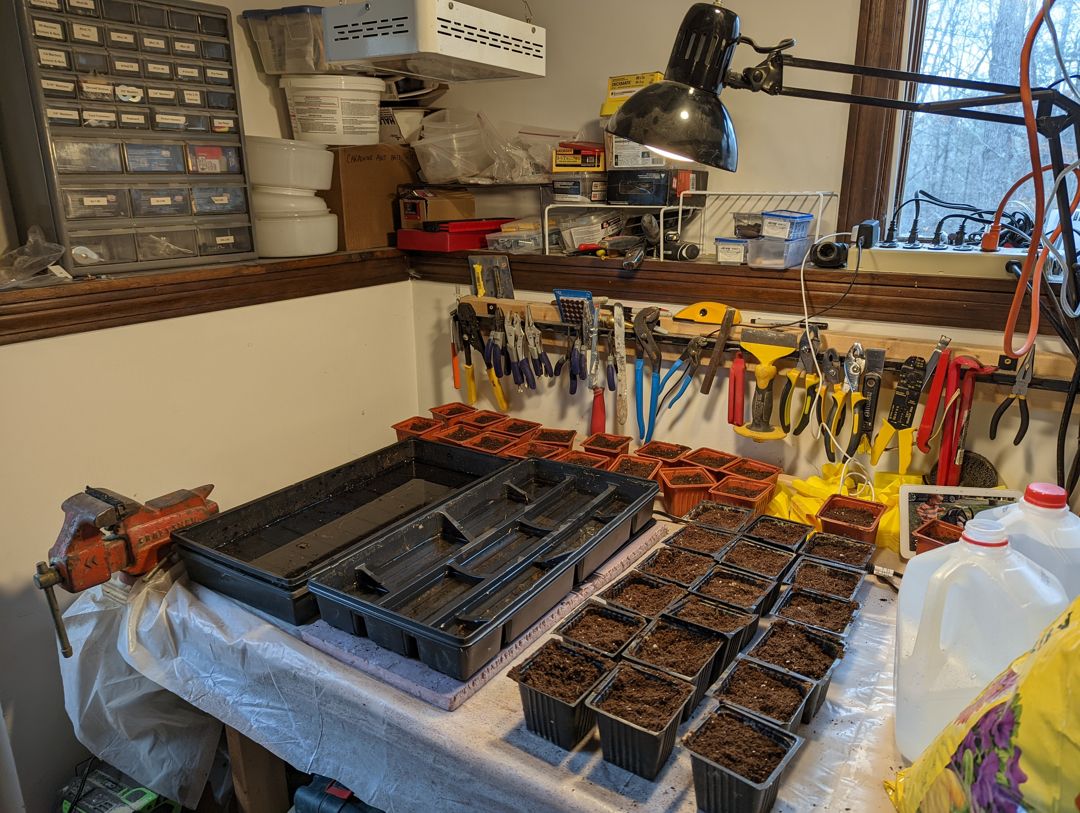
I started the tomato and pepper seeds on my workbench with a red-blue grow light. I put about 3 seeds in each container, assuming some of them wouldn’t germinate.
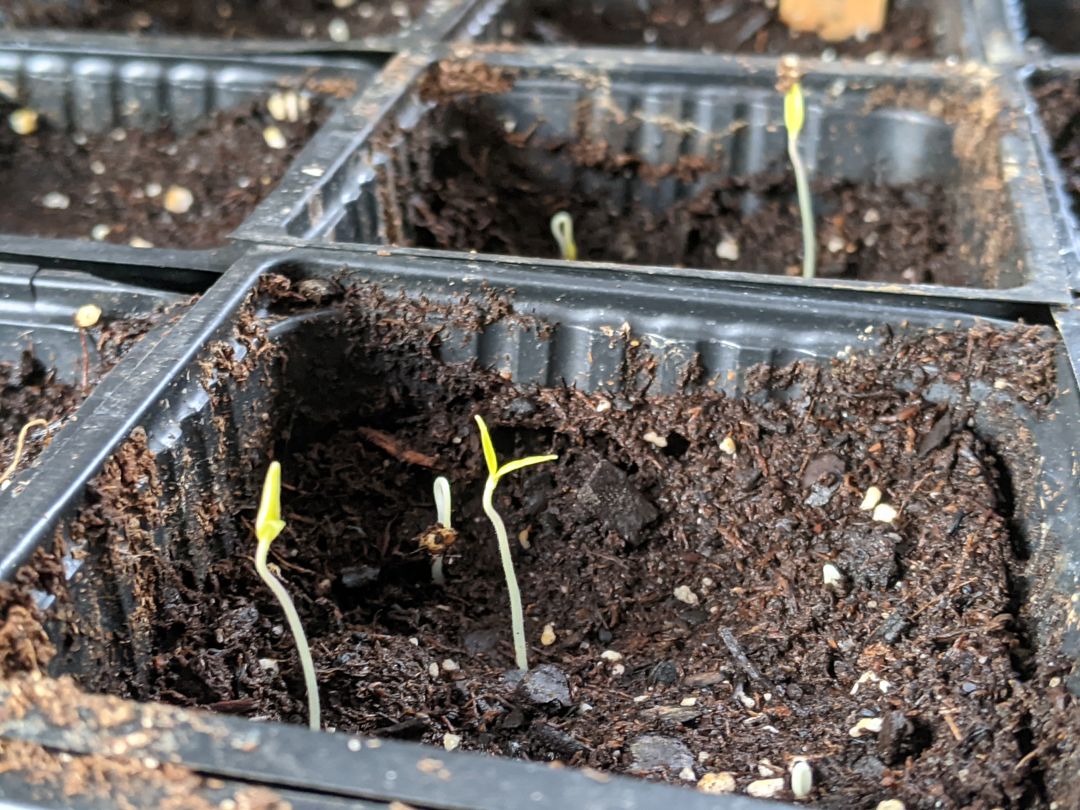
After a few weeks, seedlings emerge!
5 weeks after sowing, I realize that I started the seeds way too early…again (I can’t resist the gardening itch in the middle of winter 😅). At this stage there’s still more than 2 months until I can safely transplant them.
6 weeks after sowing, I started moving the tomatoes into gallon jug containers to encourage better root growth:
 by simply adding water to the pool.](https://ucarecdn.com/18519b68-3044-4abd-8dc2-3f6a6a4283be/pxl_20220401_001050144-mp.jpg)
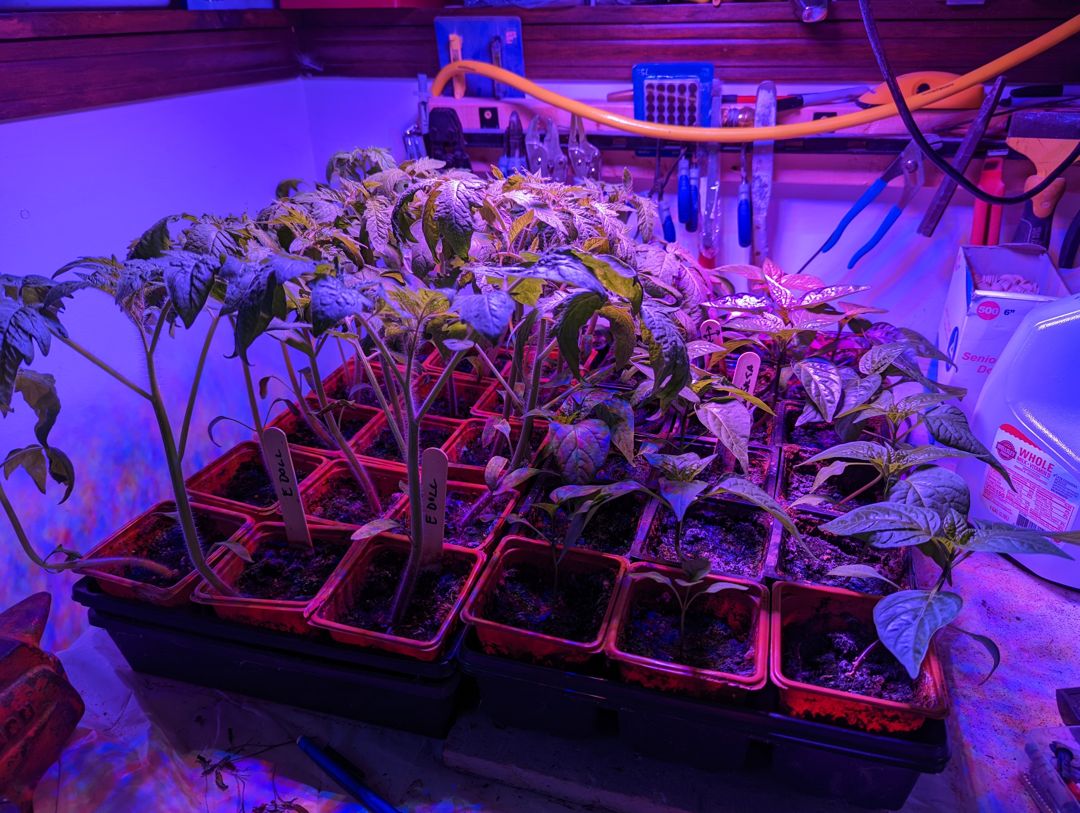
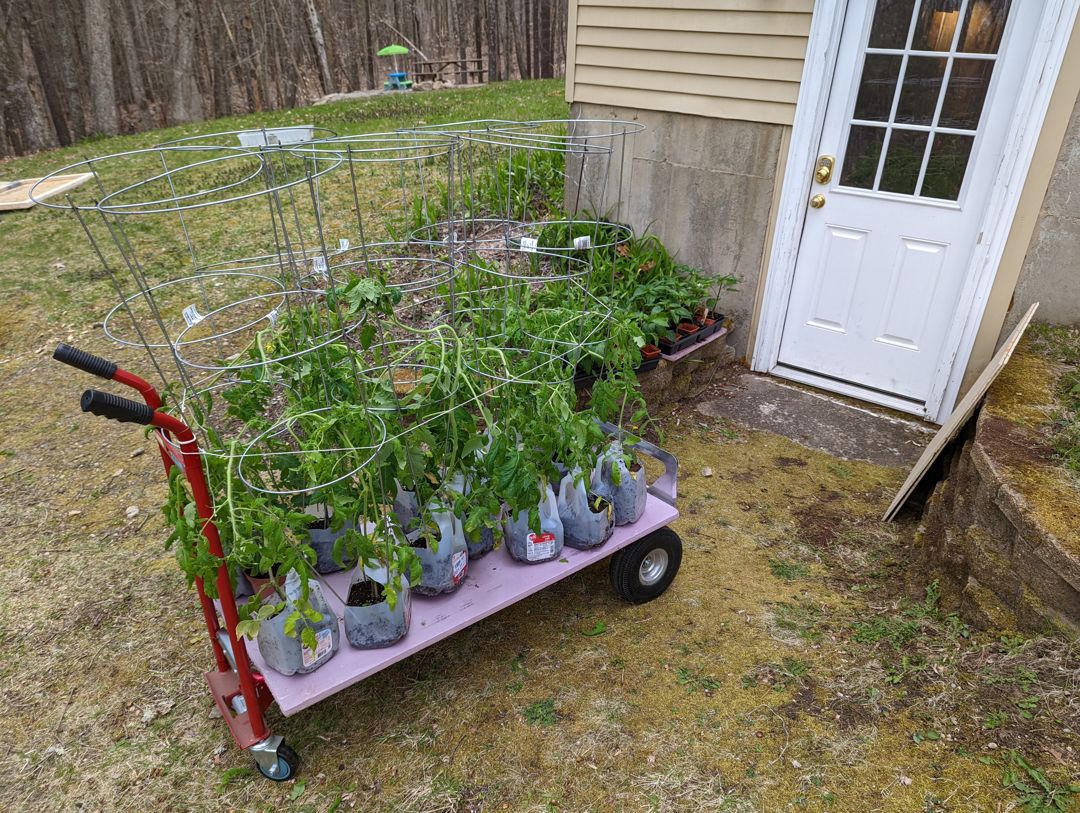
8 weeks after sowing, just before transplanting. The tomatoes had gotten so large I had to use their cages to keep them from falling over. I put them on a cart and wheeled them inside the basement door when it got too cold:
On the plus side, the peppers grew really well throughout this entire process. I did transplant them into larger containers mid-way through, but they never grew “leggy” as I feared.
Onion time!
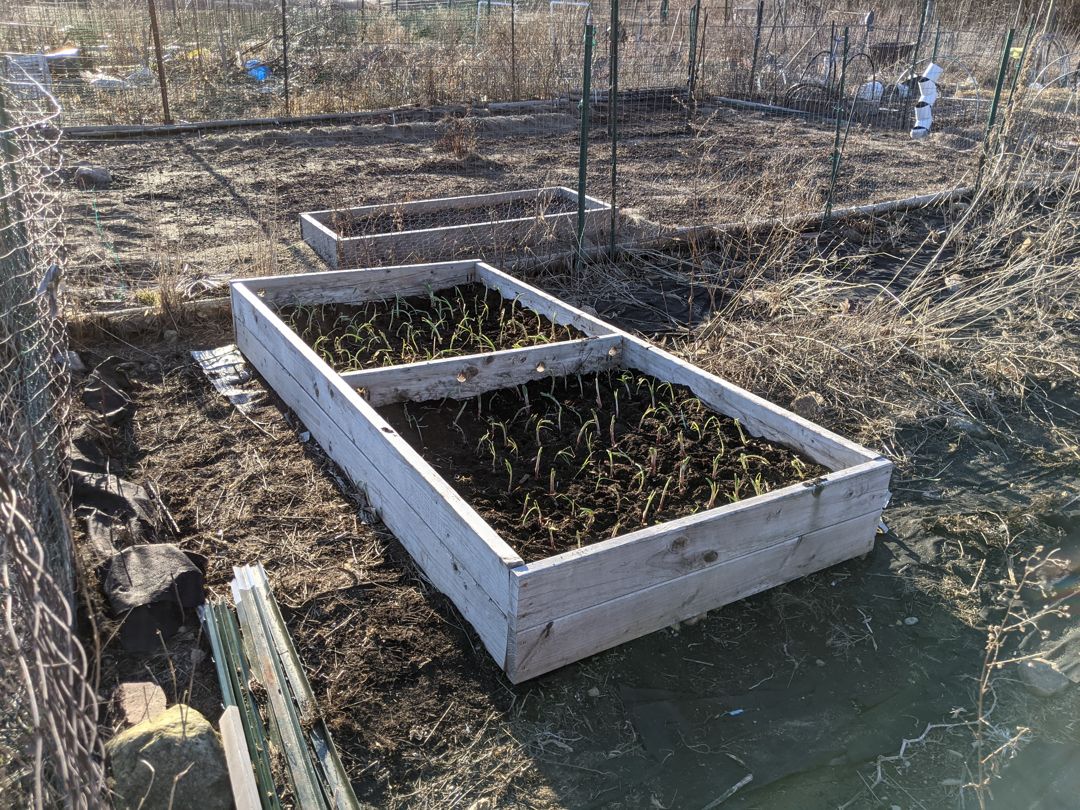
While the tomatoes and peppers were growing inside, it was time to plant the onions outside. Onions are fairly resistant to frost, so it’s safe to plant them before your frost date. I like to use starter onions from Dixondale Farms. Starter onions look like green onions and give your crop a head-start, which is very useful for growers like me in colder climates. This year I chose Walla Walla, Red River, and Highlander onions. Using Planter’s useful spacing info, I started by putting 4 onions in each square foot. But rules are meant to be broken, and after realizing I received several dozen extra onions I managed to fit about 6 onions per square.
In the garden, finally!
Once the chance of frost was mostly gone, it was time to transplant the tomatoes and peppers into their final spots in the garden! I planted corn, beans, and squash (aka the “Three Sisters”) next to the tomatoes. The idea is that the squash will cover the ground, keeping weeds at bay. And the corn and tomato cages will act as a trellis for the beans. In the end, all the beans and squash did was provide snacks for the rabbits 🐰.
I intercropped the peppers with the onions, since they’re good companion plants.
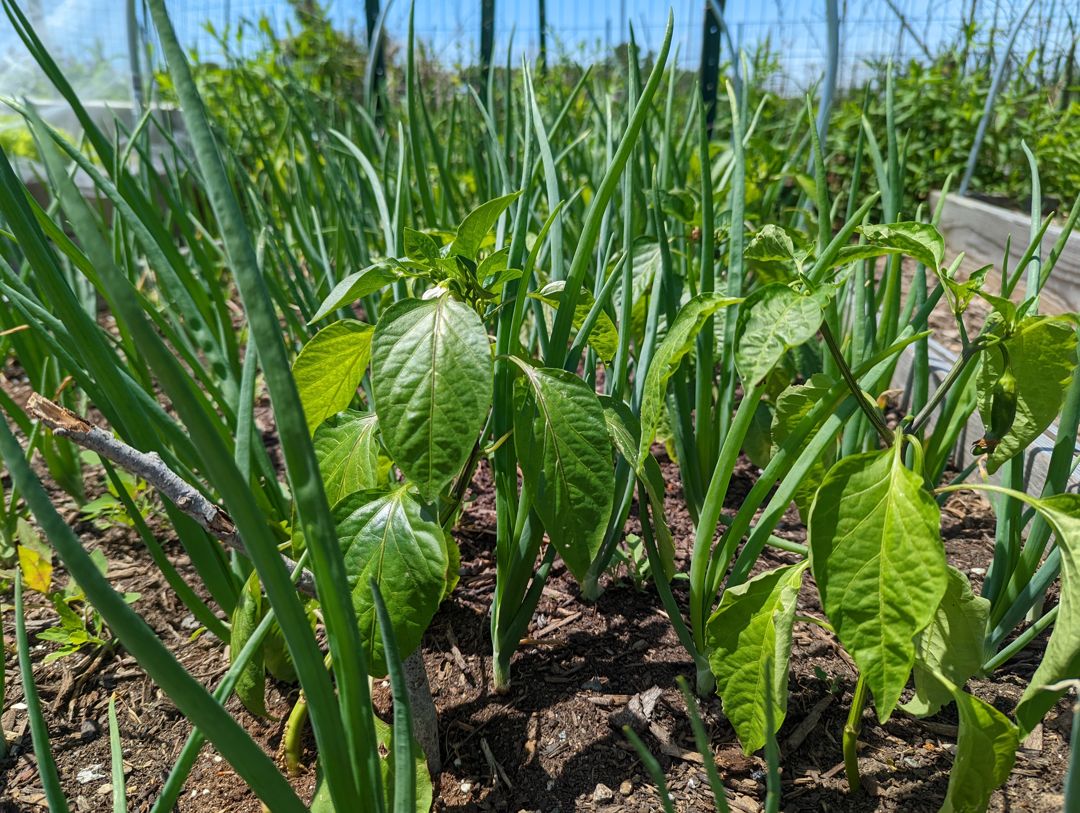
Intercropping also reduces weeds, since the onions shade out much of the ground.
Harvest time!
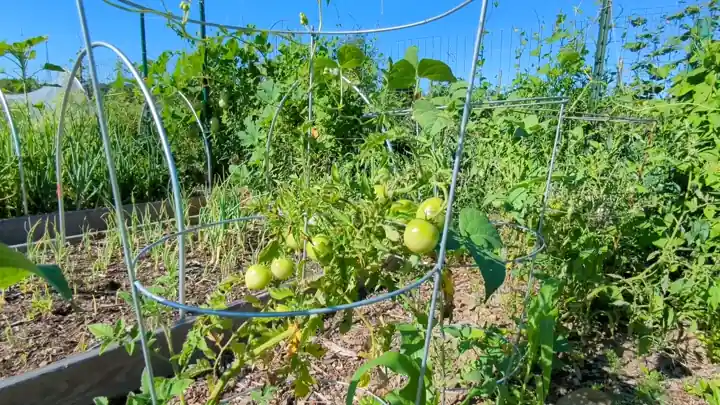
I was able to make a good deal of fresh salsa from the garden this year! The limiting factor, surprisingly, were the tomatoes. They just weren’t as productive as I had hoped. I did get a decent amount of tomatoes from them, but nowhere near the 2020 yield. My guess is that they were too lanky and overgrown when they were first transplanted. Starting the seeds later in the spring would have resulted in better-supported, healthier plants.
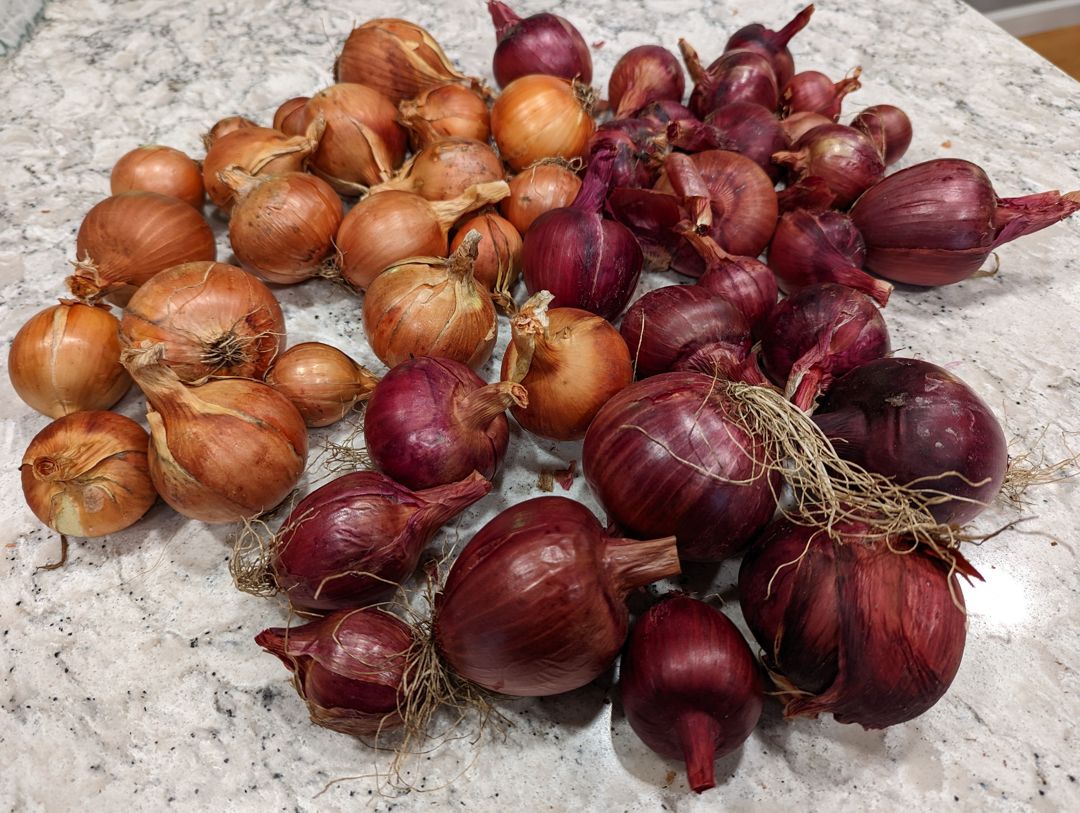
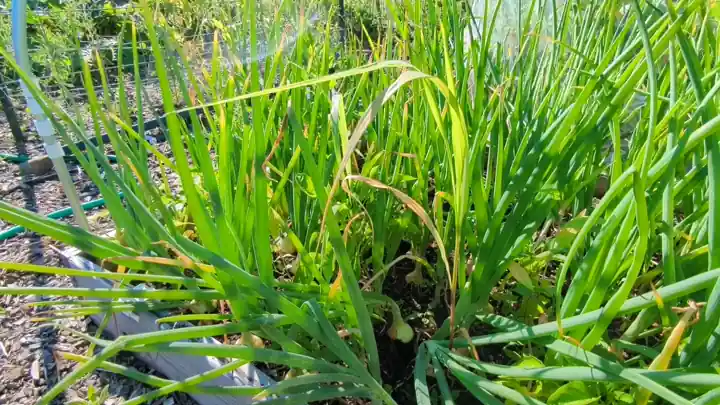
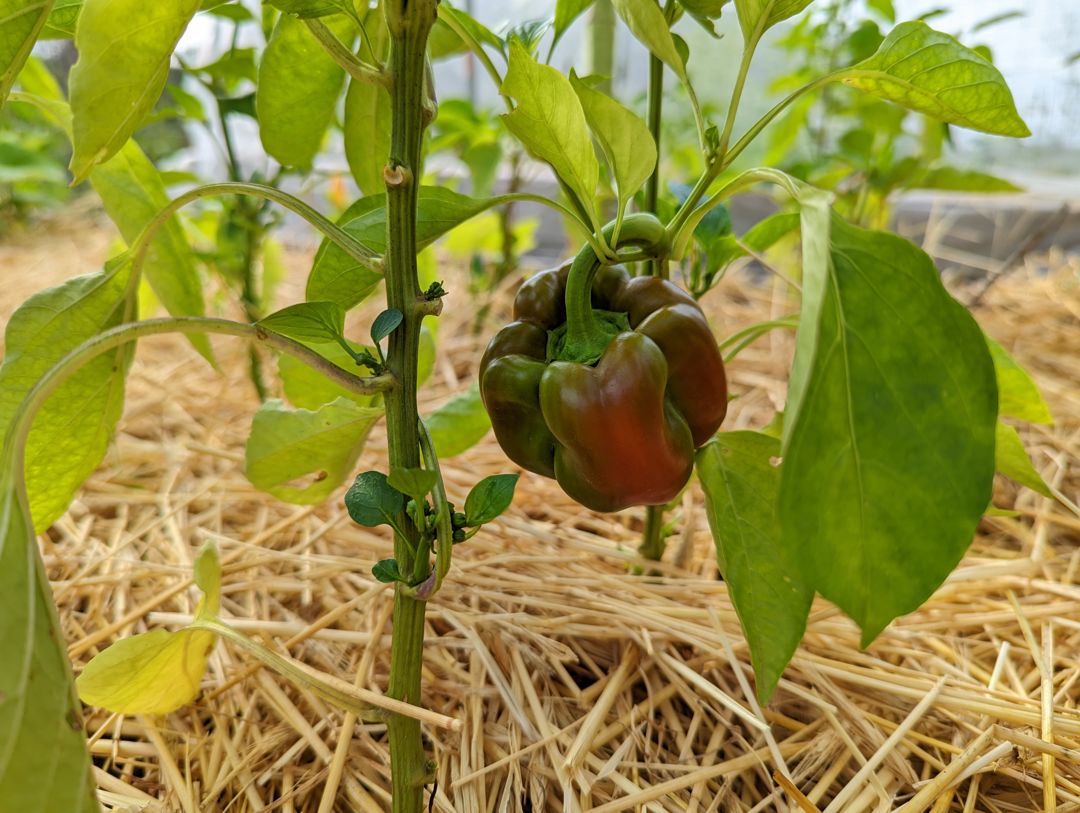
In contrast, the peppers continue to produce heaps of delicious sweet and spicy peppers. Likewise, the onions that were in the pepper bed did really well! I harvested them in mid-August after their stems started falling over. I then laid down some straw to keep the weeds at bay. Once the onions were gone, the peppers received a bit more sunlight which is probably why they’re doing so well now. However, the onions in the raised garden bed with the poor-quality soil did not do well. I’m hoping to rejuvenate the soil in that bed this fall.
I also tried to grow cilantro from seed in the garden, but it didn’t germinate. Later in the summer I tried growing some indoors and it germinated without a problem, which I then transplanted into the garden.
Lessons learned and plans for next season
- Don’t start tomatoes too early.
- Test garden soil, even if it comes from a bag.
- Start cilantro from seed indoors. Or purchase from a nursery.
- Give the peppers more of a head start, so they’re taller than the onions when they’re transplanted.
I hope you enjoyed reading about my salsa garden adventure! Last but not least, here’s my simple fresh salsa recipe:
Peter’s Fresh Salsa
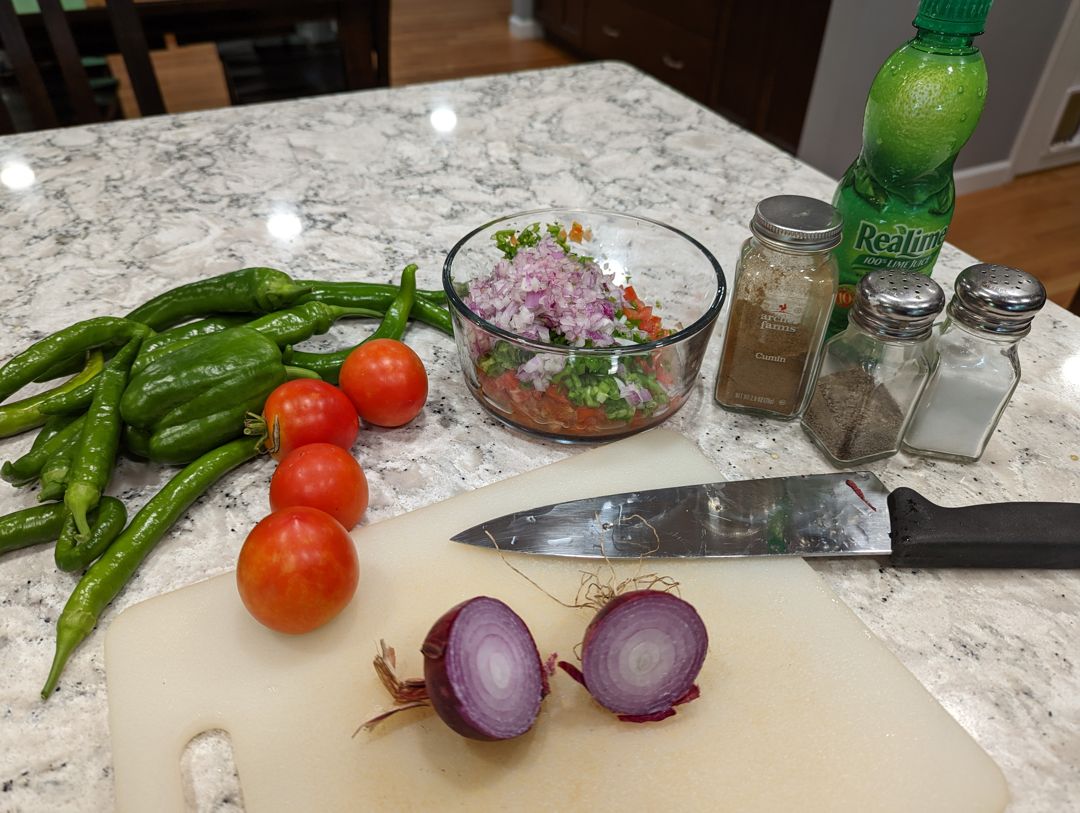
Ingredients
- 2 medium tomatoes (1.5 cups), chopped
- 1 green bell pepper (¼ cup) , chopped
- 1 small onion (¼ cup), chopped
- 1 jalapeño or garden salsa pepper, chopped (if you like it spicy!)
- 1 Tbsp cilantro, minced
- 2 tsp lime juice
- ½ tsp ground cumin
- ¼ tsp salt
- ¼ tsp black pepper