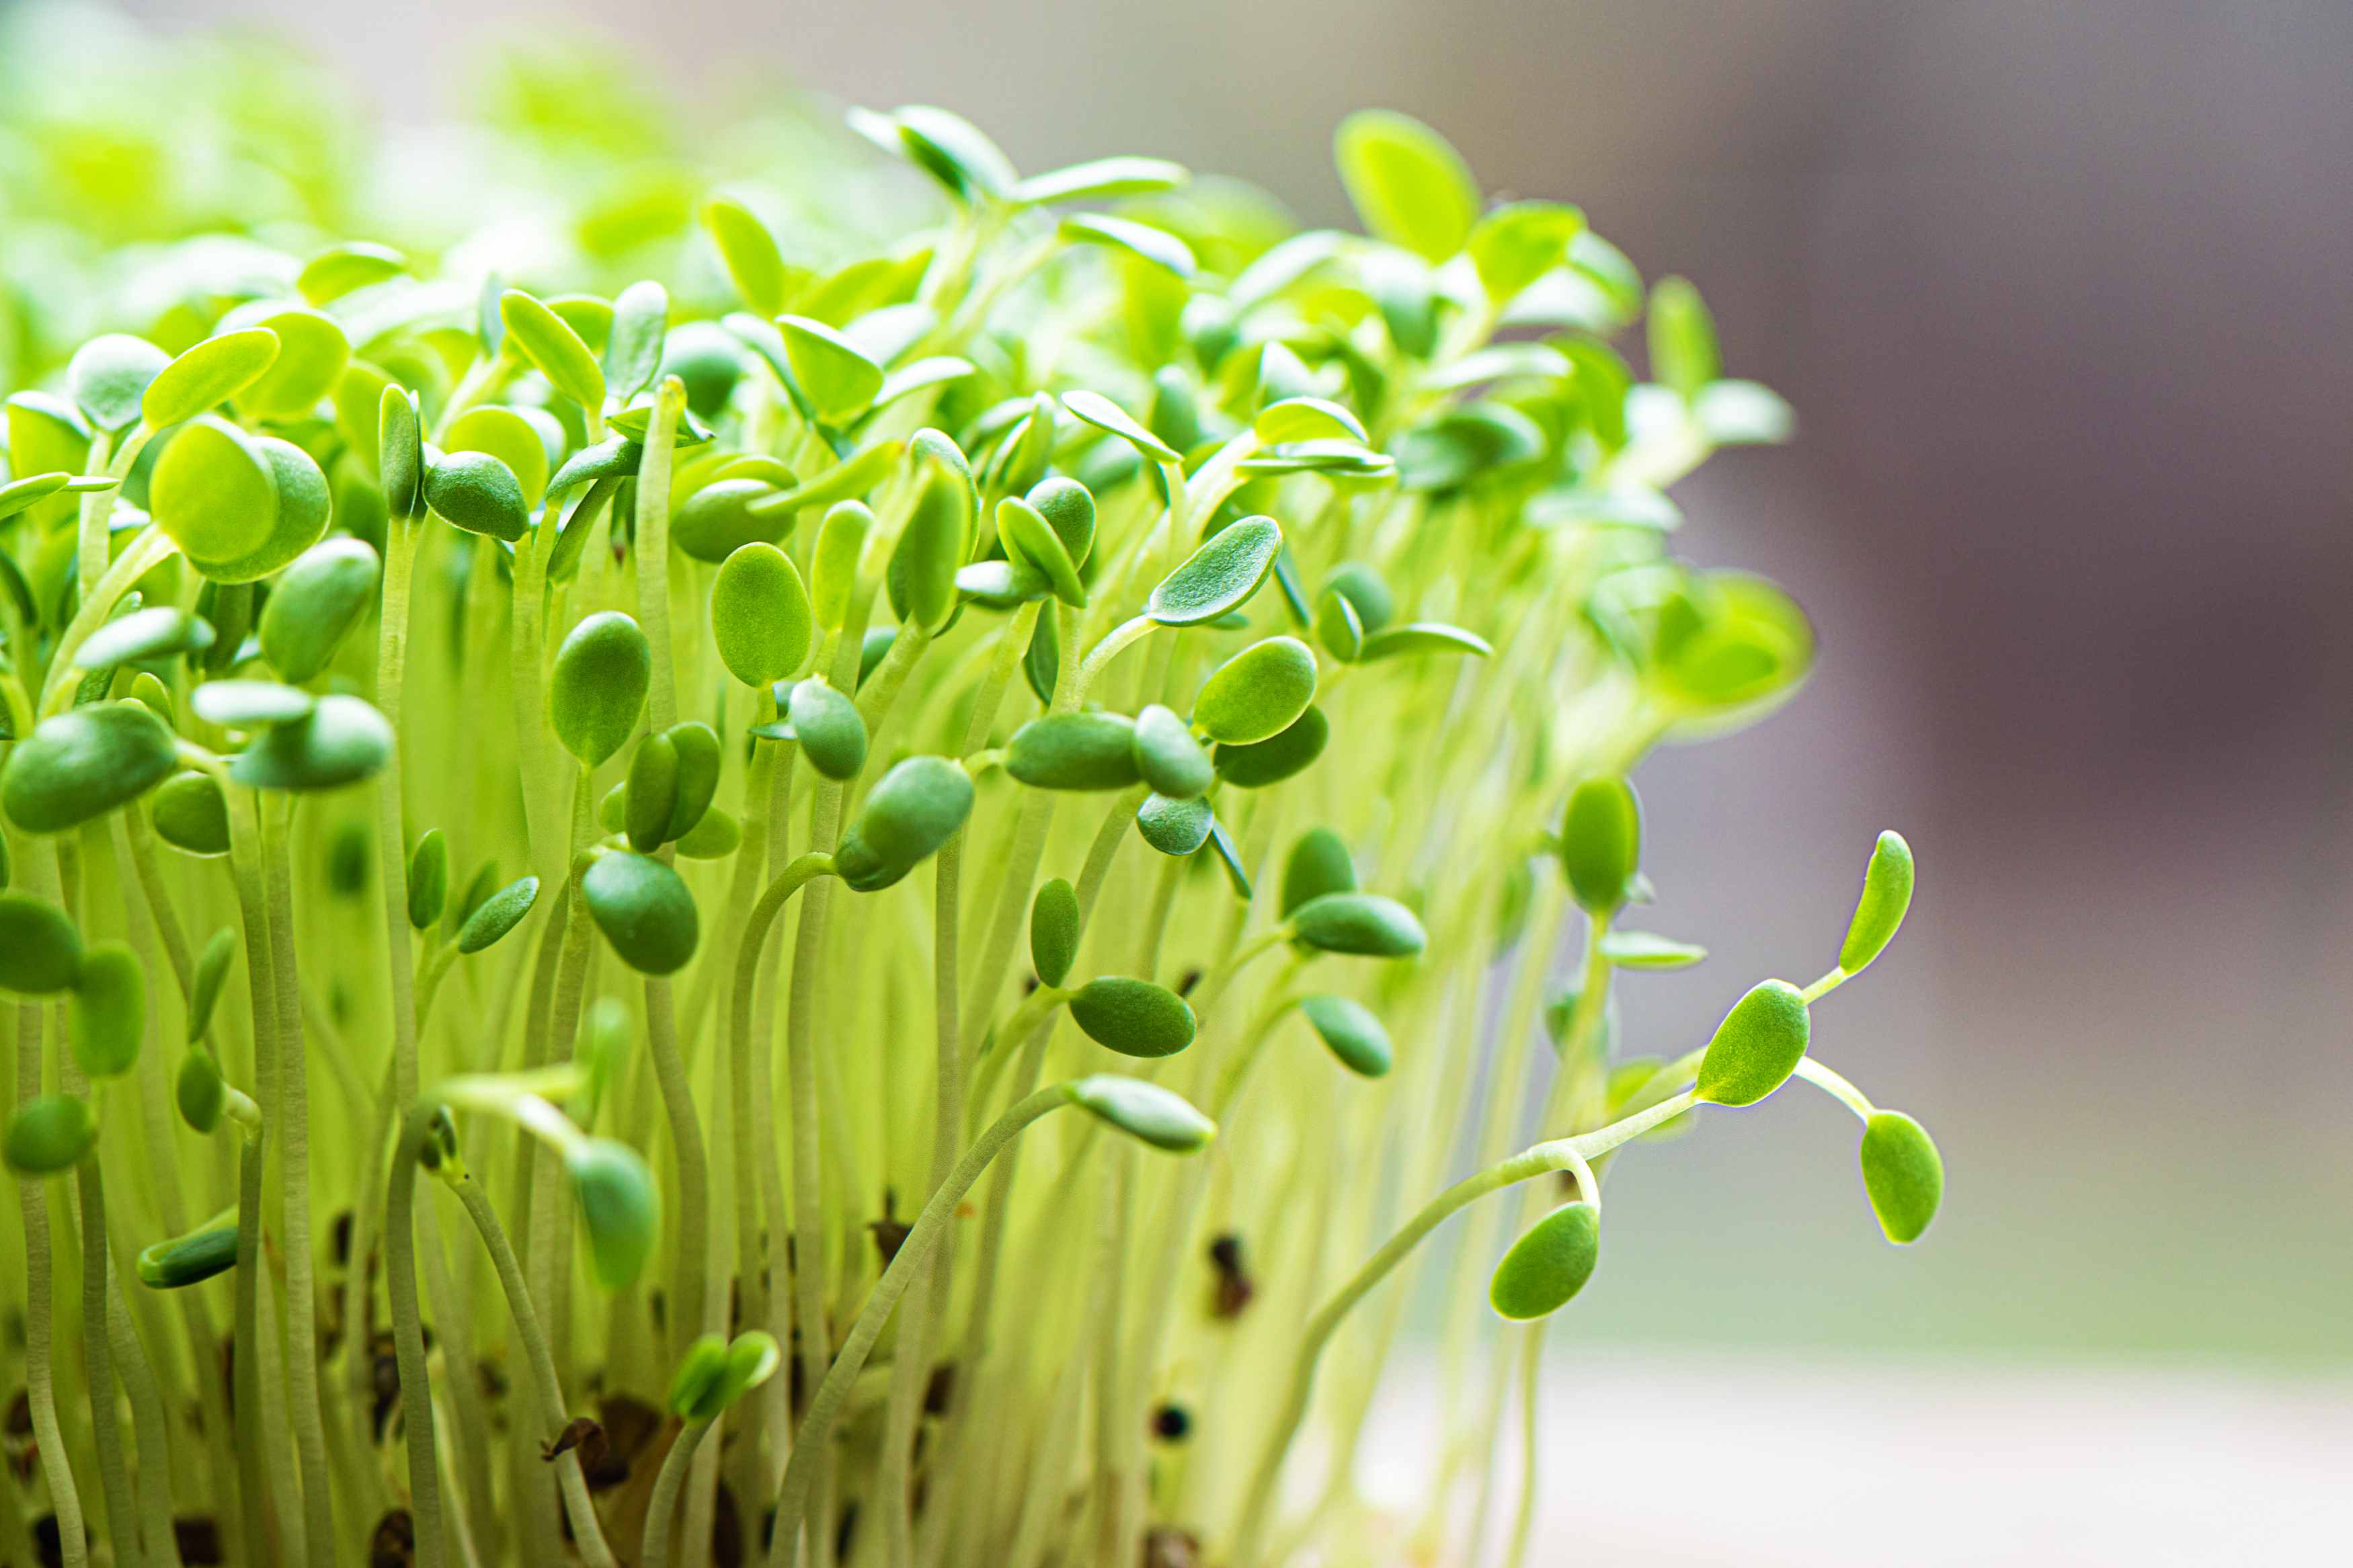
As an avid outdoor gardener, one ‘gardening’ trend I haven’t experimented with up until now is growing microgreens indoors. Well, that’s not entirely true… A couple of times I’ve thrown down extra seeds into trays lined with moist paper towels or potting mix and hoped for the best, thinking ‘How hard could it be?’ But these half-hearted attempts at growing microgreens always ended in moldy disappointment. I decided it’s time to take a deep dive into microgreen growing techniques to learn how to grow these nutritious (and cute!) greens successfully.
Through my research (and trial, and plenty of error) I’ve learned some microgreen growing tips that you might find helpful if you’re also new to the world of growing microgreens.
What are the easiest microgreens to grow?
The first thing I learned is that some types of microgreens are easier to grow for newbies. In the past I just tried to grow whatever seeds I had on hand in bulk, but just like with garden plants, some microgreens are easier to grow than others. Radish, pea, and sunflower are some of the easiest microgreens to grow as they germinate easily and grow quickly. Although pea and sunflower microgreens are easy to grow, the seeds do benefit from a pre-soaking step before seeding.
Amaranth, basil, beets, and carrots are some examples of microgreens that can be harder to grow, due to more sporadic germination and/or slower growth. For my initial microgreen trial, I chose broccoli microgreens. Depending on who you ask, broccoli could be an easy microgreen to grow or a bit of a challenge. I was excited to try them, so I decided to give it a shot.

Choosing a microgreen growing medium
After selecting your microgreen seeds the next most important decision is which growing medium to use for microgreens. Microgreens need a sterile soilless growing medium, and there are many recommended microgreen growing media options such as coconut coir, peat, seed starting mix, and even specially designed microgreen mats. Each of these media (and others) have pros and cons in terms of cost, consistency of growth, and ease of harvesting. Apparently even the paper towel method I’d attempted in the past can be used to successfully grow microgreens, although it’s probably not optimal.
For the broccoli microgreens, I chose to go with a seed starting mix I had on hand. To be sure it was free of nasties that might cause the microgreens to mold, I sanitized it with boiling water before getting started.
Microgreen mold management
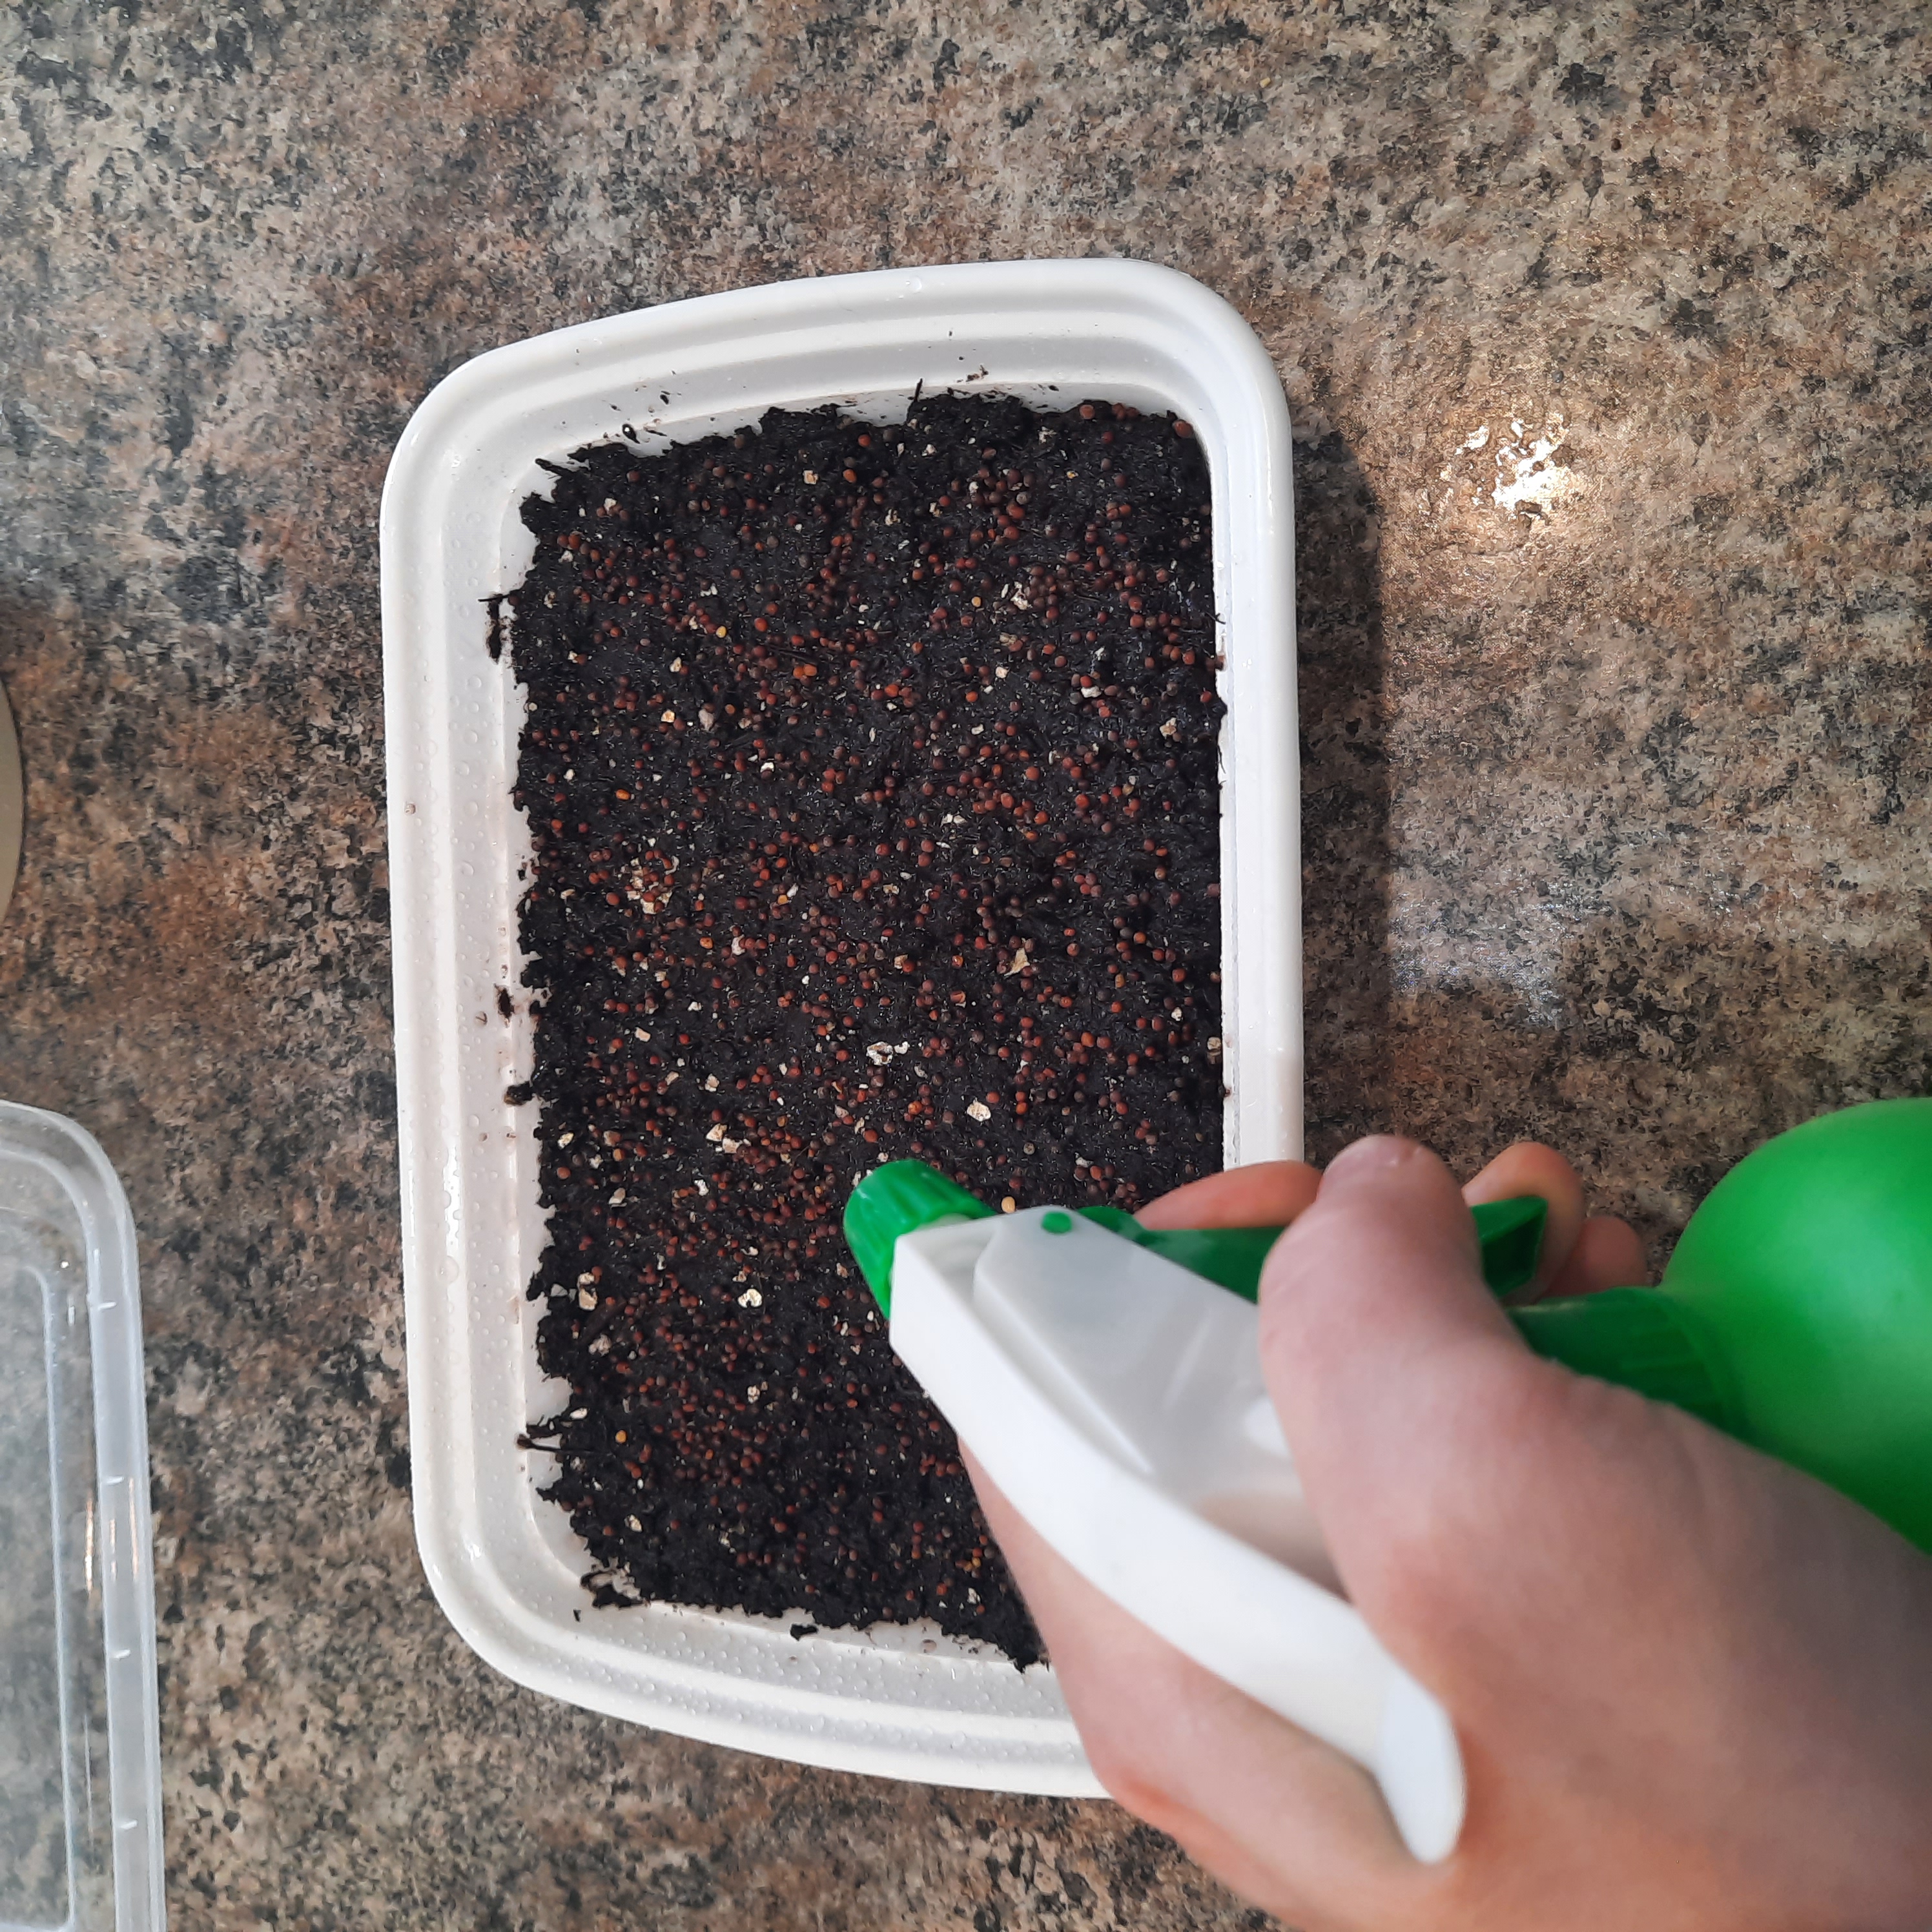
Since microgreens are seeded much more densely than plants that are destined for the garden, it can be tricky to keep them from going moldy as they grow. Starting with a sterile growing medium and clean trays is the first line of defense against mold. It’s also important to not over-saturate the growing medium which can cause it to go anaerobic and the microgreens to drown and rot away. Once your growing medium is adequately saturated, using a spray bottle to mist the seeds while they germinate can help to keep them moist without adding excess water.
Promoting good airflow can also help to keep microgreens from molding once they’ve sprouted and started to grow. A gentle fan is ideal, but in a pinch an air vent or an open window can help.
As my broccoli microgreens were sprouting and growing I kept an eye out for signs of mold. Mold would appear as white-to-grayish spiderwebs on the surface of the growing medium as well as the greens (not to be confused with root hairs which are white, fuzzy, and only attached to roots). Once the microgreens germinated, I kept them near an open patio door and air vent to promote good airflow. I also picked out the odd withered sprout that I saw so it wouldn’t spoil the whole batch.
Applying weight to microgreen trays
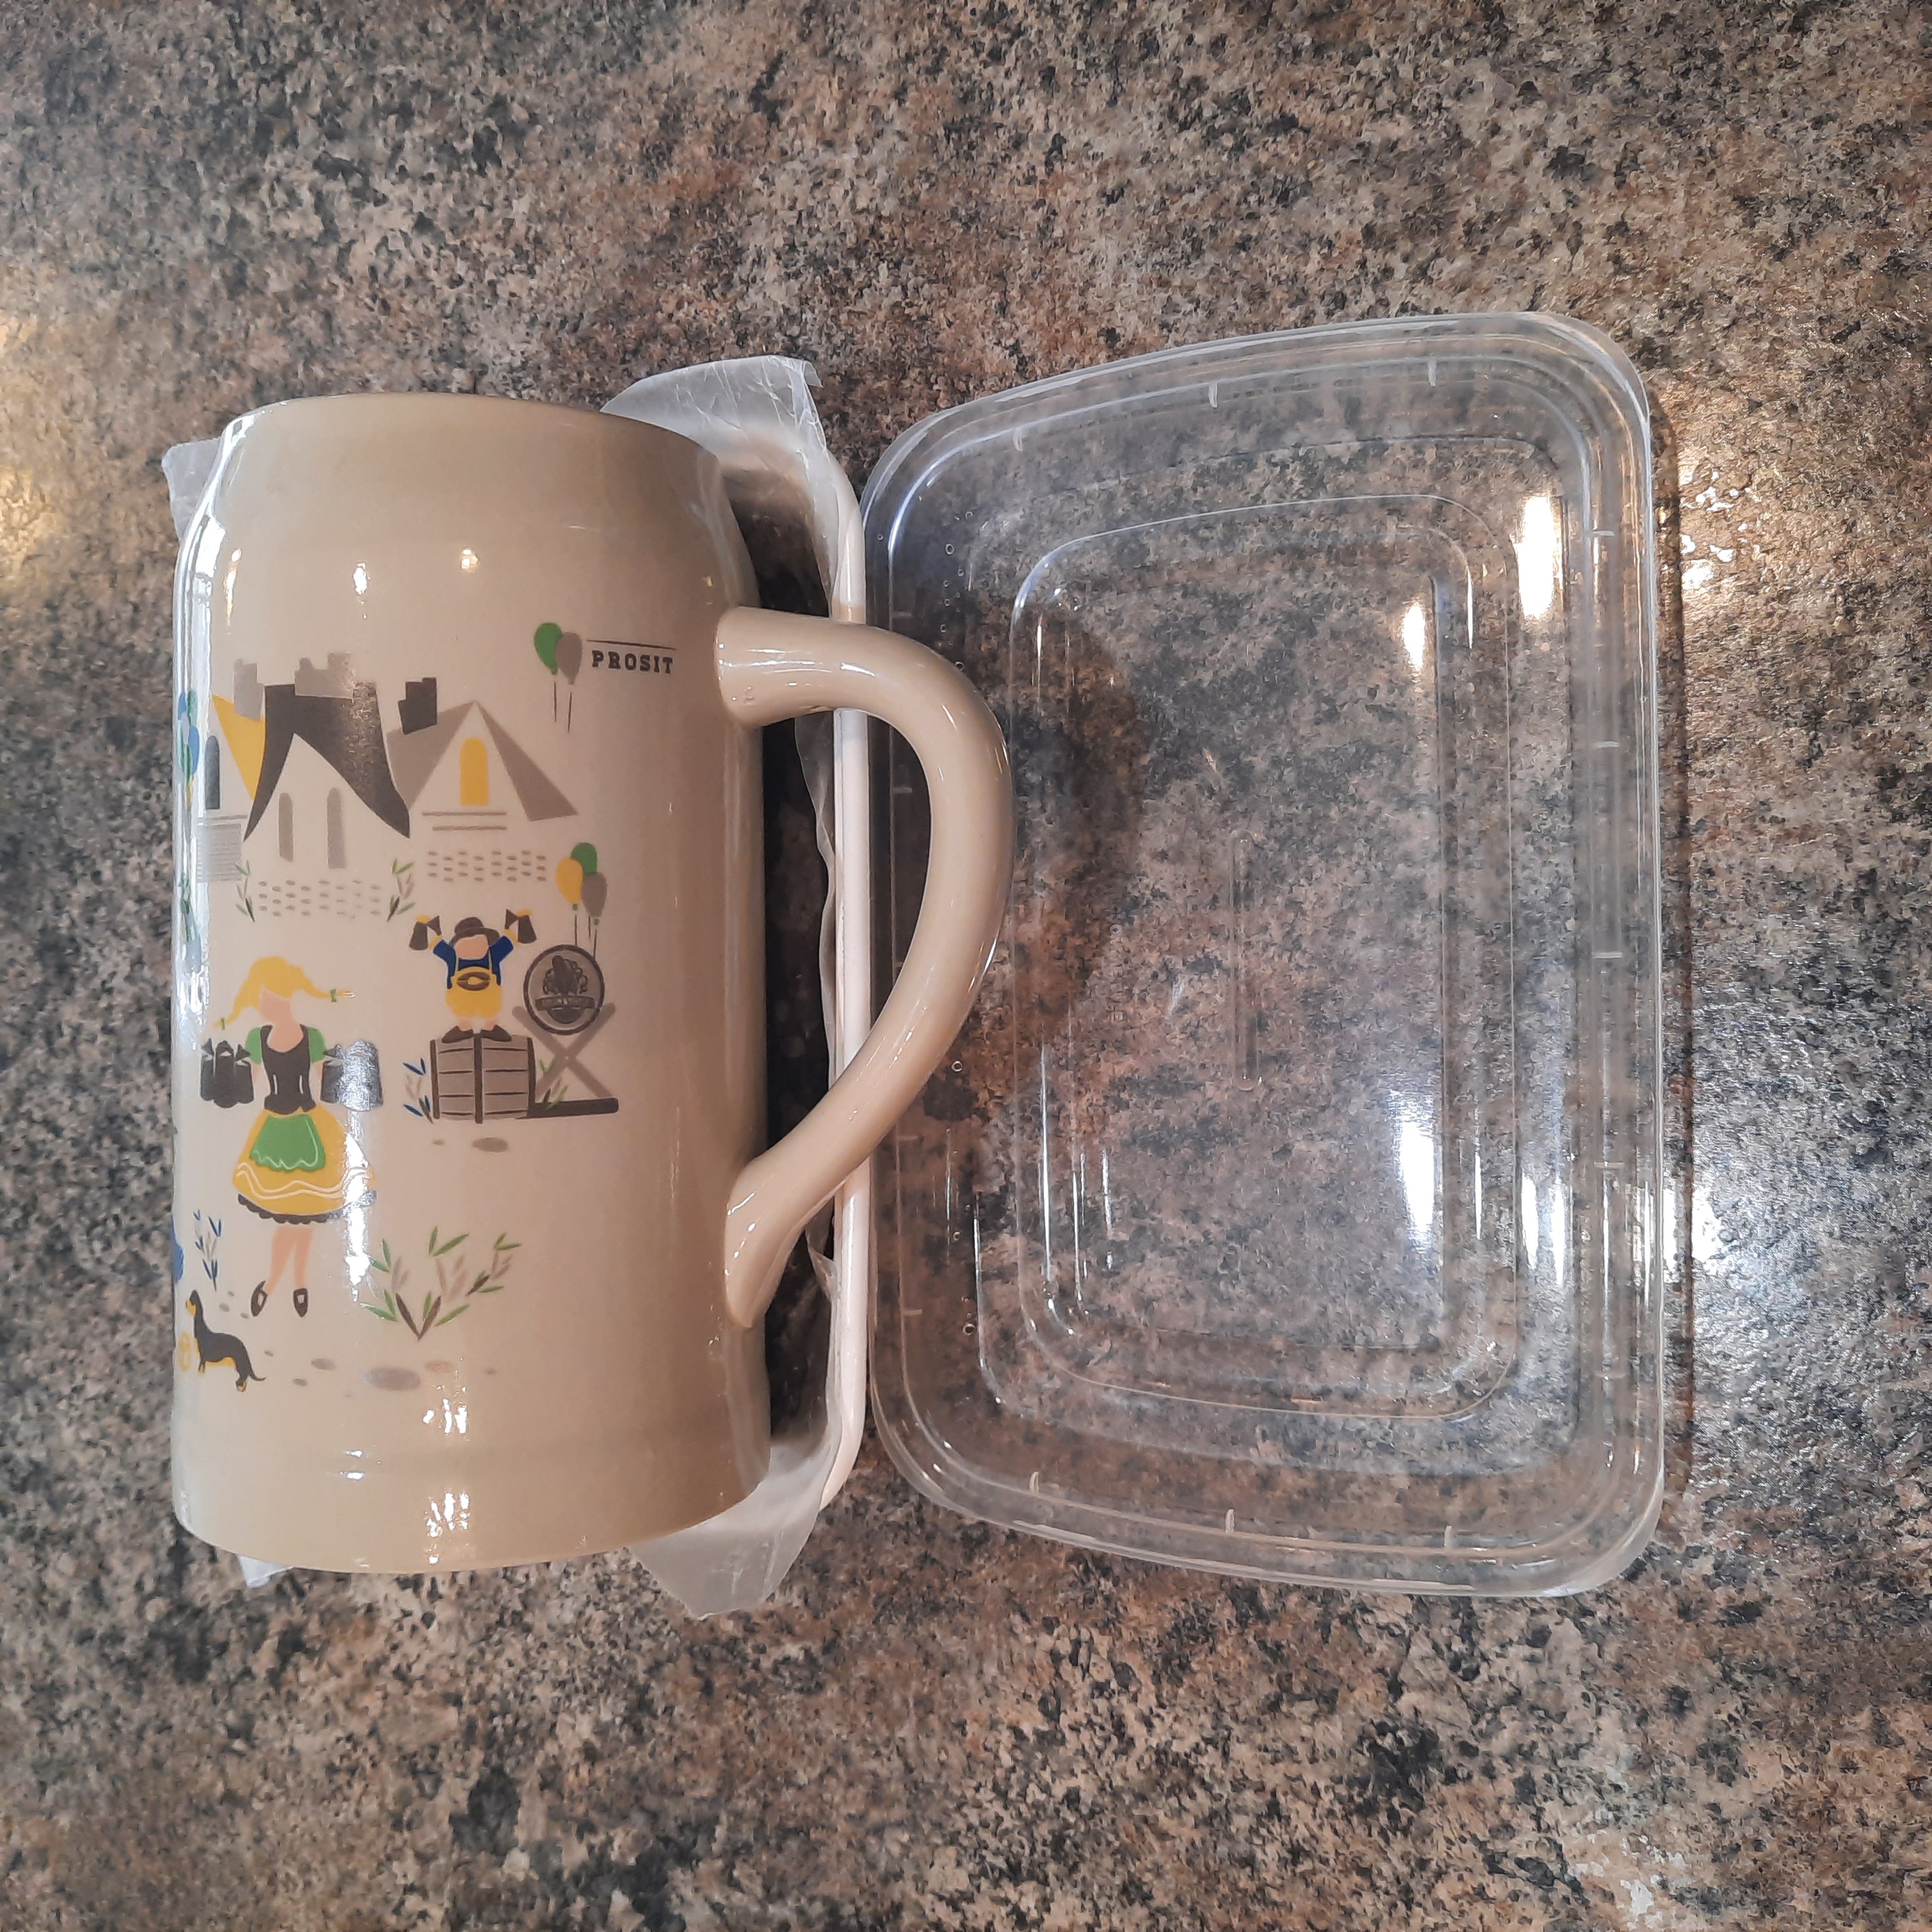
One of the biggest ‘aha’ moments in this endeavor was learning that the seeds should be weighed down lightly to ensure good seed-to-soil contact and to encourage the roots to grow downward. While it’s possible to grow microgreens without weight (and a few types of microgreens should not be weighed down), applying weight helps to significantly improve germination and ensure a consistent, sturdy stand of microgreens that will also be easier to harvest. Growers with multiple trays of greens growing at a time will often stack them and place a weight on the top tray.
One handy trick if you’re growing in a takeout tray like I was is to invert the lid so it makes contact with the seeds and place soup cans or other small weights on top. Unfortunately I realized that I hadn’t filled my tray with enough growing medium for the inverted lid trick so I laid the weight (a beer stein) onto the surface of the medium with a piece of wax paper in between.
The microgreen blackout period
Learning that the trays should be kept in the dark until the seeds sprout was less of an ‘aha’ moment and more of an ‘oh, duh’ moment. When growing seedlings for the veggie garden I don’t need to place the trays in a dark place- if anything I’m keeping a watchful eye out to turn on the grow lights as soon as they sprout. But most microgreens (with a few exceptions) should be kept in the dark for a period of time while they first germinate and start growing. The typical length of the blackout period depends on the type of microgreen you’re growing. Bootstrap Farmer has an awesome microgreen cheat sheet that covers the technique and blackout period for just about every microgreen you can think of.
If you’re stacking microgreen trays on top of each other, that can help to provide darkness (although they may still need a few more days in darkness even after unstacking). In my case with just one tray and the weight on top I wasn’t sure if some light would still creep in. To be sure the seeds were kept in total darkness, I placed the tray in a closed cupboard but still checked on it multiple times a day. I took it out and removed the weight once the seeds had started sprouting.
Results and lessons learned
After having taken the time to do my homework before just throwing down seed, I did have slightly more success with growing microgreens. They mostly sprouted and I had no mold issues…however the greens did not root downward into the growing medium properly and after much waiting and hoping I could see they were starting to falter:
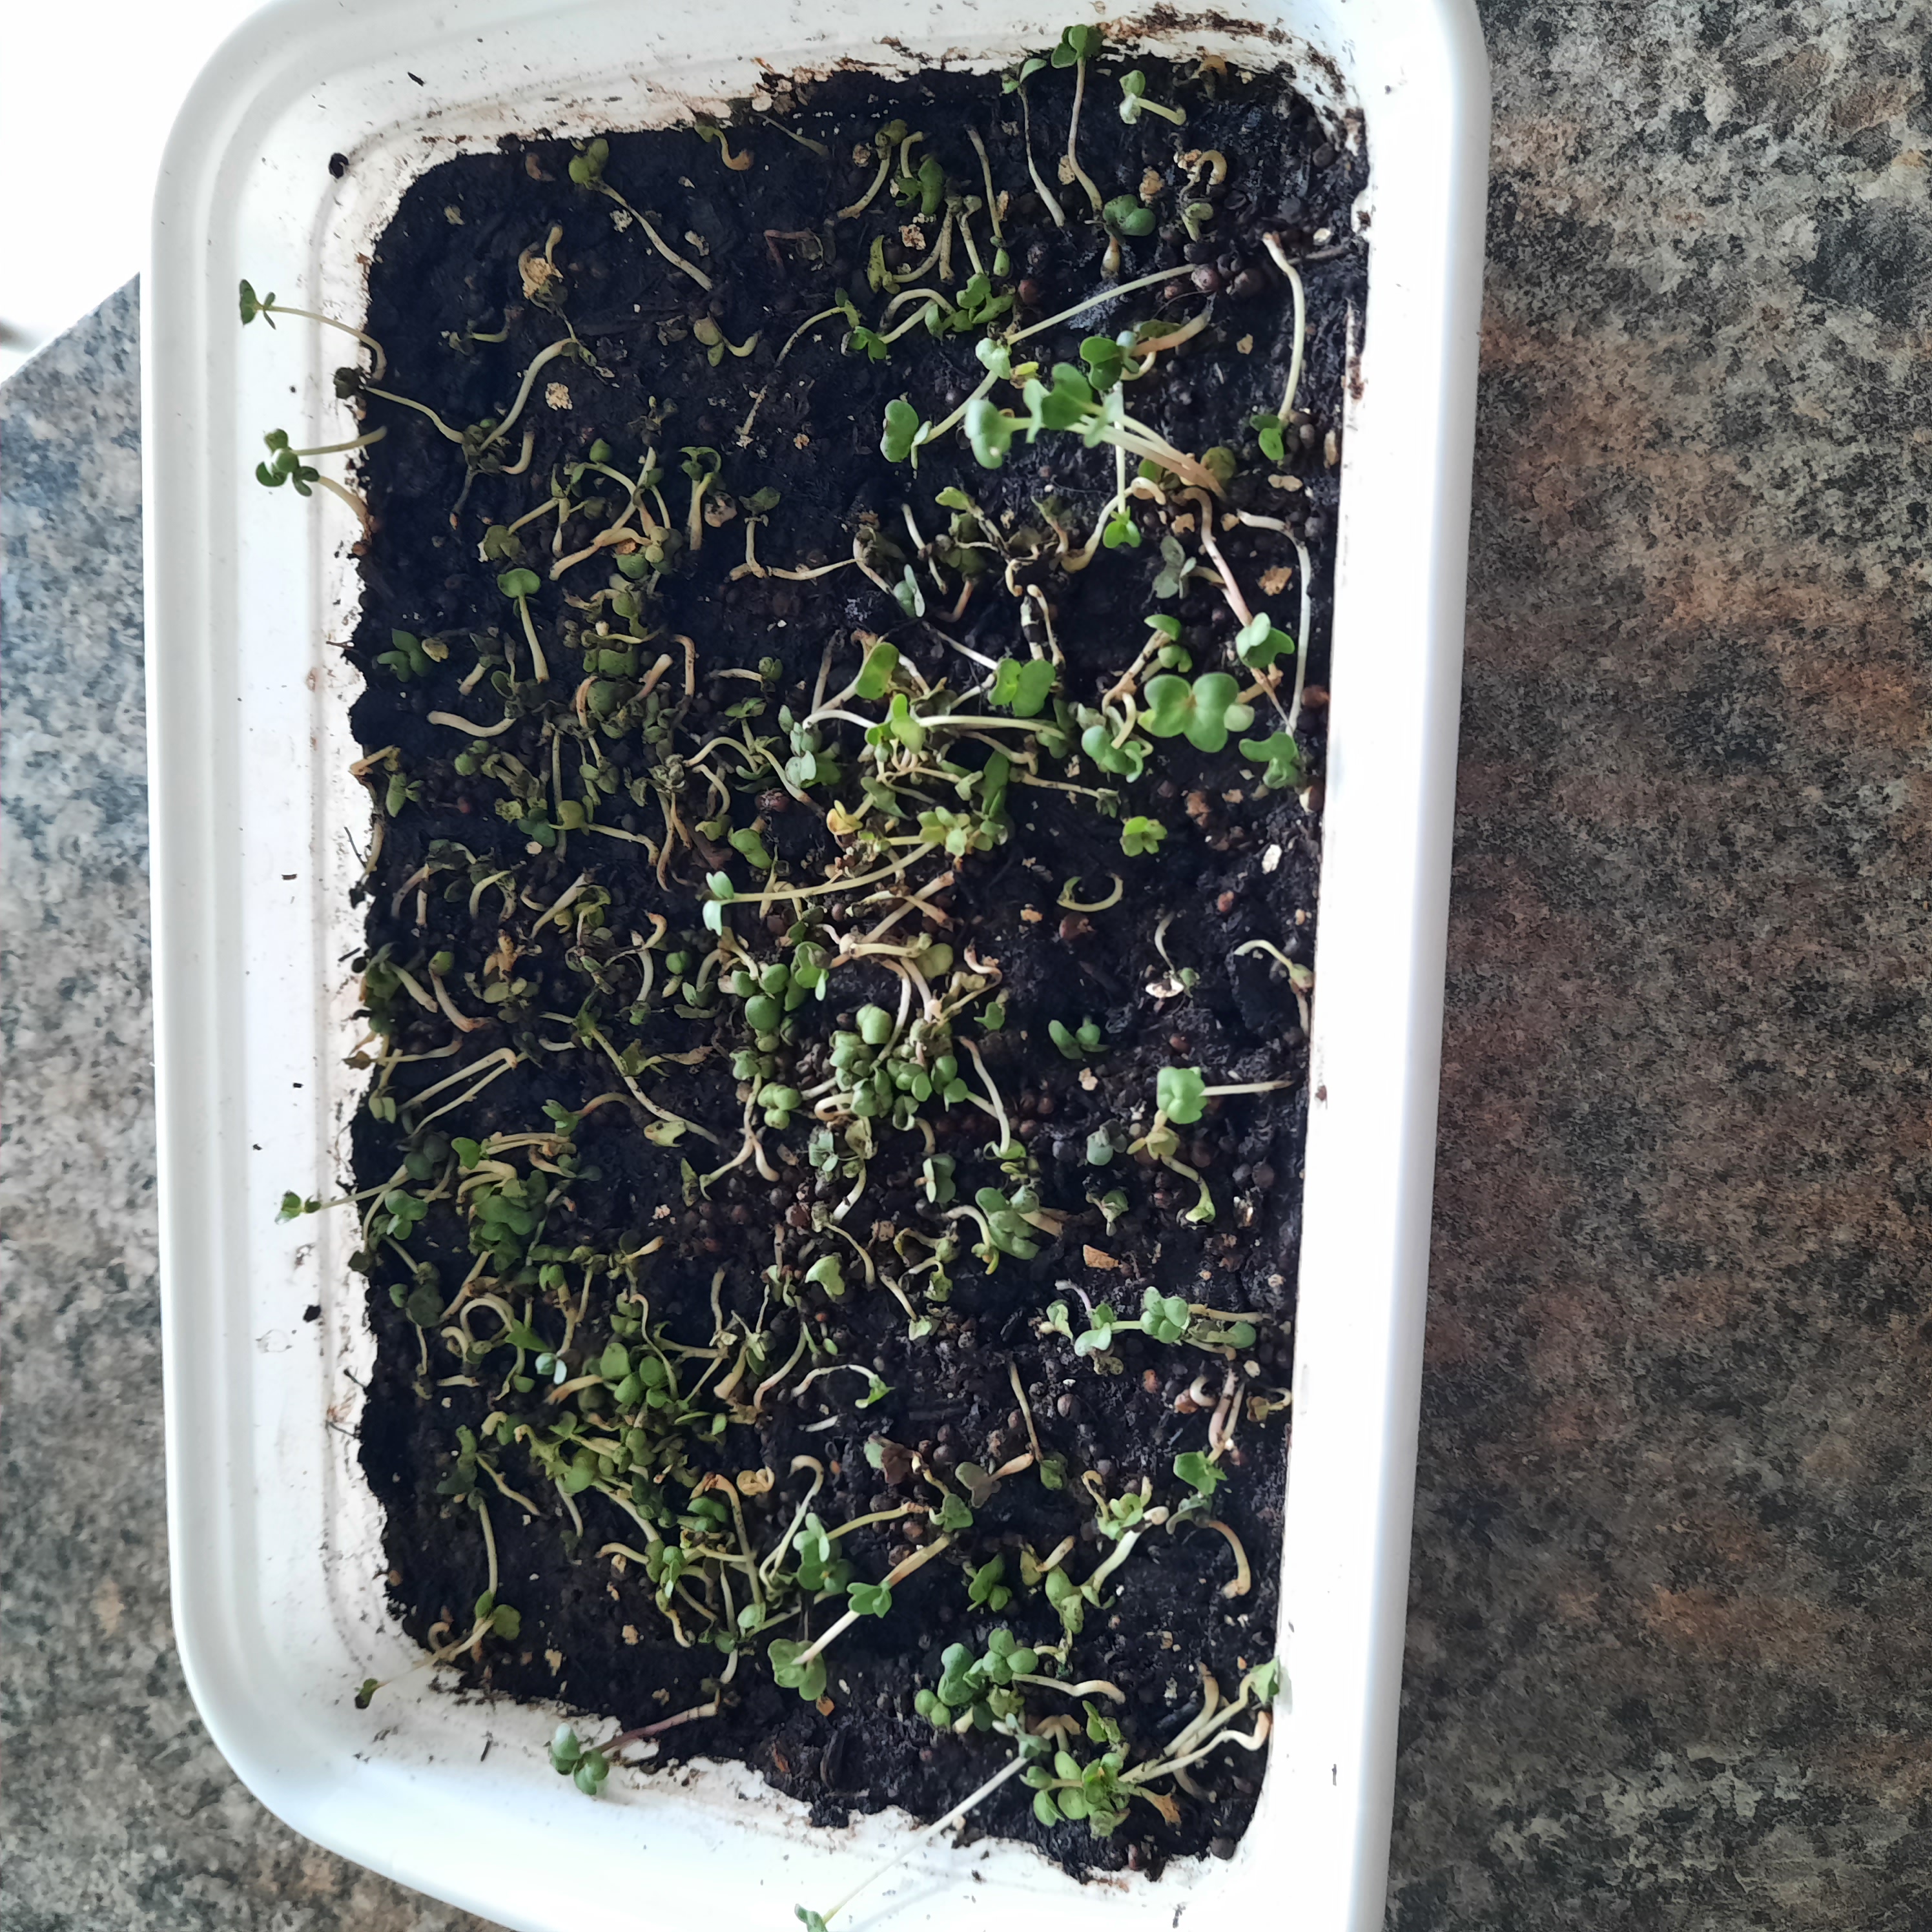
I suspect there are two main reasons why this happened. First, my seed starting mix was too dense (I used it for soil blocking so it’s not as light and fluffy as typical seed starting mixes). Second, I got too excited about taking the weight off the trays as soon as the sprouts started to emerge from the seed hulls. I think leaving the weight on for one extra day would have helped force them to root downward.
Undaunted, I’ve already started my next tray of microgreens! This time I’m opting for the super easygoing radish and trying vermiculite as a growing medium. I’ll be back with an update as soon as the radish results are in!
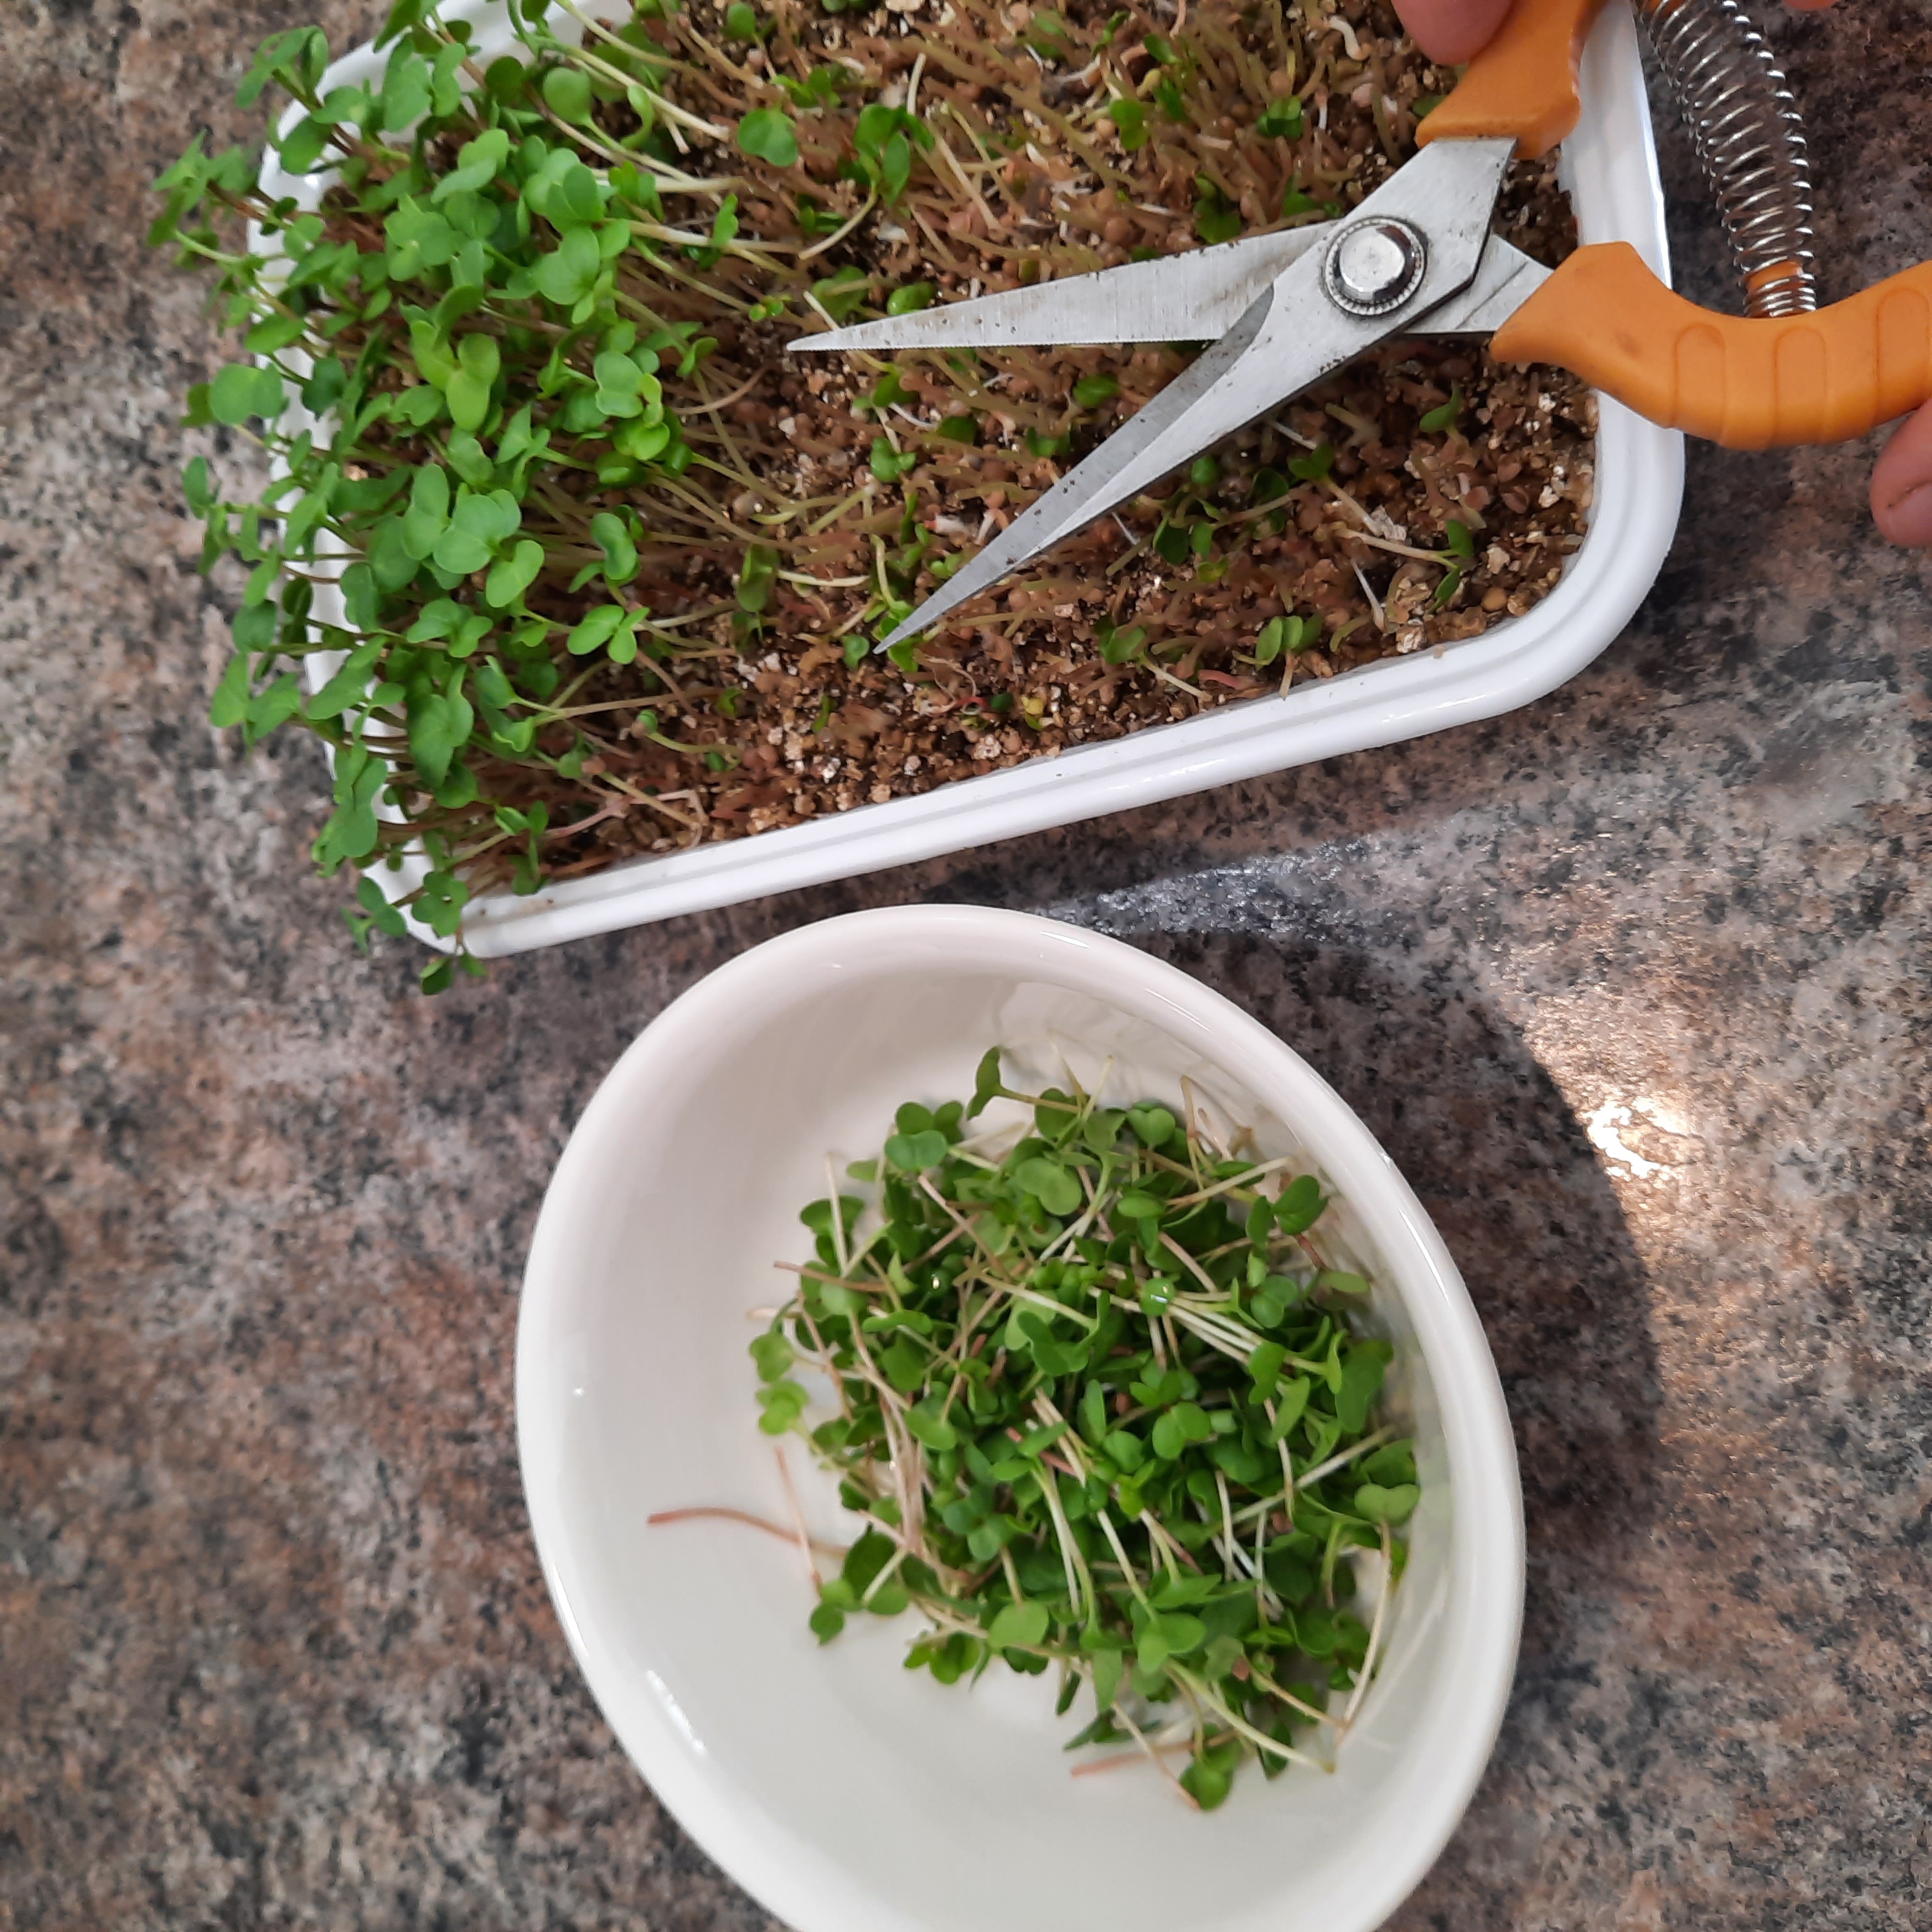
Radish microgreen update: The radish microgreen grow was a success! Growing in vermiculite and leaving the weight on for one more day after sprouting seemed to make all the difference. The stand of microgreens was consistent and upright, and the harvest from one small tray was substantial.
If you haven’t tried growing microgreens yourself (or maybe like me you’ve tried but failed) I hope you’ll give it a try…or a second, or third try! Once you’ve got the microgreen growing bug, it’s hard to quit…and a successful grow will come with persistence and practice!