Why Go Natural with your Colors?
Have you ever tie-dyed with your family or friends? It’s a fun and creative activity, and many synthetic dye kits are available on the market! However, there are several good reasons to try dying with plants; put simply, natural dyes are more eco-friendly than those on the market. You reduce your ecological footprint every time you choose to reduce your packaging waste or avoid introducing chemicals to the water system; choosing homemade alternatives is a great way to do both!
Food coloring, too, has been fostering more concern lately - some colors more so than others. Specifically, red dye #40 has been banned in the UK as it’s derived from petroleum. Food colorings are also theorized due to testing to promote hyperactivity in children, though that’s still being tested. Regardless, as before, natural dyes are far safer to consume and use than these petroleum-based dyes, and you can make them yourself at home!
If you’d like to read more about artificial food dyes, here is a resource from the Center for Science in the Public Interest:
https://www.cspinet.org/sites/default/files/media/documents/resource/food-dyes-rainbow-of-risks.pdf
How Do I Get Started?
Below are many plants you can use for specific colors! For best results, try mixing a few or testing out small batches to see what gets the color you’re looking for! Also, individual variations in plants (like avocados) will cause variations in the dye color; no two marigolds will create the same color dye, so it’s best to do big batches if you think you’re going to need the dye for more than one thing!
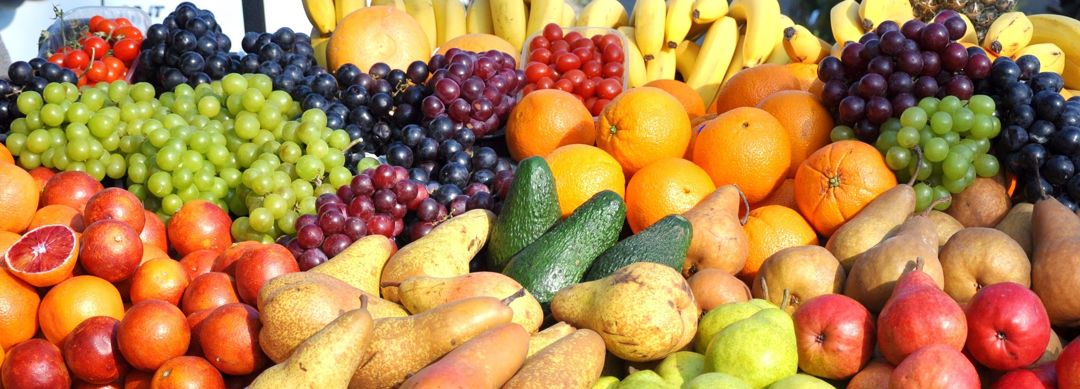
Red/Pink: Cherries, roses, beets, avocado pits/skins, red onion, strawberries, raspberries
Yellow/Orange: Onion skins, carrots, turmeric, saffron, celery leaves, paprika, marigold, sunflower petals
Blue/Purple: Black beans, blueberries, elderberries, red cabbage + baking soda, basil, Huckleberry, blackberry, sweet potato
Green: Grass, spinach, artichoke, mint, lilacs, matcha
Brown: coffee, tea, cocoa
Black: Activated charcoal (not exactly a garden product, but still a good natural dye!)
Some Things to Keep In Mind:
When making dye at home, keep in mind that natural coloring will create lighter, pastel shades as opposed to artificial vibrant colors. For a more vibrant color, make the base as concentrated as possible. Also, natural food colorings of course come from real food ingredients; the dye may have a small bit of that flavor left, depending on the ingredients used. Organic produce will be better for your dyeing needs as well, as added chemicals could mess with the mixture you create.
Some dye’s ingredients will interact with temperatures or ingredients to make different colors. For example, avocado scraps will make pink dye when steeped at low temperatures but brown if boiled. Red cabbage will make blue dyes if baking soda is added. If you do research into what ingredients you have, you could make a wide variety of dyes!
If you’re looking to dye eggs for easter, you’ll want to go with the clothing dye instructions below!
How to Make Natural Clothing Dye:
Some dyes will need specific different temperatures or ingredients to affect the color (for example, avocado scraps will make pink dye when steeped at low temperatures but brown if boiled). Here are the basic instructions:
When using plant products for dying, it’s recommended that you use an equal weight of scraps as the weight of what you’re planning to dye. To dye a shirt, you’ll need a lot more light ingredients like onion skins, for example, than beets. Put your ingredients (chopped up) into a saucepan or pot with enough water to cover it all, and bring it to a boil before leaving it to simmer until you get the color you like. 40 minutes is a good length of time for this, but for vibrant and strong colors you should let it simmer for a few hours. Turn off the heat and leave your dye to cool overnight if you can, and when you’re finished waiting you can throw the scraps into compost and you’ve got your natural dye, ready to go!
To dye your fabrics, start by washing them; wet clothing will take the dye more easily, and be easier to twist for tie-dye. Tie the clothes if you’d like, before soaking them in your vat of dye and leaving it overnight for best results. Wash out the colored clothes with cold water, untie them, and hang them out to dry.

Make sure to wash dyed fabrics with cold water to keep them looking vibrant.If you’re dissatisfied with the dying results, warm washes with strong detergent should get the fabric back to fresh and new!
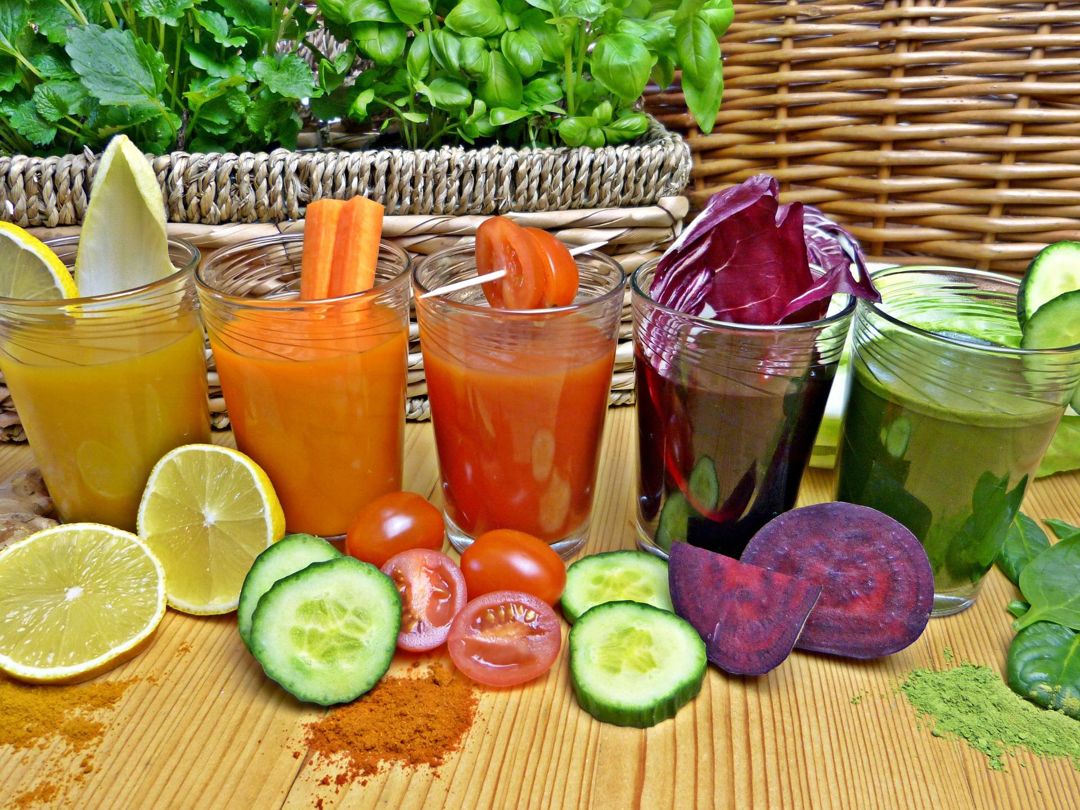
How to Make Natural Food Dye:
There are two basic ways to make food dyes; from powdered ingredients, or by making a concentrated liquid.
You can make powdered ingredients out of your fruits or vegetables by freeze-dying them and then putting them in a food processor. These powders are often easier to use as they dissolve without much fuss and are more concentrated. Making powder at home might leave you with clumpy results depending on the ingredients, but they can be dissolved in a little bit of liquid to smooth them out.
The liquid method can be done by juicing your produce, pureeing and straining, or steeping some in water, depending on the ingredient choice. You will have to reduce the liquid by cooking it down to make as concentrated a color as possible, typically down to a fraction of a cup.

Once the colorings are made, you can use them in whatever you please! Add slowly and in small amounts to ensure the desired color and vibrance, just like any other food dyes. Icings and frostings are a good use for these, as well as baked goods, though the heat may affect the color. You can also use them as edible paints!
Your newly made food coloring can be stored in the fridge for up to 2 weeks in an airtight container.
Happy coloring, gardeners!