Plants love to grow; it’s what they do. However, sometimes conditions are less than ideal. Fertilizers help to optimize plant growth by maximizing the growing conditions and helping them to stave off pests and diseases.
In this article, we’ll go through some easy at-home fertilizers you can make that are more environmentally friendly than most commercial options and can be more affordable, too.
What Do Fertilizers Do?
Fertilizers are food for plants: they provide nutrients for them to grow and thrive. Nitrogen, phosphorus, and potassium are the three key fertilizer nutrients.
As a quick overview:
- Nitrogen: Promotes green, leafy growth and photosynthesis.
- Phosphorus: Supports root development, flowering, and fruiting.
- Potassium: Enhances overall plant health, disease resistance, and water retention.
These are classed as major nutrients.
The minor nutrients are calcium, magnesium, and sulfur. The micro-nutrients are: boron, copper, iron, manganese, zinc, chlorine, and cobalt in tiny amounts.
The availability of nutrients in your soil is partly linked to the pH, a measurement of acidity or alkalinity. If it is too high or too low, the nutrients may be locked up and not available to plants. Fertilizers are one way to correct this imbalance.

Fertilizer Cautions
Even homemade garden fertilizers, generally considered safer than synthetic fertilizers, can pollute waterways and the wider environment. Take care not to overapply. Additionally, store all products in a safe place and handle them responsibly; some ingredients can be harmful to skin or health in large quantities.
These homemade fertilizers are not ideal for indoor plants as they can mold the soil if there isn’t enough light or airflow.
Pre-Fertilizing
Before you start fertilizing, you should check how your soil is already. First, collect a soil sample and conduct a pH test. There are at-home kits for this, with varying reliability, but the best results can be obtained through your local university extension or local authority. Many businesses also offer pH testing.
Take samples from different areas of your yard because soil pH can vary even in small gardens.
For most vegetables, a soil pH between 6.2–6.8, or slightly acidic, is ideal. Many ornamentals and flowers prefer more alkaline conditions, while others can tolerate either. If your soil pH is very far away, you may need to amend your soil. Your university extension can advise you on this.
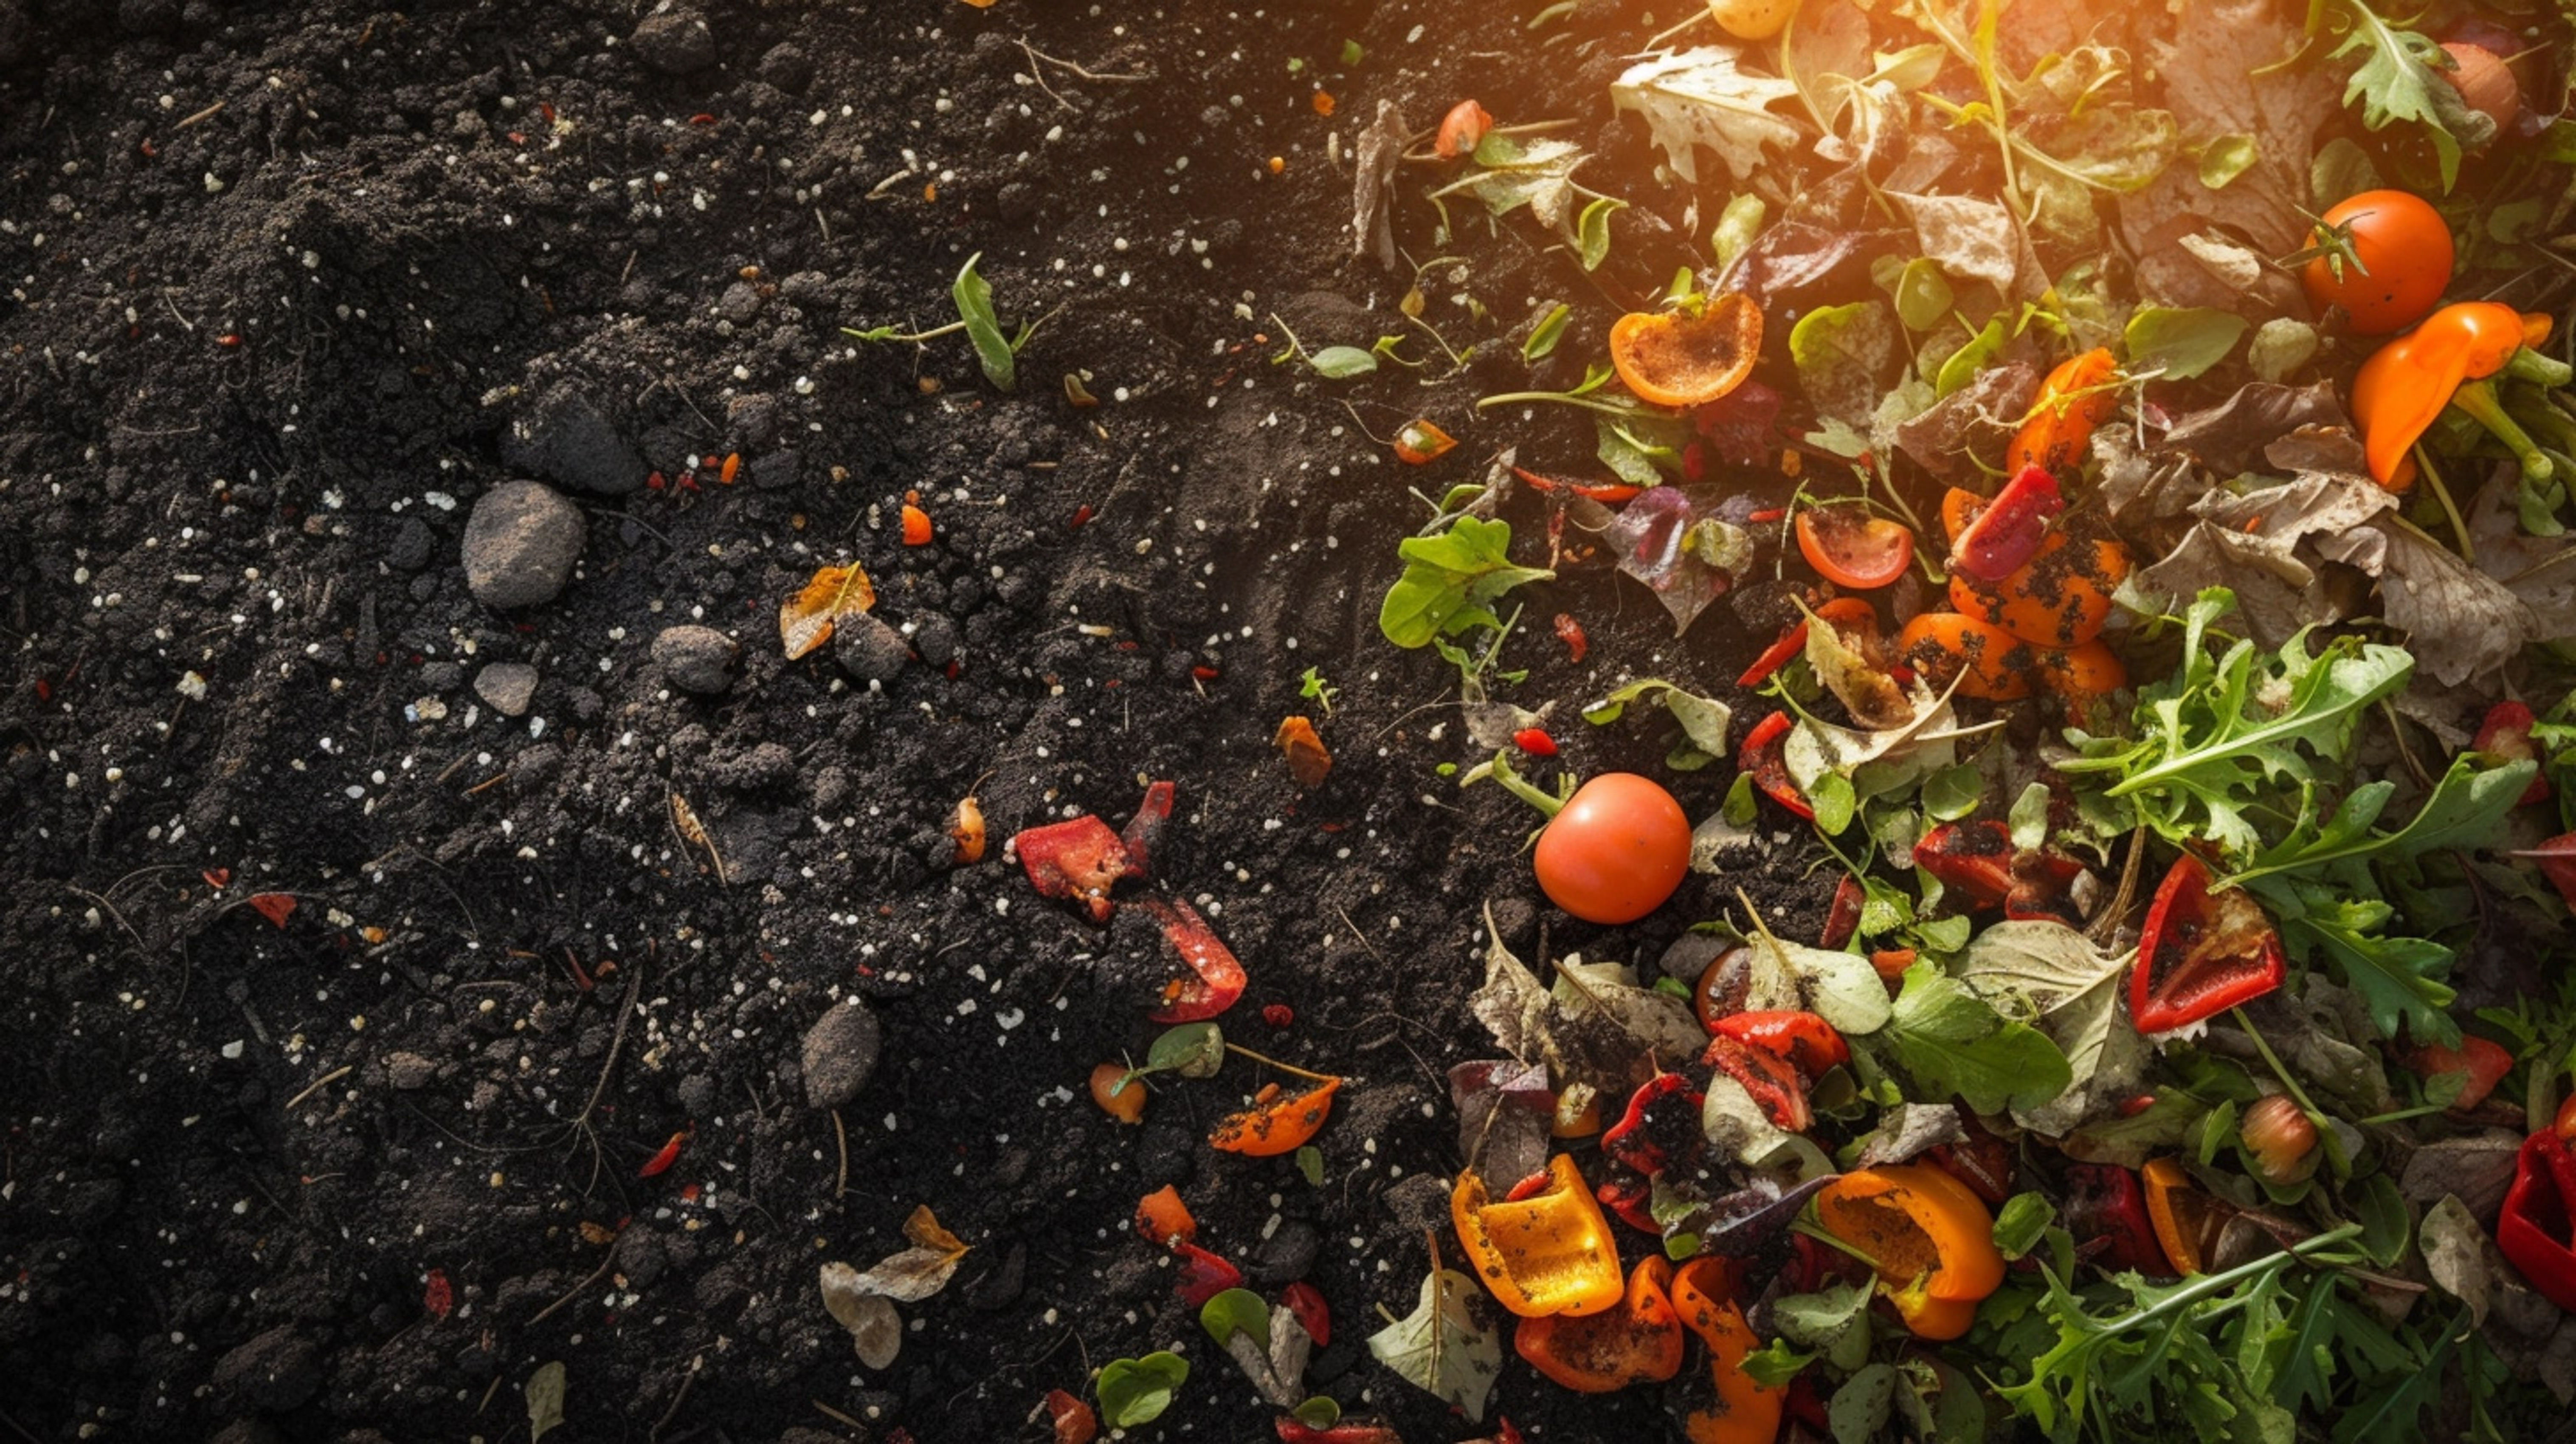
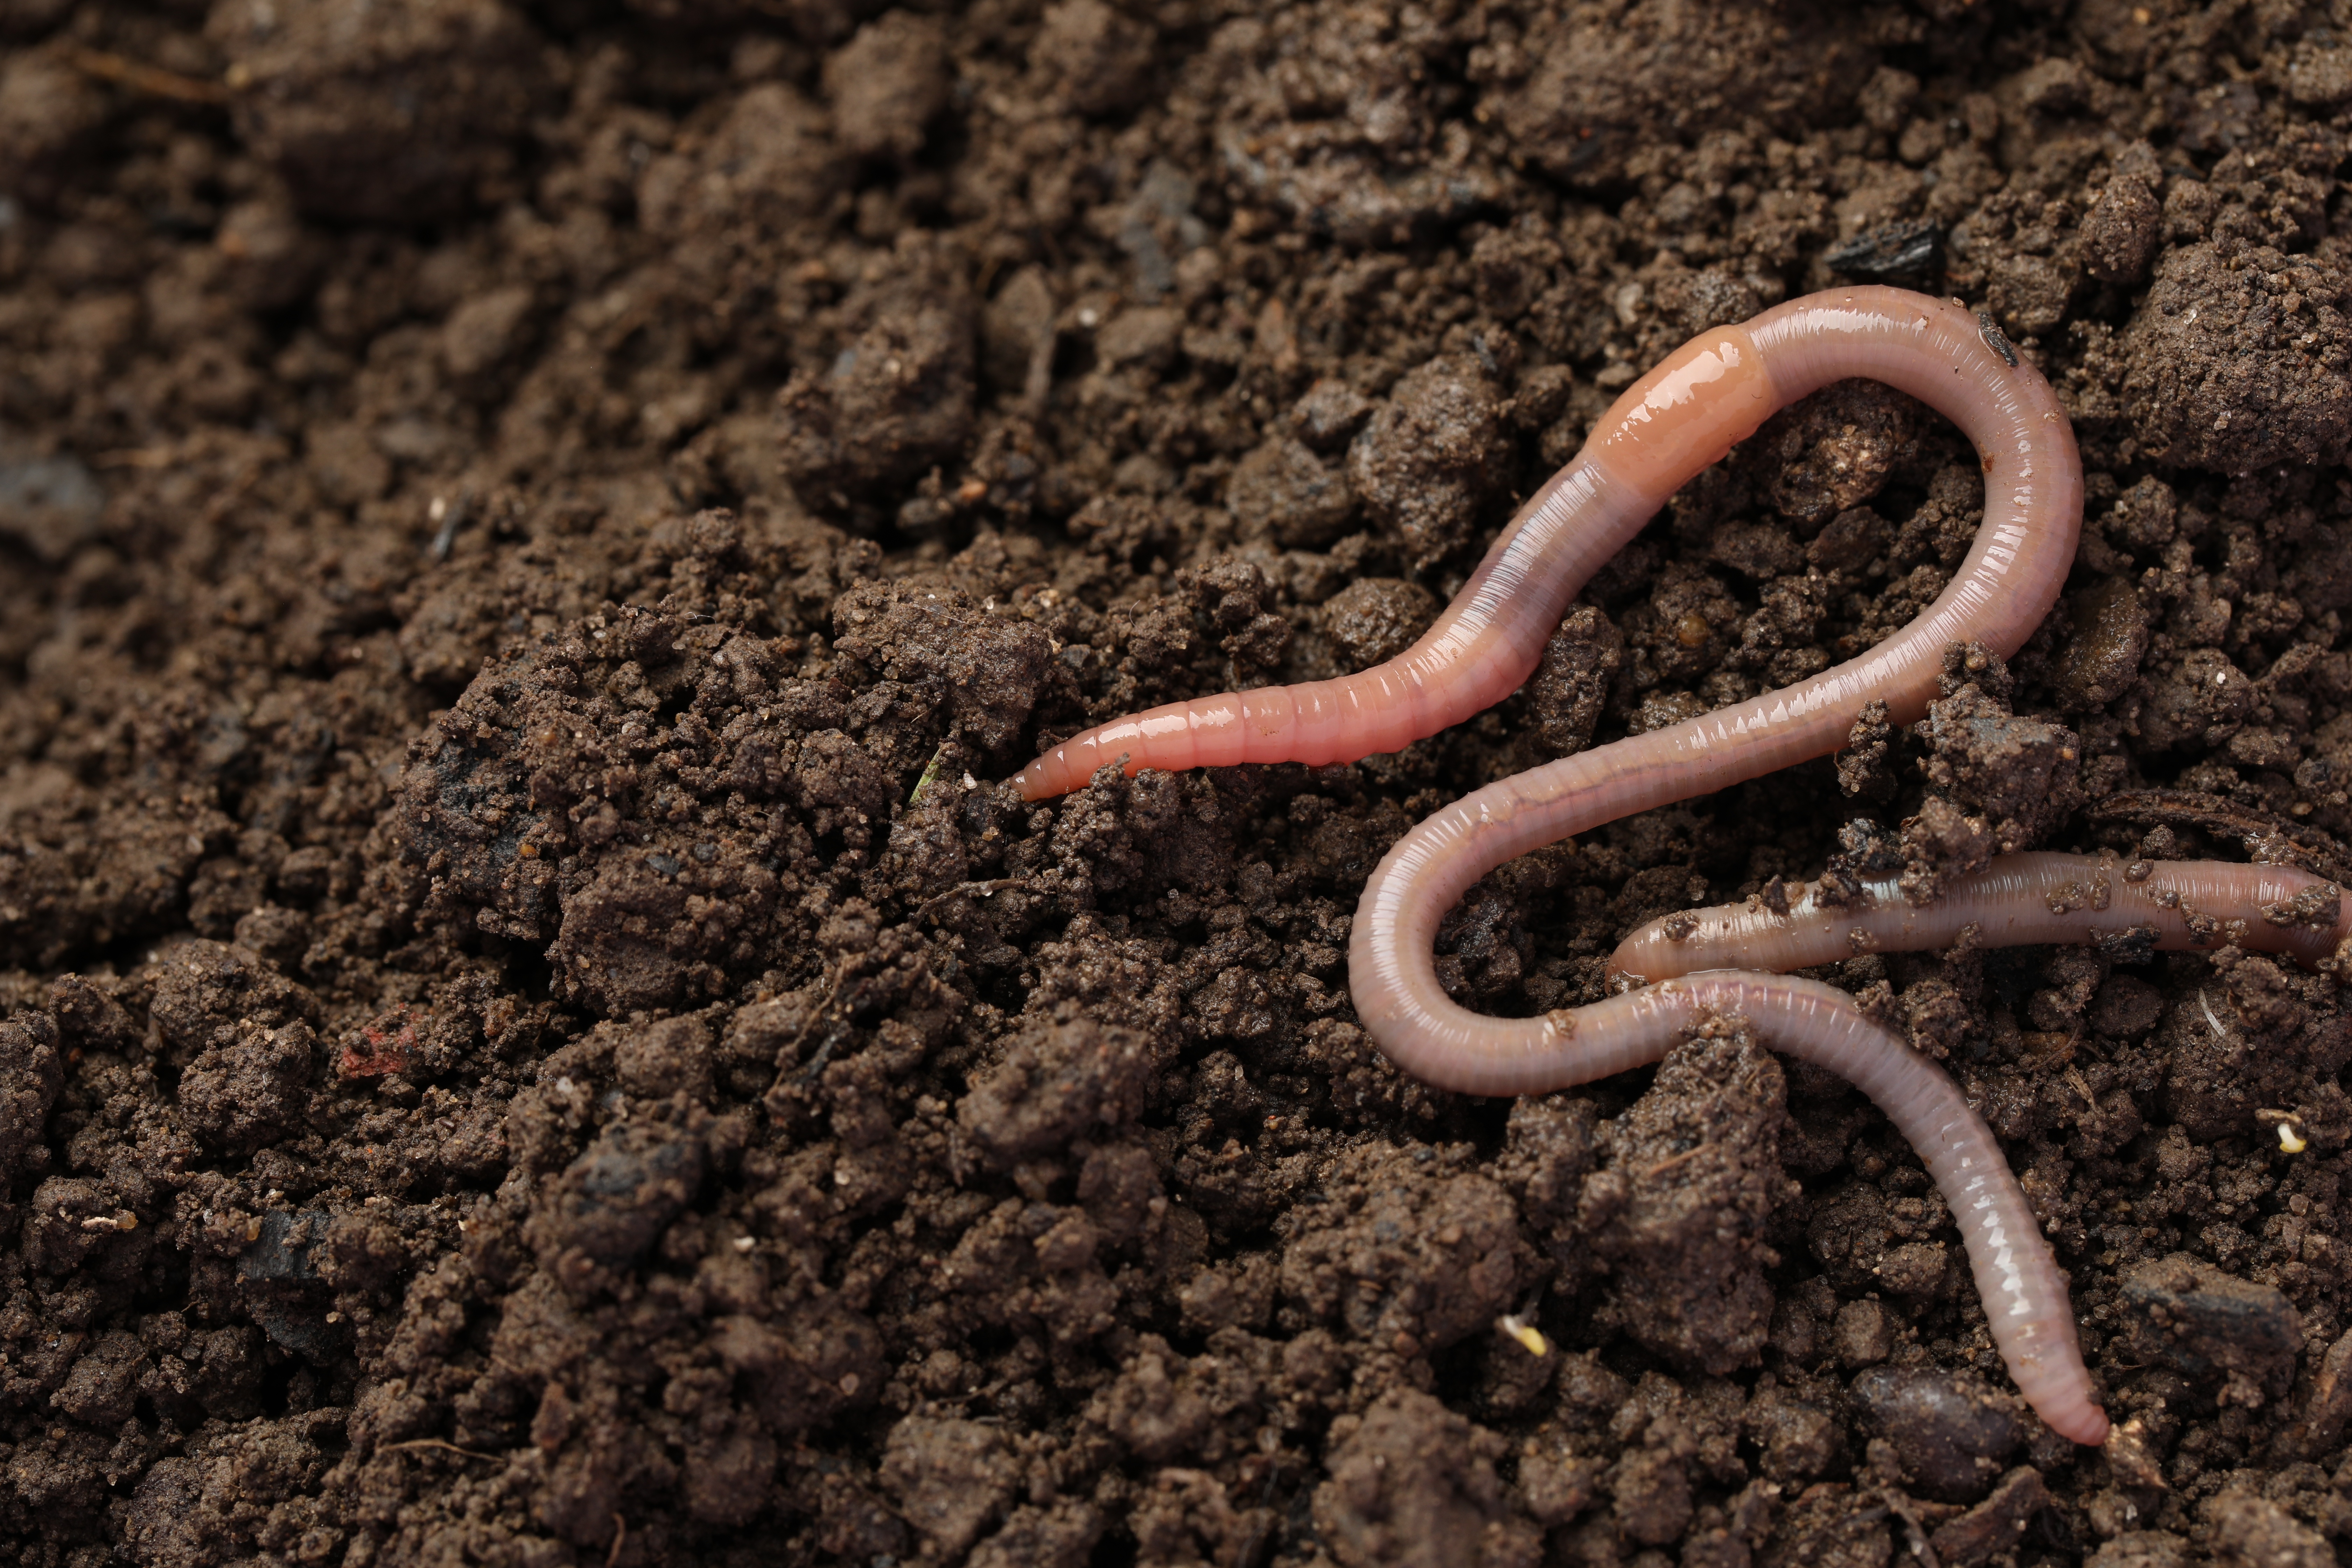
Second, make sure your soil is rich and healthy. Healthy, microorganism-rich soil is essential for proper nutrient uptake by plants. Quality compost is excellent, along with worm castings, shredded wood, coir, leaves, and properly sourced manure.
Compost Teas
You shouldn’t drink these teas, but your plants will love them. While organic matter is excellent for long, slower-release nutrients, steeping the matter in water creates a liquid version that your plants can absorb more quickly. Here are some recipes.
Note: All these recipes work great with collected rainwater for extra eco-points!
Manure Tea
Aged manure is available in most garden centers, or if you know a local farmer/rancher, you may be able to get some there. In a large bucket (probably at the back of your garden, as this can smell a bit), mix manure and water in a 1:2 ratio (fill the bucket about ⅓ full of manure, and ⅔ full of water). Stir well, and leave to steep for a few days, stirring every day.
Once steeped (the liquid should be a medium brown), separate the liquid into a separate container. Add the solids to your compost pile, and water your plants with a diluted tea mix once a week. Dilute the tea to the color of ‘iced tea’ when you water, as full strength will overwhelm your plants.
Wear gloves when working with manure.
Weed Tea
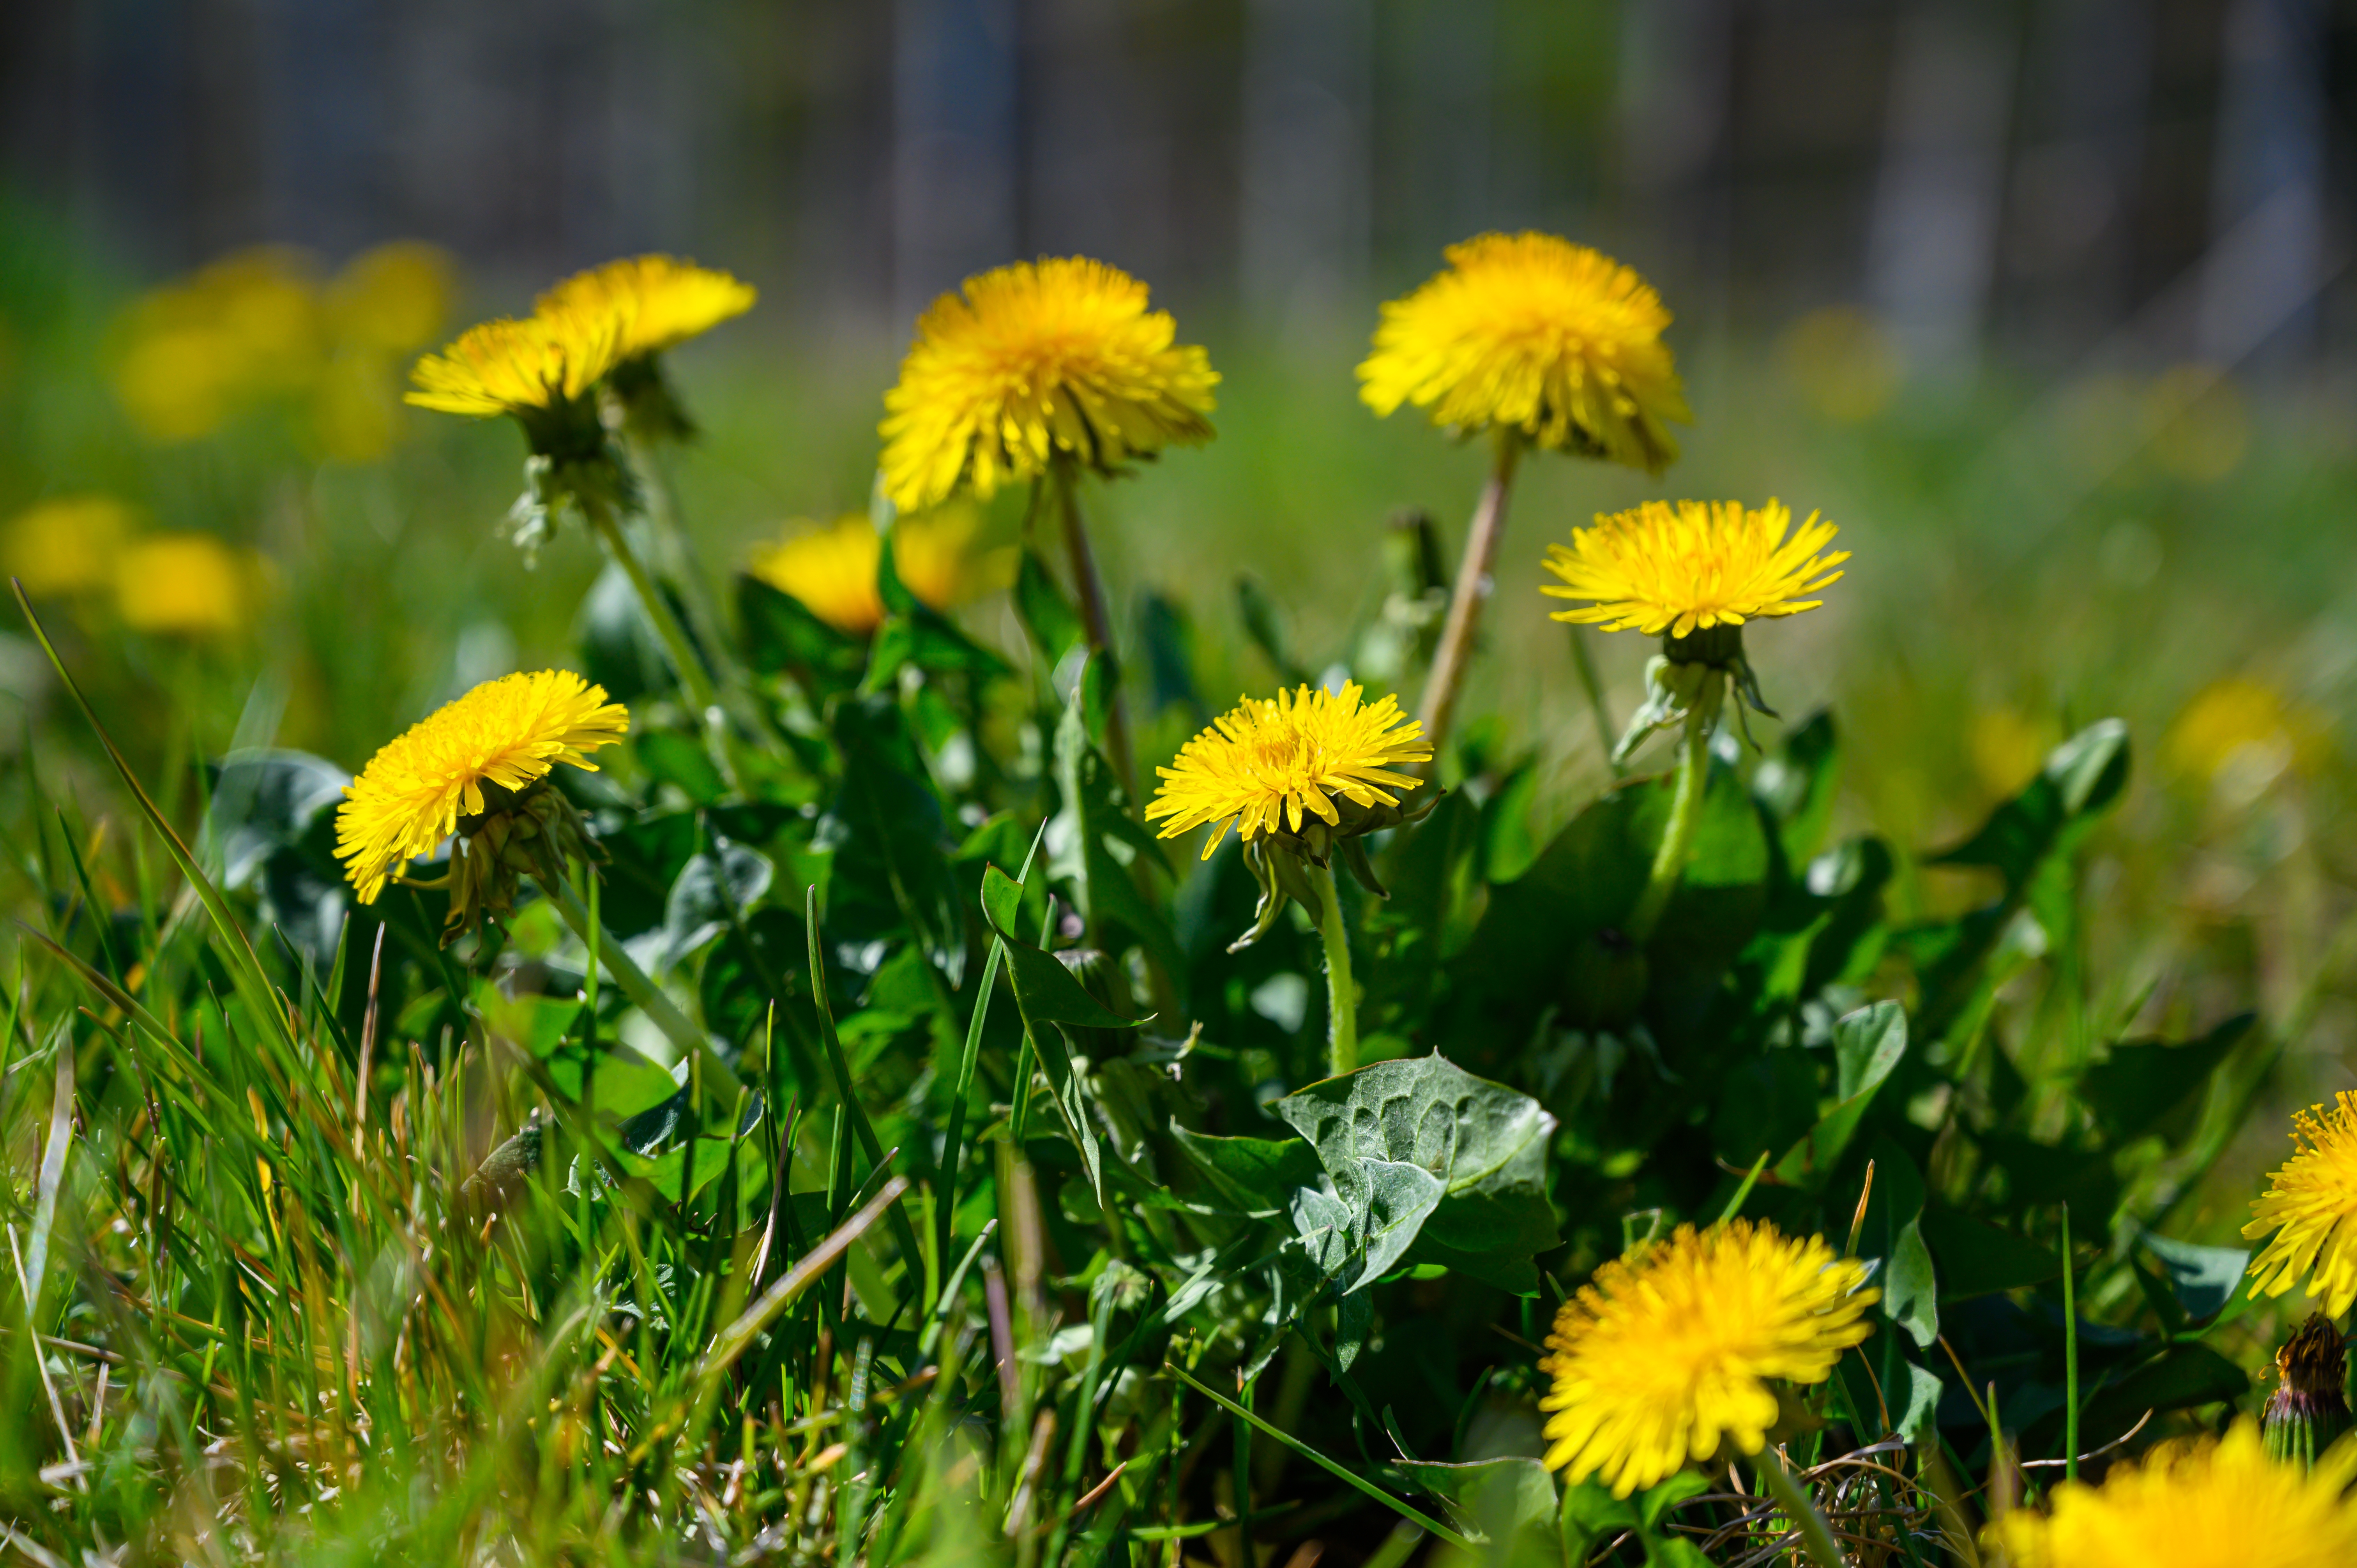
Weeds are a constant menace, but many are nutrient hoarders and fixers, and make excellent fertilizer. You want weeds that have not gone to seed and that have not been sprayed with chemicals. Top picks for nutrient-dense weeds are chickweed, dandelions, alfalfa, stinging nettles, yarrow, purslane, and wild fennel.
Put your collected weeds into a bucket, fill with water, and let sit until the water has turned brown/black and begins to smell (a few days to a few weeks). You should cover the bucket during this time to speed up the process. Separate the mixture, and then water your plants with a diluted mix, this time a little lighter than iced tea.
Weed tea can also be used as foliar (leaf) feed if you dilute it further. Apply sparingly.
Eggshell Tea
Ah, eggshells, the calcium-rich item that takes so long to break down in your compost. Making boiled tea unlocks the calcium much quicker.
With 10–20 clean eggshells, boil a gallon of water and add the eggshells to it. Turn off the heat and let the mix cool overnight. The following morning, strain the mix and add the eggshells to your compost. The eggshell water can then be applied weekly to your garden as is, no dilution necessary. Tomatoes and cruciferous greens will love this mix.
Veg Tea
This is one of my favorites, as it reduces water waste, too. The next time you cook up some vegetables on your stovetop (whether steaming or boiling), save the water! This (unsalted) water is infused with nutrients that can be used to fertilize your houseplants and garden plants. You can water your plants with it as normal.
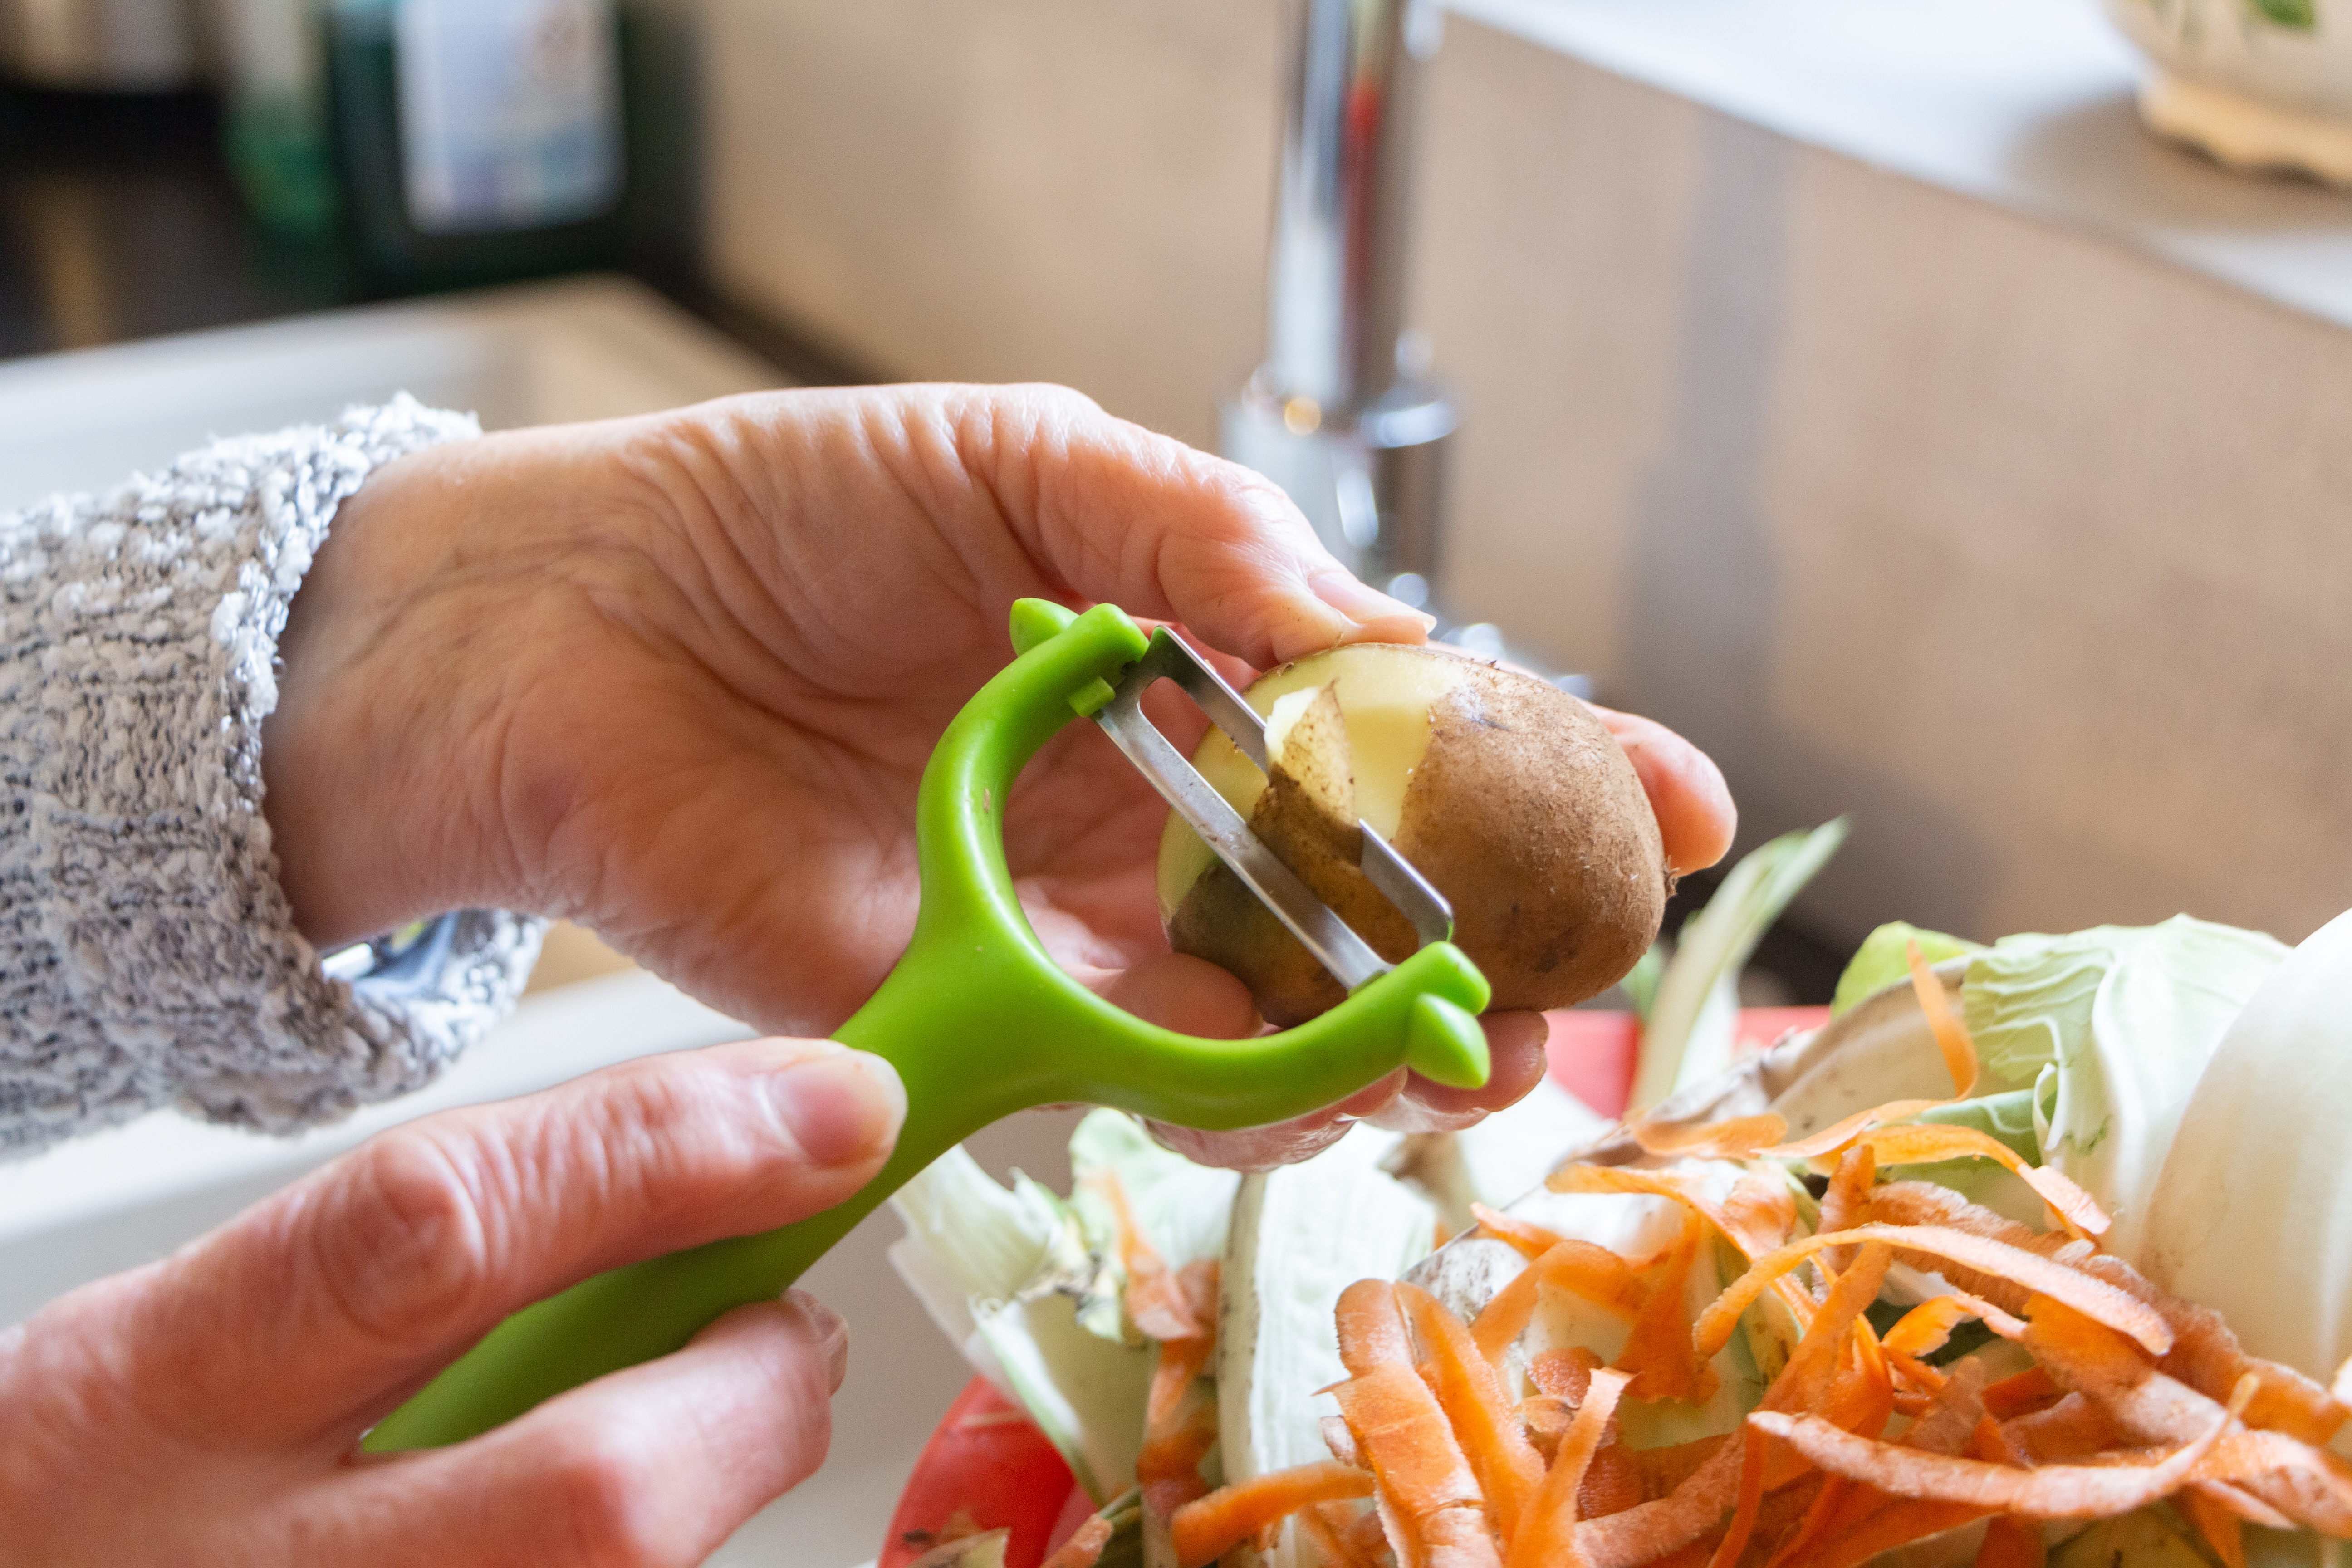
Bonus Recipe: You can also save your vegetable peelings (looking at you, potatoes) in a bag or small bucket, boil them in water, and allow them to cool and steep overnight, just as you did for the eggshells. Strain, and water your plants with the liquid.
Be sure the vegetables are organic or haven’t been sprayed with pesticides.
The final few recipes are non-compost tea options.
Molasses
Good for more than just baking or stirring into hot drinks, molasses is incredibly nutrient-rich. You’ll want unsulfured, blackstrap molasses (or just blackstrap if you can’t find unsulfured) for this easy fertilizer, which is as easy as mixing 1–3 tablespoons of molasses into a gallon of water and watering your plants with it.
Molasses with sulfur should be applied in lesser amounts to prevent over-sulfuring the soil.
Coffee and Tea
Leftover coffee grounds and teabags can be used one more time before you throw them away or compost them.
Coffee grounds are very acidic, so they should be used in moderation, although ericaceous plants (acidic soil-loving) and vegetables (but not tomatoes) will benefit from them. You can sprinkle it on the top of the soil around plants to gently enrich the soil with nitrogen.
Alternatively, coffee grounds can be steeped to form a weak coffee mix, which can be used to water your plants once a week.
For tea, you can remove the tea leaves from the bag and mix them into your compost (the bags often have microplastics) or steep the bag further, and use the weak tea mixture to water your plants once a week.
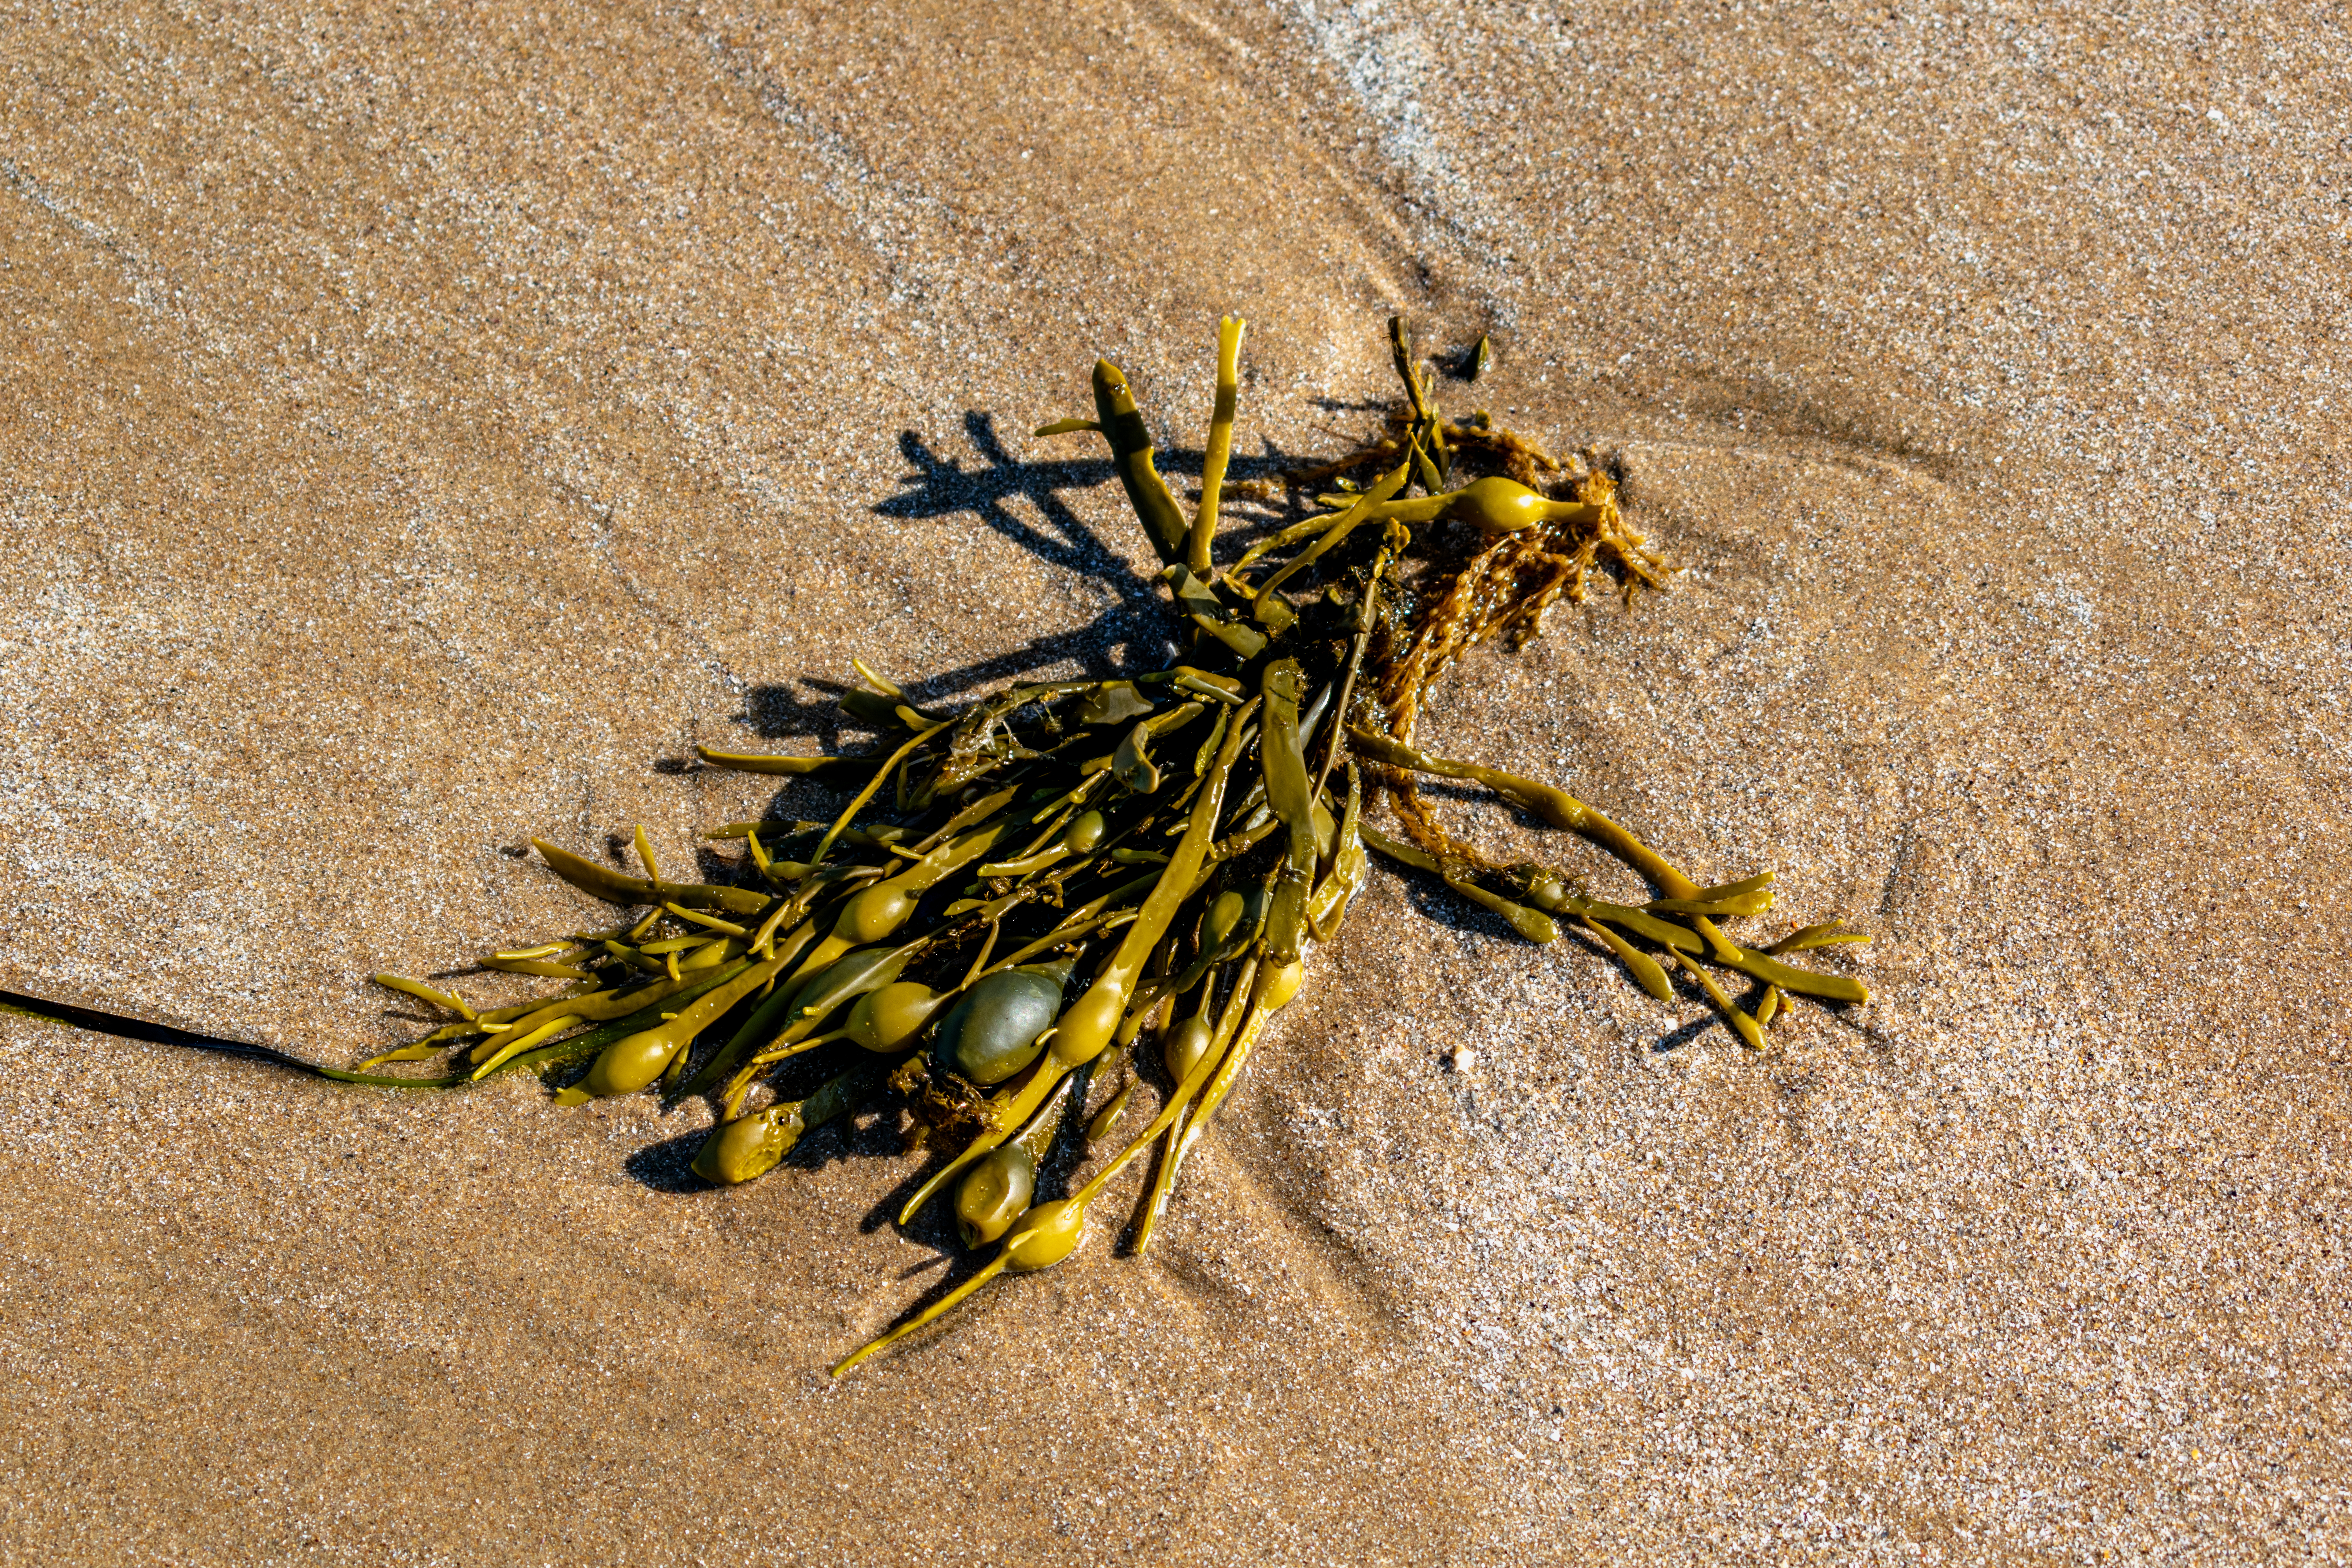
Seaweed and Kelp
This is perfect if you live near the coast, especially the north-eastern USA, or the UK. You can collect seaweed from permissible places on the coast, or buy it if you’d prefer. To prepare the seaweed, rinse it well to remove sand and salt, and then leave to dry out a little in the sun to kill any bacteria.
The quickest way to help your plants absorb the nutrients is to create a liquid fertilizer by soaking the seaweed or kelp in a bucket for 1–3 weeks. The seaweed can either be removed or blended into the mix with an old food processor. Strain the liquid and apply to the topsoil no more than twice a week. You can also use a diluted mix in a spray bottle as a foliar spray.
When to Apply Fertilizer
Fertilizers are best applied in the early morning when the sun is coming up. High temperatures and intense sun restrict nutrient take-up and can sometimes cause fertilizer burn if it’s accidentally over-applied.
Apply fertilizer during key growth seasons when the plant is actively growing for best results, though this can vary depending on the plant. Roses are much more fickle, and many appreciate year-round nourishment.
It’s important not to apply too much fertilizer at once, or too many different types. A ‘less is more’ approach is a good way to start, increasing doses as necessary. Test your soil pH periodically (once a season is a good start) to check how your soil is changing. Remember to add nutrients to your soil with compost and other organic materials throughout the year.
Final Thoughts
Homemade fertilizers are an affordable, sustainable way to boost your garden’s health. By tuning into your soil’s needs and using what you already have in your kitchen or backyard, you can nourish your plants naturally while reducing waste and protecting the environment.