As the gardening season hits peak production, and soon thereafter starts to wind down, the main dilemma facing gardeners can turn from “how do I keep my plants healthy?” and “how can I keep all these weeds at bay?” to “how am I going to use up all this produce?!”
If you’re like us this means you’re often searching for inspirational recipes and cooking methods to use up what you’ve grown. To help with that, we’ve compiled a few of our favorite recipes from this year that helped us use up what we had in abundance!
Mexican-Style Eggs - Contributed by Erin
Breakfast need not be neglected when it comes to using your garden abundance! We had tons of extra jalapeños and tomatoes this season, and while we love making all kinds of salsas, one of our favorite ways to use them is in ‘Mexican-style’ eggs. We eat these several times a week for breakfast and we never tire of them. Not only are they delicious, it’s also rewarding to start the first meal of the day with veggies I grew myself!
The amounts listed are what we generally use for two people but you can easily adjust the quantities to suit the number of people you’re cooking for and your preferences.
- 3-4 large eggs
- 2-3 small jalapeños, minced (adjust based on the size of your jalapenos and how much spice you like- you can also remove the ribs and seeds to make them less spicy or substitute green pepper)
- A small wedge of white onion, diced (roughly 3-4 tablespoons)
- 3-4 roma tomatoes, diced (you can use other types of tomatoes but roma tomatoes are ideal since they are more meaty and less watery- if you use larger tomatoes you may want to reduce the quantity)
- Vegetable oil (or any neutral-tasting fat of your choice for cooking)
- Salt to taste
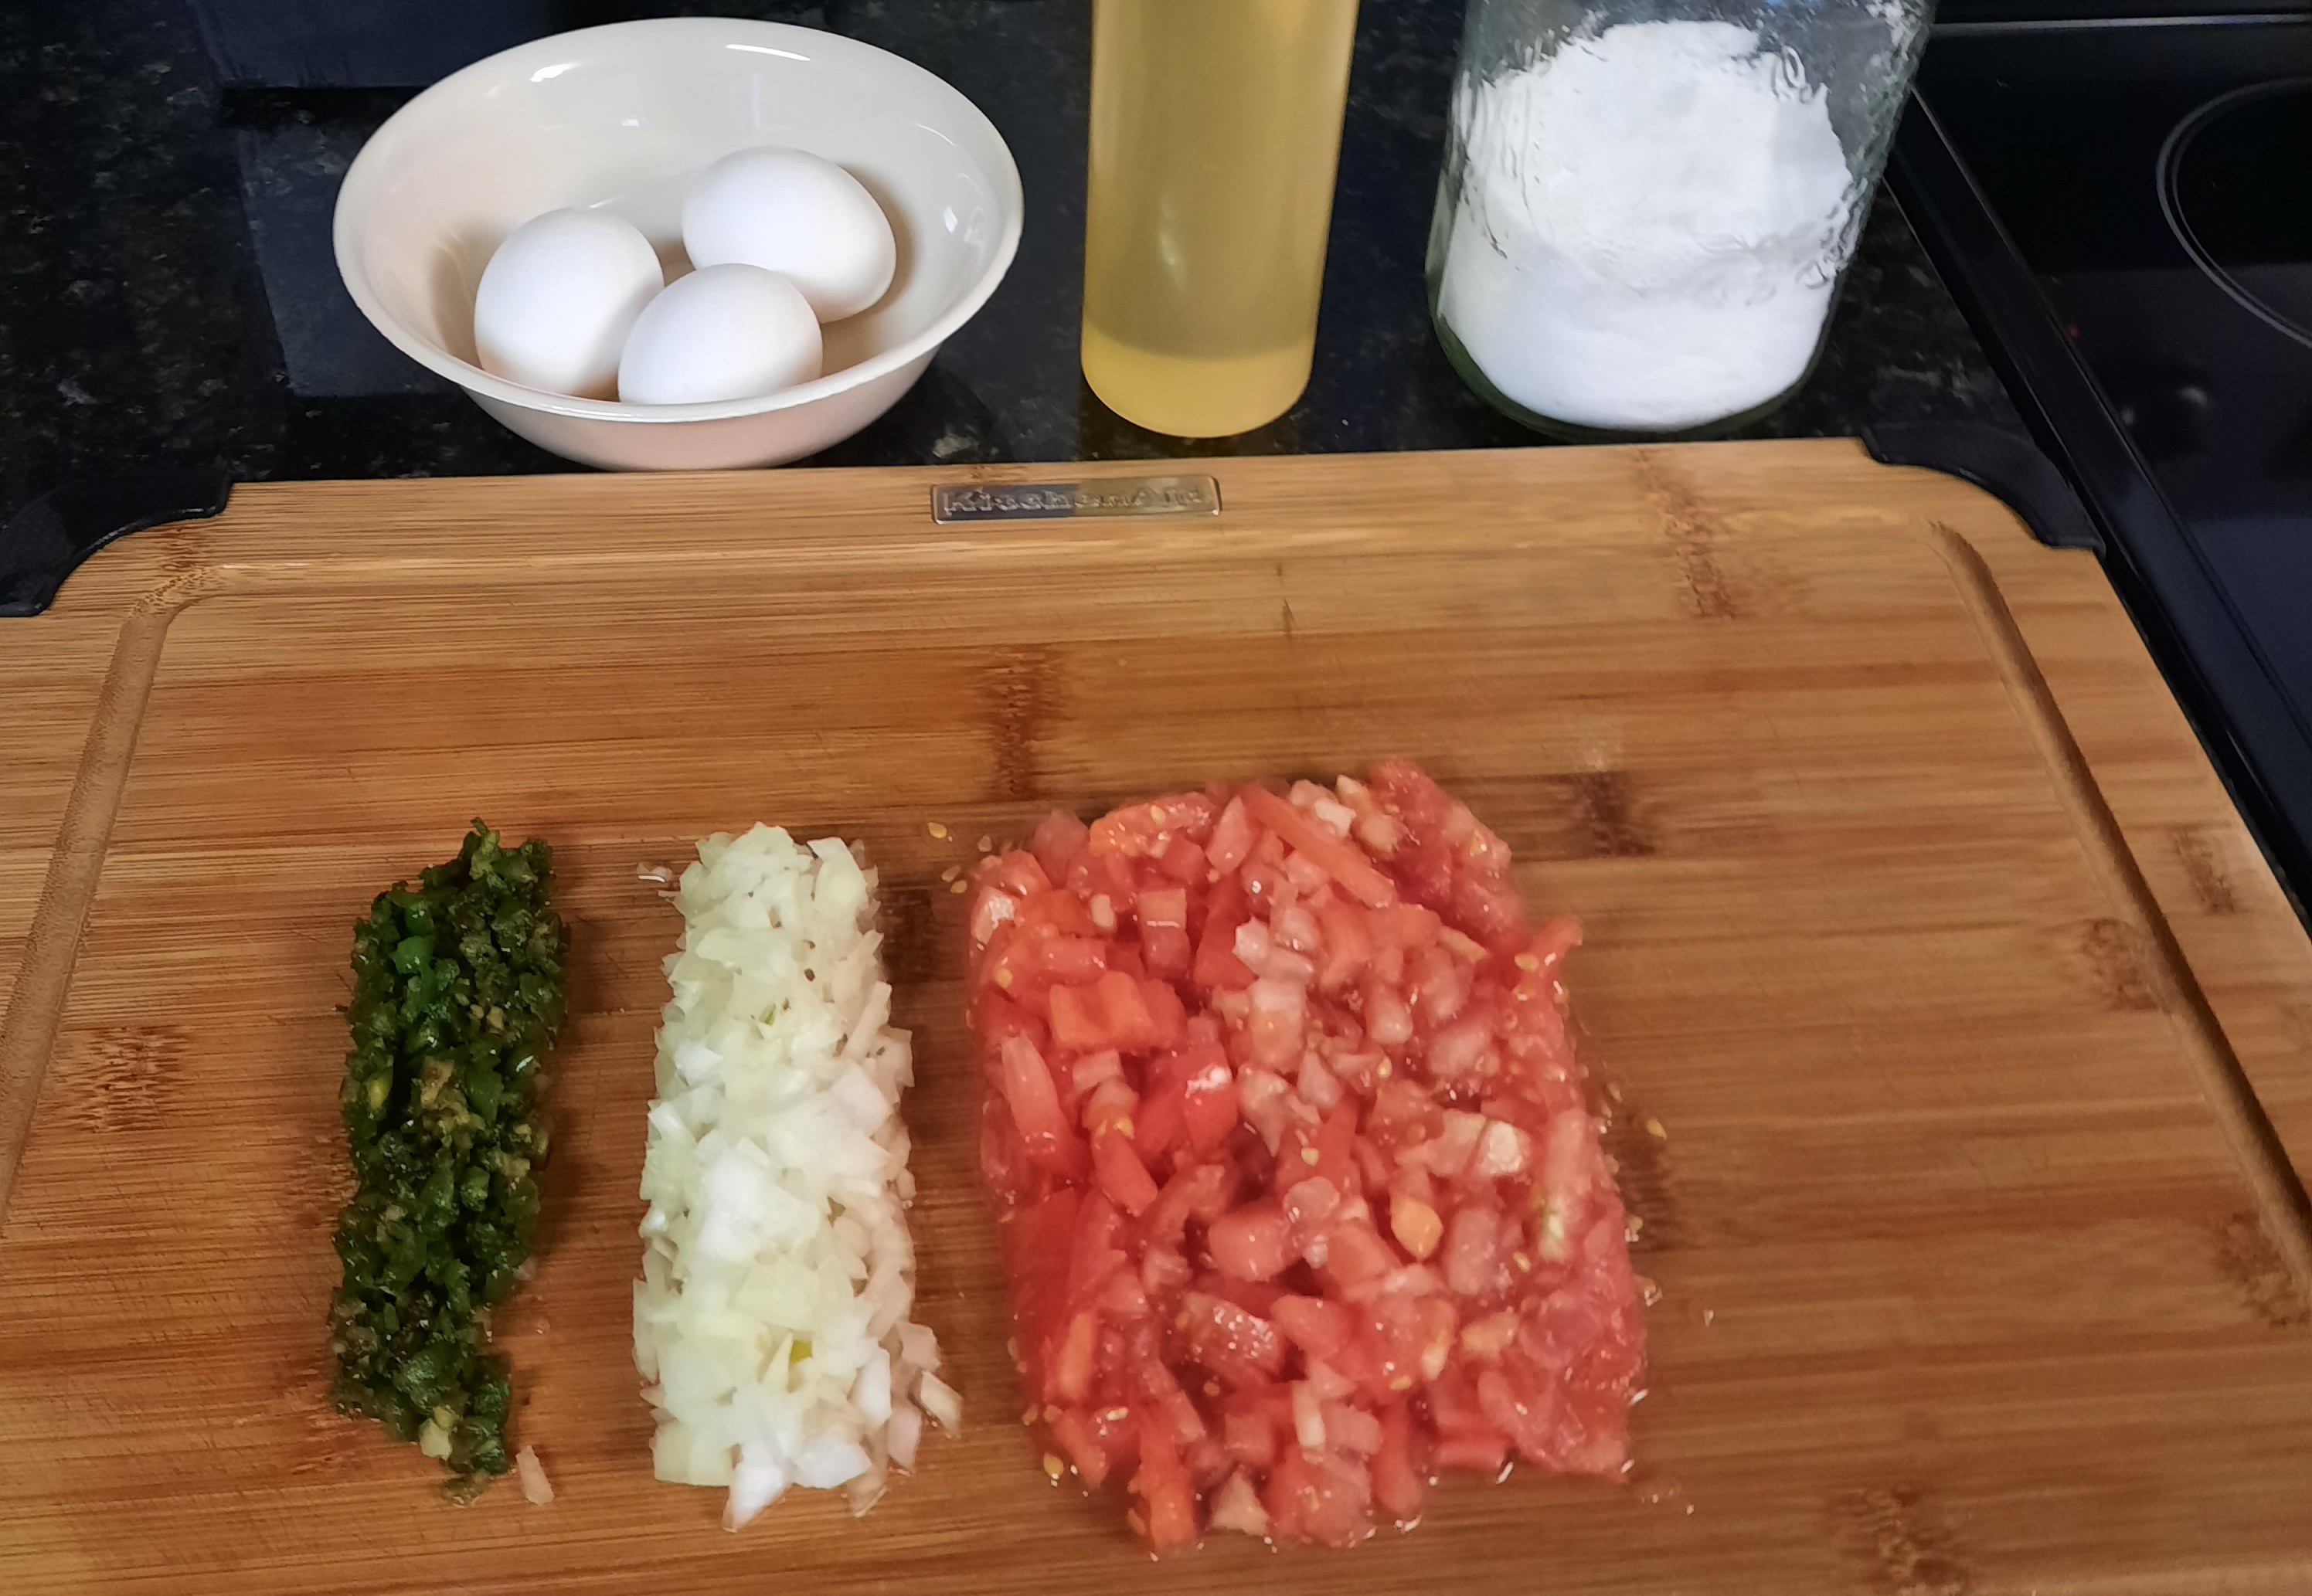
In a large bowl, whisk the eggs together with a pinch of salt until thoroughly mixed. Pre-heat a frying pan over medium heat and add the oil. Once the oil is hot (but not smoking), add the diced onion and minced jalapeno. Cook for a minute or two until the onions turn translucent then add the tomatoes*** and another pinch of salt. Let the tomatoes cook down for a minute or two then add the well-mixed eggs.
Continue cooking, stirring all the ingredients in the pan to combine them and prevent sticking. At first the mixture will be liquid-y but after about 5 or so minutes of cooking the eggs should be set and most of the excess liquid will have evaporated leaving tasty tomato-flavored eggs. Taste and add more salt if needed.
***My husband tends to add the tomatoes before adding the eggs so the tomatoes break down and the flavor infuses the eggs. I tend to add the tomatoes near the end of cooking so that they stay intact yet still add tomato-y flavor. Try both ways to see if you prefer one over the other!
Serve with warm tortillas or toast, and if you have them refried beans!

Creamy Scandinavian Cucumber Salad - Contributed by Samantha
For the last couple of summers, I’ve had a surplus of cucumbers from my garden. I am not really fond of cucumbers, so I grow them for my husband. But only he can eat so many cucumbers, and I didn’t want all of the cucumbers to go to waste, so I looked for a way I could enjoy them, too.
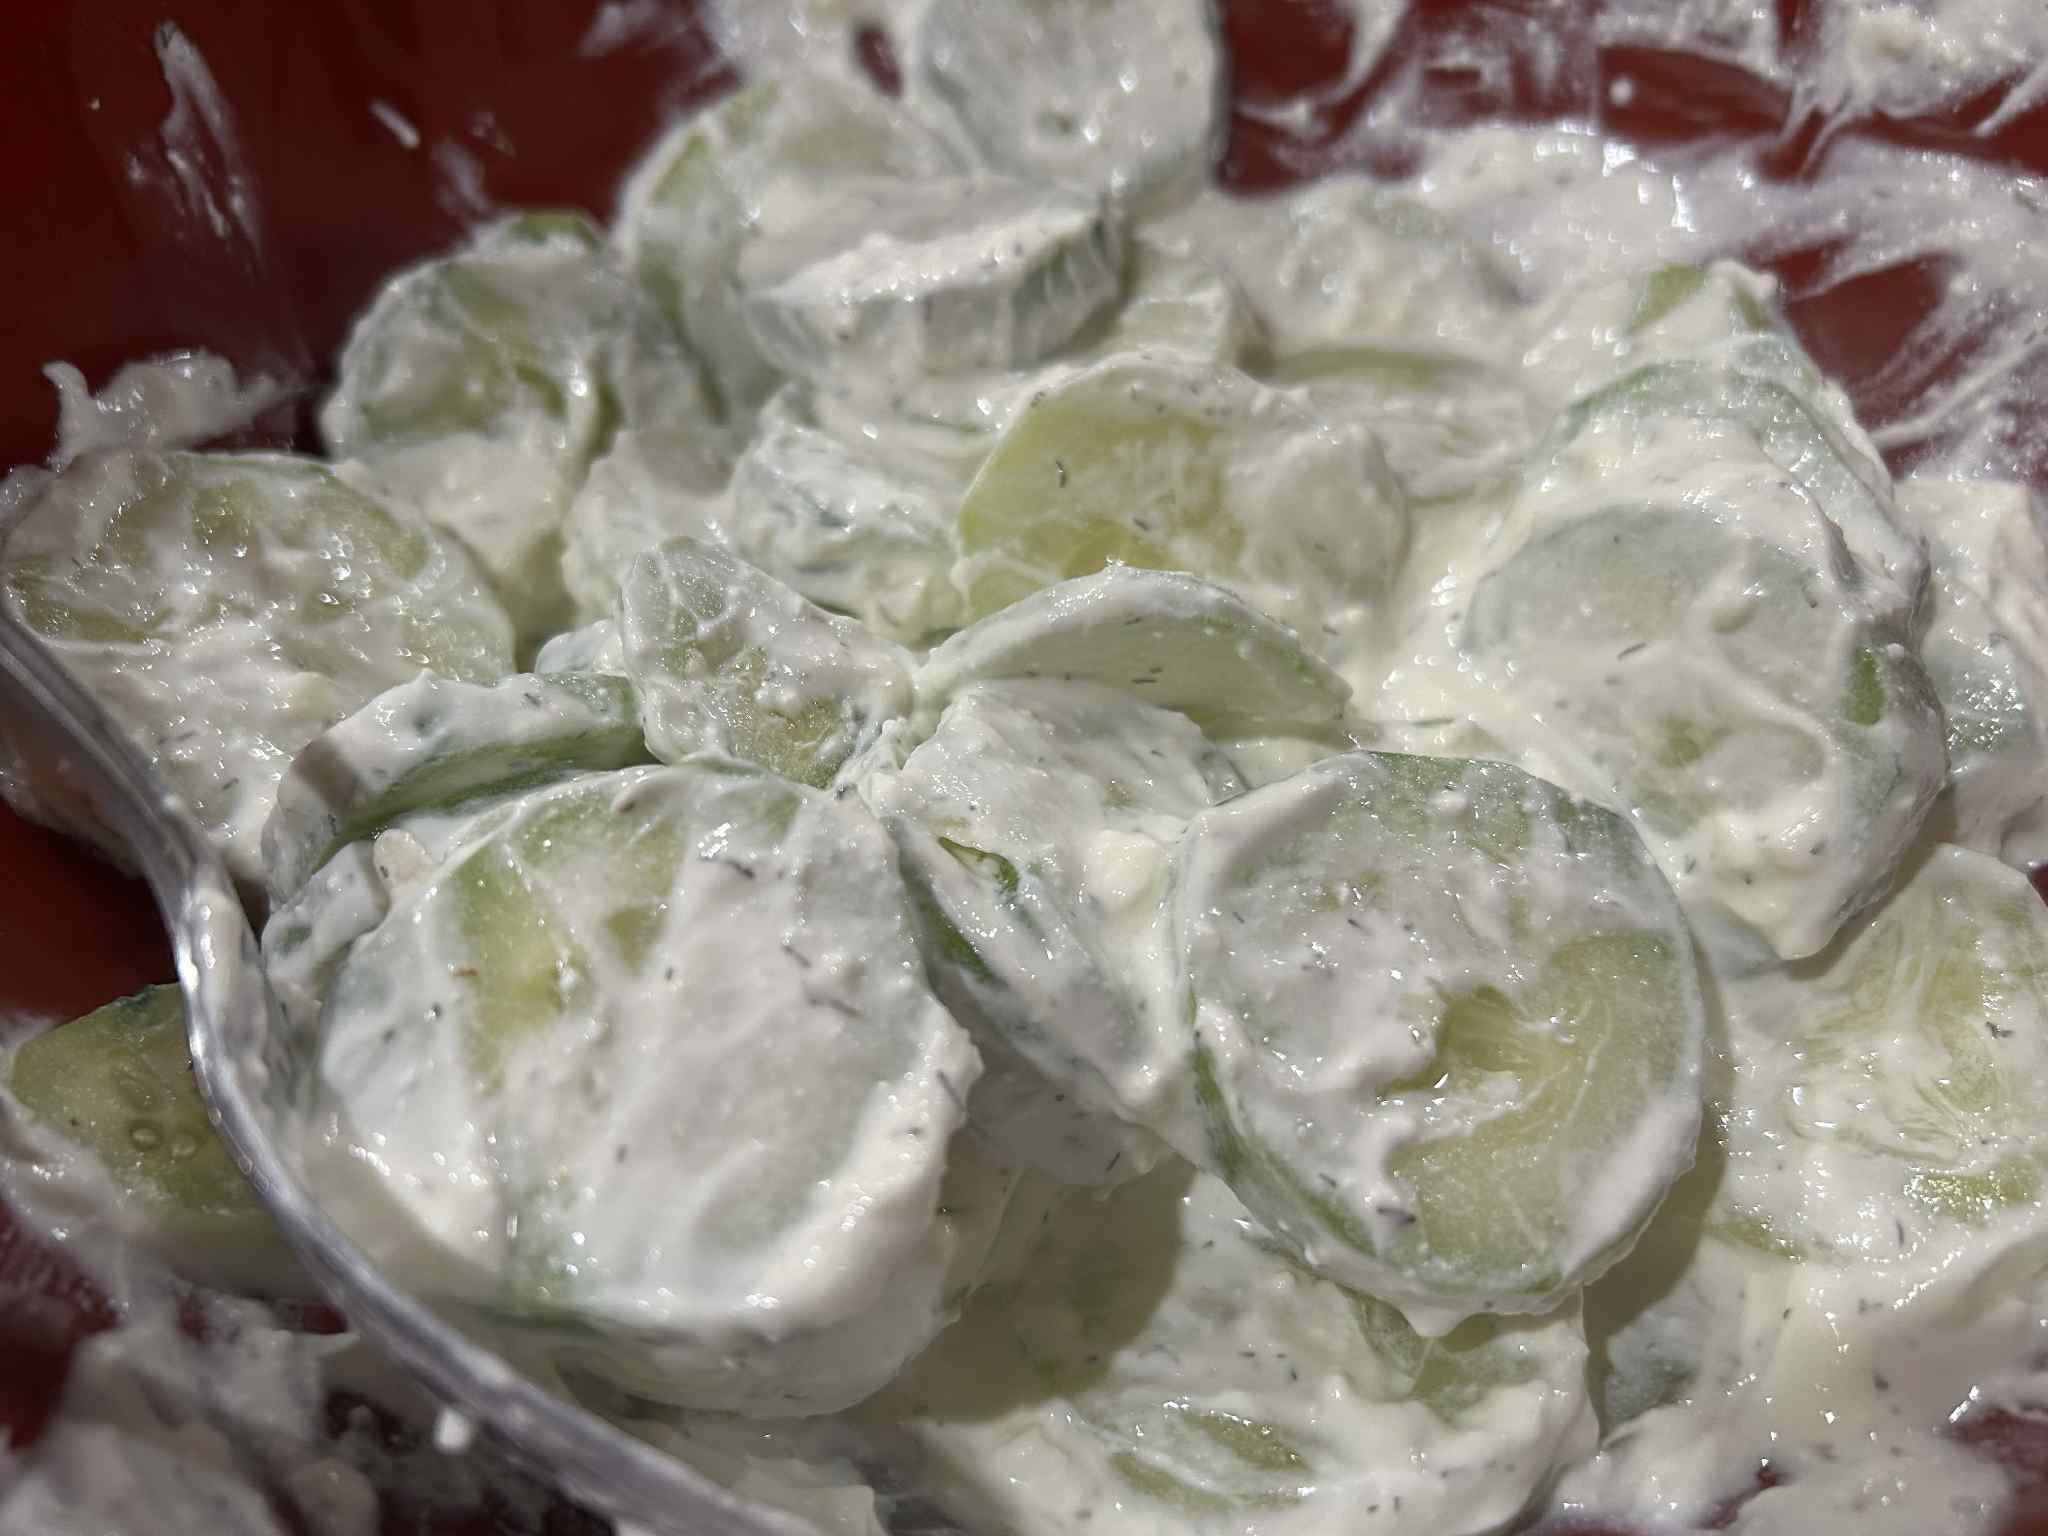
I have a small collection of Scandinavian cookbooks and came across some cucumber salads. The traditional way is basically a quick-pickled style blend of cucumbers that’s usually eaten with fish. Then I came across some recipes that involved adding sour cream, apparently popular with the American Midwestern Scandinavians. I like anything with sour cream, so I tried it and made that salad all summer. Even now, as summer’s gone, I still make it! Cream makes everything delicious in my opinion. This recipe is a blend of several versions I’ve seen, and you can customize it to your liking.
- 2 Cucumbers, skin on or peeled
- 1/4 Cup of sour cream, more or less as desired
- 1 Tbsp of white vinegar, more or less as desired
- 1 Tsp of lemon juice
- 1 clove of chopped garlic
- 1 Tsp of fresh dill or 1/2 tsp of dried, more or less to taste
- 1 Tsp of salt and more to taste
- Pepper
Slice the two peeled or unpeeled cucumbers fairly thin and place them in a bowl. Sprinkle about 1 Tsp of salt over the cucumbers and let them sit. After about 15 minutes, strain out the water from the bowl. Add the sour cream to the cucumbers, adding more or less as desired. Add the white vinegar, the lemon juice, the chopped garlic, the dill, and salt and pepper as desired. Gently stir the cucumbers to evenly coat. Let it chill in the refrigerator for 1 hour before serving.
Jalapeño Cottage Garden Salad - Contributed by Samm
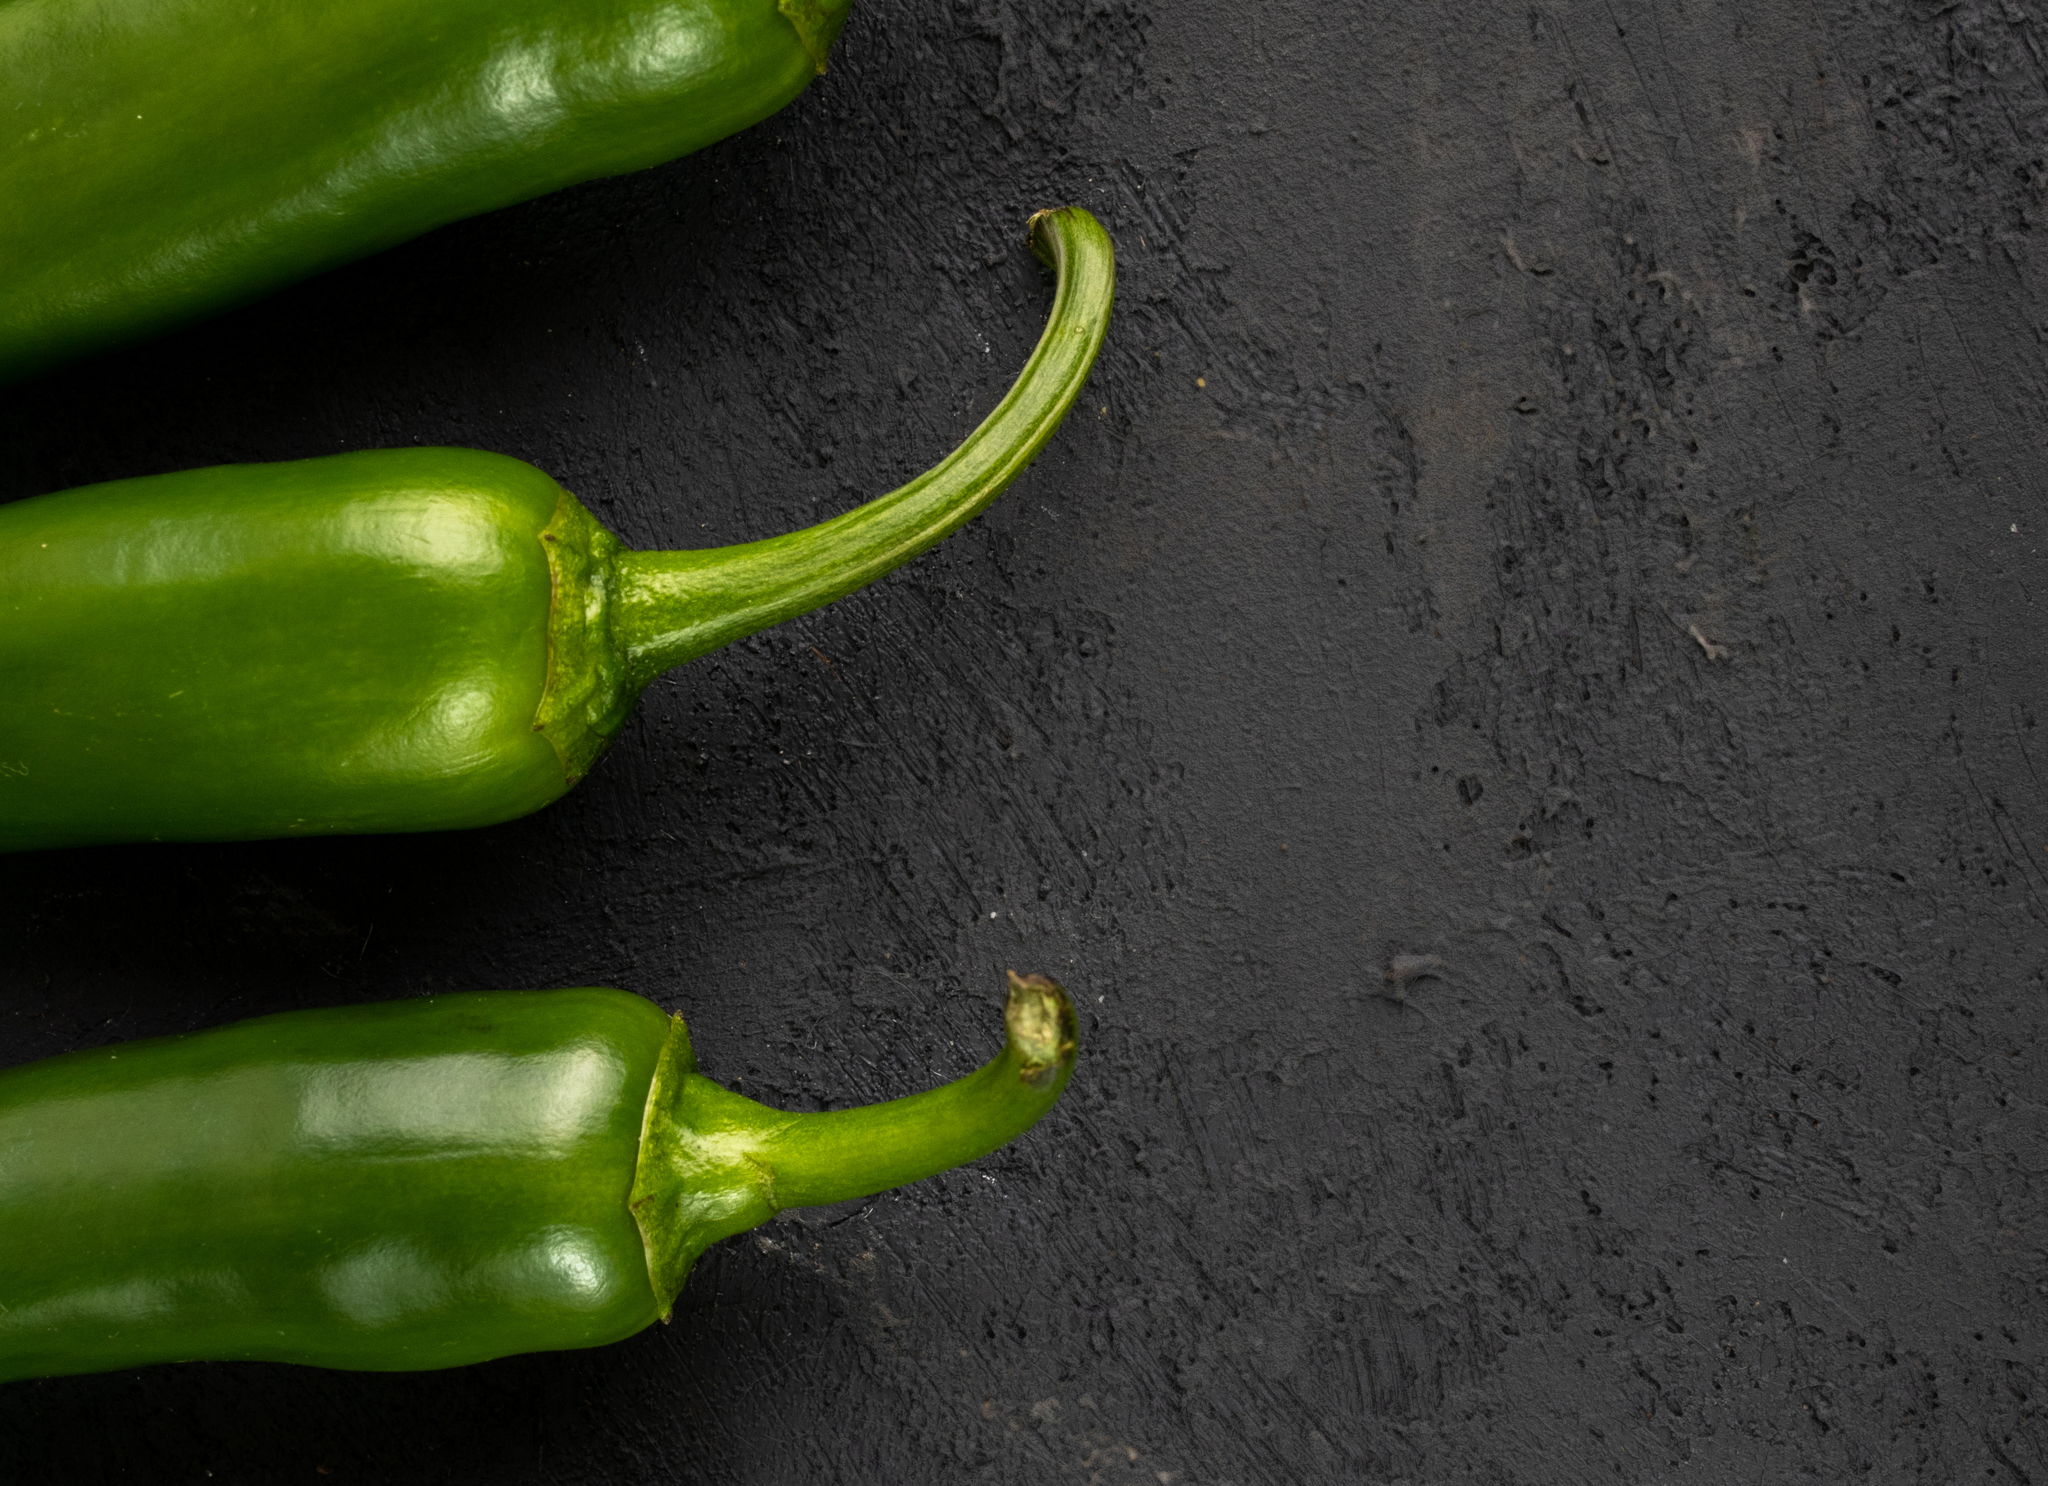
This summer was our first time growing jalapeños and tomatoes, and grow they did. We had a steady harvest for a few months before the summer heat rang the bell in late August, and the plants wilted away.
We used the jalapeños and tomatoes in a few meals, black bean taquitos, salads, and more. Here’s a recipe for a summer salad that has a good kick to accompany the light flavors.
Ingredients (serves 1):
- ½ cup low-fat cottage cheese
- ½ cup chopped fresh tomatoes
- ¼ cup chopped cucumber
- 1 small jalapeño, finely chopped (remove seeds for less heat)
- 2 tbsp finely chopped red onion
- 1 tsp olive oil
- 1 tsp balsamic vinegar
- Salt and black pepper, to taste
Optional Add-ins:
- Handful of chopped spinach or other greens
- Chopped bell peppers
- A pinch of crushed red pepper for extra spice
Instructions:
- In a medium bowl, combine cottage cheese, tomatoes, cucumber, jalapeño, and red onion.
- Drizzle with olive oil and balsamic vinegar.
- Season with salt and black pepper, then toss gently to mix.
- Add any optional veggies or crushed red pepper if desired.
- Serve immediately or refrigerate for later. Keeps for 2-3 days.
This salad is perfect to enjoy in the bold summer heat, a cool fall evening, or as an appetizer for a winter feast. It’s delicious.
Deep Dish Pizza - Contributed by Peter

I love a good Chicago-style deep dish pizza, but after moving to Connecticut I haven’t found any place around that offers it. So I make my own! The sauce uses a lot of fresh tomatoes, great for when the harvest comes in. I also make extra batches of sauce and freeze them for later. For fresh tomatoes, you can simply put them in a food processor if you don’t mind the skins/seeds. If you want to avoid skins and seeds in your sauce, a saucer attachment for your mixer is a great way to speed up tomato processing.
Makes enough for a 11-12” pizza, ~8 servings
Ingredients:
Dough:
- 3 ½ tsp yeast
- 2 ¼ tsp sugar
- 1 ⅔ cup warm water
- 4 ½ cup all purpose flour
- ¾ cup olive oil
- 2 ¼ tsp salt
Sauce:
- 2 Tbsp olive oil
- 1 small onion, grated or minced
- 1 Tbsp dried oregano
- 3 garlic cloves, minced
- 1 can (28 oz) crushed tomatoes, strain beforehand OR equivalent fresh
Toppings:
- 15-16 oz shredded mozzarella cheese
- 6 oz ground Italian sausage
- 3 Tablespoons parmesan cheese

Directions:
Dough:
- Dissolve yeast and sugar in warm (110℉ to 115℉, use a thermometer) water in a bowl. Let stand for 5 to 10 minutes until the yeast softens and begins to form a creamy foam.
- Mix yeast mixture, flour, oil, and salt. Dough should hold together but will be sticky.
- Transfer dough to a buttered bowl. Cover bowl with a towel and allow dough to rise at room temperature until doubled in size, 6 hours.
The Rest:
- Heat the olive oil in a medium saucepan over medium-high heat and add the grated onion, minced garlic, and oregano. Once the onion has slightly browned (2 minutes or so) add the tomato sauce (after straining). Turn the heat down to low-medium and allow to simmer until the sauce has thickened, about 30 minutes. It has to be thick. Remove from heat and set aside until ready to be used.
- Preheat oven to 425°F.
- Roll out the dough and place it in a 12” pizza or cake pan, trying to get the dough to stick to the sides. However, it never sticks to the sides for me so I have a trick: Transfer the pizza dough to the 12” deep dish pizza pan. Then, press a non-stick or greased 11” pan into the dough to squish the pizza dough up the sides, between the two pans. Keep the smaller pan in place for the next step.
- Cook the dough by itself for 8 minutes.
- Remove the dough. The crust should have puffed up a lot!
- Add cheese.
- Add the ground Italian sausage and any other toppings. Spread it raw (put the sausage between cling-wrap and roll it with a rolling pin).
- Add the sauce.
- Sprinkle with grated parmesan cheese on top.
- Bake for 25 minutes, or until the crust is golden brown and the filling is set. To prevent the edges from burning, cover with foil after 10 minutes of baking.
If you’ve been scratching your head trying to figure out what to do with your harvest, we hope you’ll give one of these ideas a try! If you do happen to try one of these recipes, or if you have an awesome garden-inspired recipe of your own to share, we’d love to see it on Facebook or Instagram!
Cheers and happy gardening…and cooking! - The Planter Team