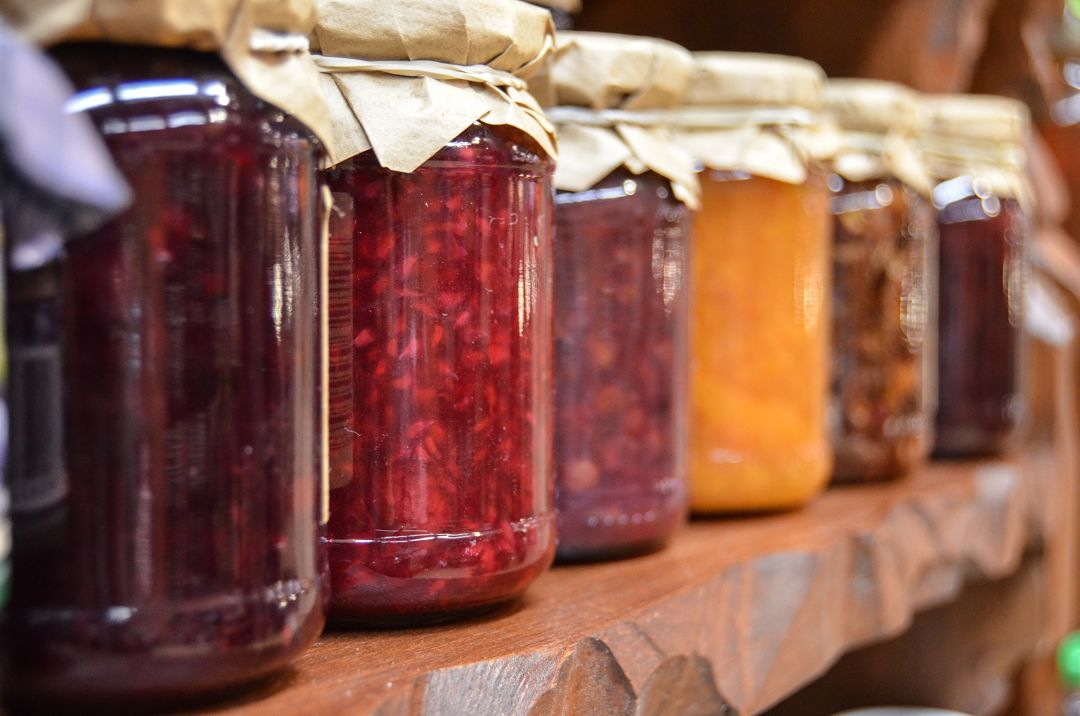
The gardener’s true bane: after months of hard work, your well-earned gains have to be used quickly at risk of spoiling. Why not spite winter and preserve your fruits and vegetables for the season? Canning is a wonderfully rewarding routine for the end of the season to continue to enjoy your produce past its time!
If canning is already a skill well in your wheelhouse, here’s another Growing Guide listing a few alternative methods of using up your end-of-season produce!

The Tools for the Job
The general tools you’ll need for canning are as follows:
- Wide-mouthed funnel and a ladle for filling the jars
- Something to lift the jars and lids out of boiling water
- This can be some good large tongs!
- Jars with two-piece caps
- These are lids that have a metal disc piece and a screw-on band piece, separately. You cannot reuse the lid part itself, but you can reuse the screw bands!
- Pressure pot and/or Boiling water canner
- A pressure cooker or instant pot will not get hot enough for safe canning; they are not acceptable replacements! Make sure to get a pressure pot specifically designed for canning.
- The boiling water canner can just be a pot large enough to fully submerge your jars with two inches of water above them.
- What determines which you’ll need is the acidity of your produce! See the first tip below to learn more about it!
- Small spatula for releasing air bubbles
Here’s a great set of canning supplies from Amazon that’ll cover just about all these bases!
Tips for Canning
- Firstly, find a recipe for what you’re planning to preserve! This blog post can’t cover all of the different ways to preserve foods, so we’re focusing on the canning process itself; you’ll need to find an alternative source for your specific food. I personally recommend a source such as Bernadin, a business based in Canada that provides many free recipes and sells canning materials/ingredients! Bernardin Home Canning: Because You Can: Recipes
- There are two ways to go about home canning: the boiling water method, or steam pressure method.
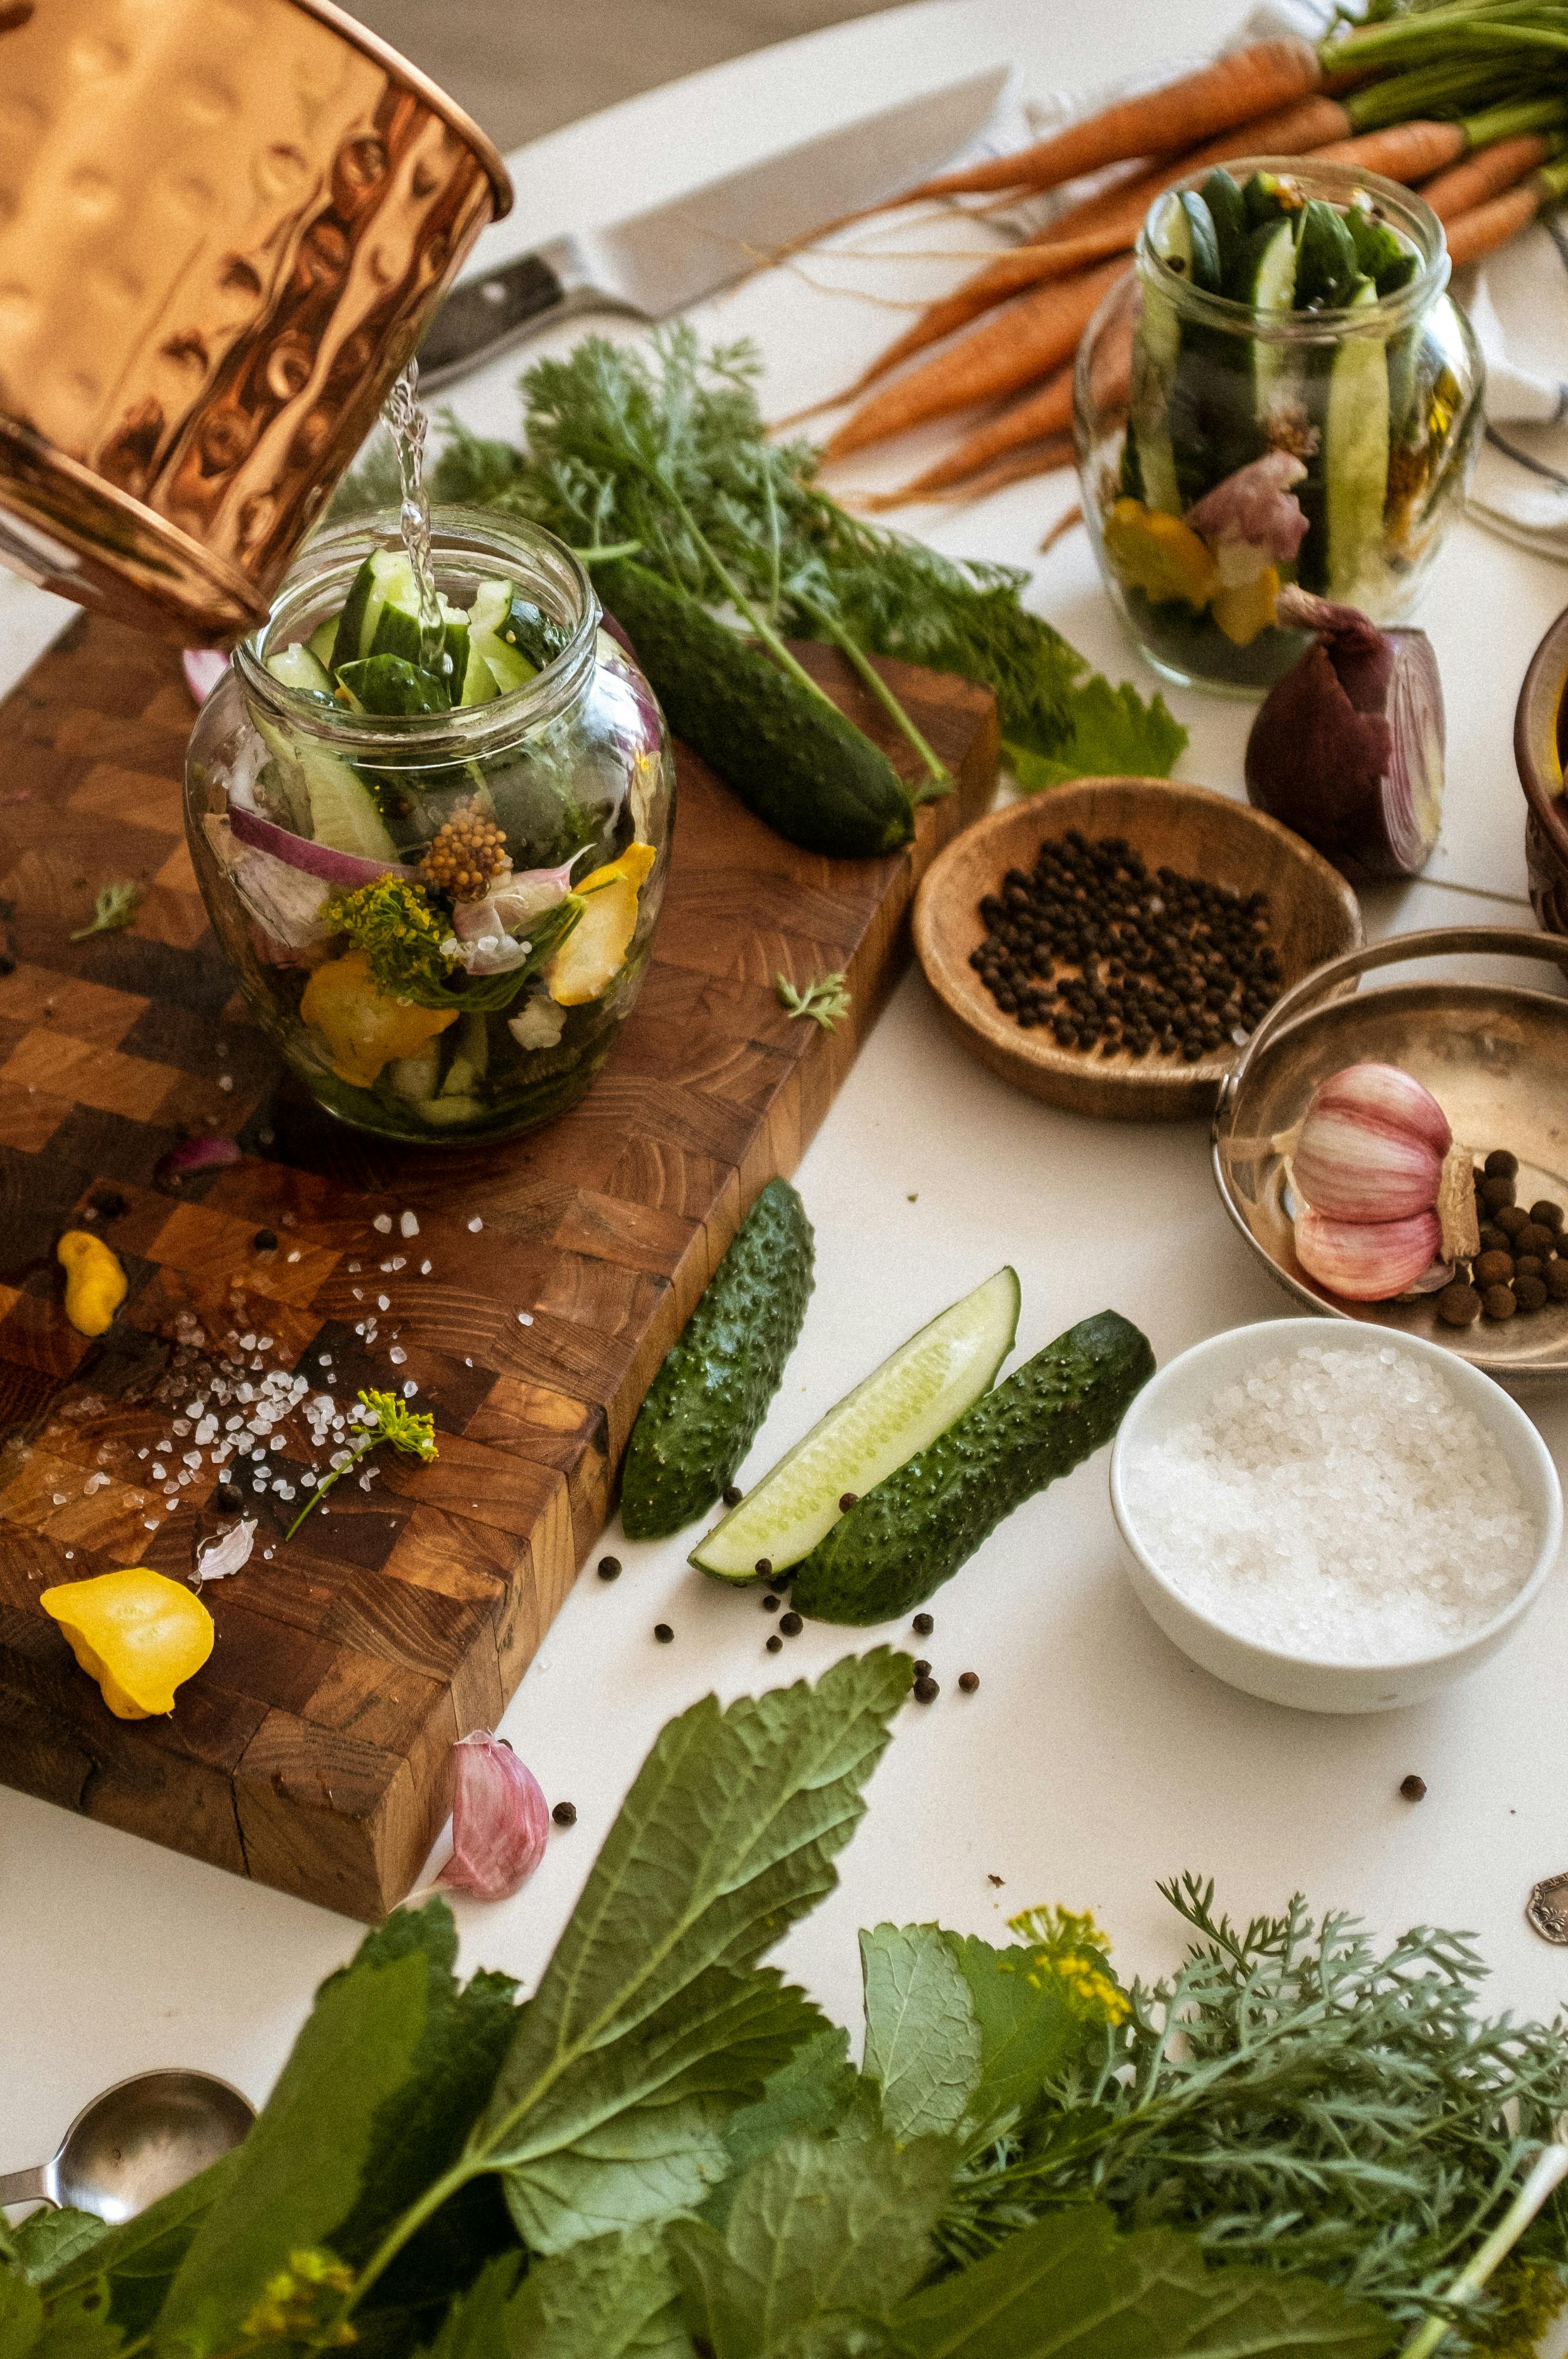
- The boiling method is for acidic foods such as fruits, jams and pickled plants; the steam pressure is for low acid foods such as veggies, meat, or sauces/soups. Be sure to figure out what method you need for the kind of food you’re preserving! The dividing line is around a pH of 4.6.
- If it’s your first time canning, try to start with the hot water method! The steam pressure method requires a pressure pot which can be a big investment. If you want to preserve low-acidity foods and don’t have one, many produce products in this category freeze well. For best results when freezing, make sure to blanch the produce first!
- Make sure to only preserve your best produce, and try to do so sooner rather than later for the best results (most produce is best 6-12 hours after harvest).
- If you’re making jams, try to use slightly underripe fruits. They have a higher amount of pectin, a natural thickener.
- Sterilize your jars by cleaning them, putting them into the canner filled with enough water to completely submerge the jars, and letting them simmer for at least 10 minutes. Heat the cleaned metal lids as well in a saucepan of simmering water.
- While your jars and lids are being sterilized, you can start to prep your recipe! Whatever method or recipe you choose, make sure to stick to it! Different fruits or vegetables will need different amounts of vinegar, citric acid, etc.
- To fill the jars, ladling is typically easiest, but a wide-mouth funnel is also very useful to avoid spillage. Make sure to leave room at the top as specified by your recipe, which will depend on what exactly you’re canning; typically a quarter inch for pickles, jellies, etc. and a half inch for fruits. Displace any air bubbles in the jars with your spatula, and put on both parts of the lid tightly after wiping the jar rim and threads clean. Add the filled jars back into the canner for a length of time also specified by your recipe! This processing time doesn’t start until the water returns to a boil.
- After around a day of resting after the processing, check the pop-tops on the jars to make sure they are sealed. The pop-top should not pop back up; if it does, they aren’t sealed properly and won’t preserve your food long.
- Store your jars in a cool, dark place like a pantry! They should last all year long, but check on them occasionally; a bulging or corroded lid indicates that the jar’s seal has failed, and you should dispose of that jar’s contents. Any mold or cloudiness, too, is a sign that you should not eat it!
For more in-depth information on canning, check out the National Center for Home Food Preservation! General Canning Information
And again, here’s a great source for canning recipes and materials! Bernardin Home Canning: Because You Can: Recipes
Finally, if you’re still looking to find some more ways to preserve your harvest, pop over to our other Growing Guide: Use It or Lose It: What to Do with a Veggie Glut
